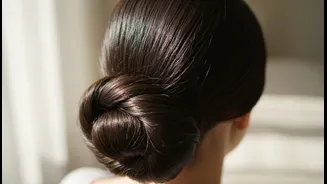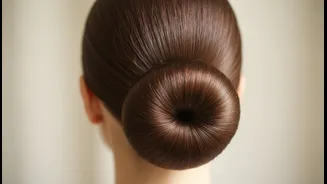



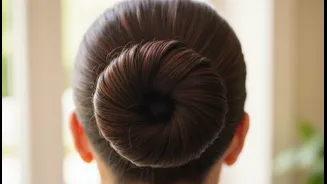
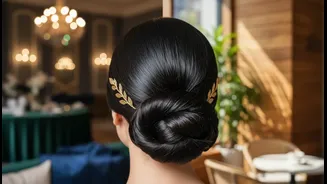


Why Low Buns Get Lumpy
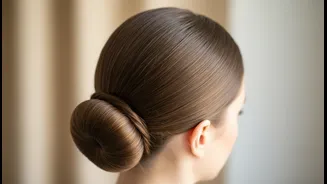
We’ve all been there. You’re rushing to get ready, you pull your hair back into what should be a sophisticated low bun, but instead, you’re met with frustrating lumps and bumps, particularly at the nape of your neck. The main reason this happens is that
we often try to gather all our hair at once. When you pull hair from the front, top, and sides down to the nape, the tension is uneven. Hair strands travel different distances and at different angles, causing them to buckle and create those annoying bumps. Simply brushing it all back in one go often isn’t enough to create the smooth foundation needed for a polished look. The hair underneath, especially at the nape, doesn't get pulled as tautly as the hair on the surface, leading to a loose, bumpy base before you even twist the bun.
The Secret: Focus on the Nape First
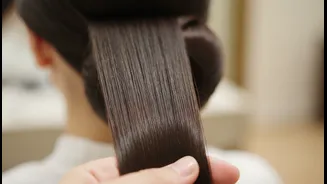
The secret to a perfectly smooth low bun lies in changing your technique. Instead of gathering all your hair at once, hairstyling experts recommend a more methodical approach that starts at the nape of the neck. By securing the hair in sections, you can ensure each part is smooth and held with even tension. Think of it like building a house; you need a solid, level foundation. In this case, the foundation is the hair at the very base of your hairstyle. By carefully brushing and gathering the hair at the nape first, you create a flat, even anchor point. Then, you can smoothly layer the hair from the sides and top over this secure base, eliminating the lumps before they even have a chance to form. This technique gives you far more control and precision.
Your Step-by-Step Guide to a Flawless Low Bun
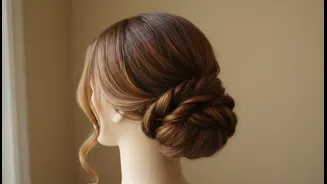
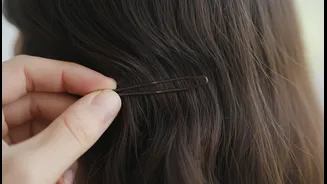
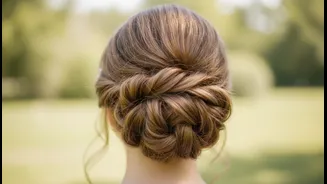
Ready to master the technique? Follow these steps for a sleek bun that stays smooth all day. 1. Prep Your Hair: Start with dry, thoroughly brushed hair to remove any tangles. For extra smoothness, you can run a flat iron over the top layers. If your hair is very fine or freshly washed, a light spritz of texture spray or a bit of dry shampoo can add some grip. 2. Part and Smooth: Decide on your part—middle or side—and make it clean. Apply a small amount of smoothing cream or a light gel to your palms and run it over the surface of your hair to tame flyaways from the start. 3. Isolate the Nape: This is the key step. Lean your head forward slightly. Using a comb, separate a horizontal section of hair at the nape of your neck, from ear to ear. Brush this section downwards smoothly. 4. Gather in Stages: Hold that smooth nape section firmly with one hand. Now, using your other hand and a brush, begin bringing down sections from the sides and then the top, brushing them smoothly over the initial section. Keep the brush close to your scalp to maintain tension. 5. Secure the Ponytail: Once all the hair is gathered smoothly at the nape, secure it tightly with a hair tie. The base of your ponytail should feel secure and be completely free of bumps. 6. Create the Bun: Twist the ponytail, wrap it around the base, and secure it with another hair tie or bobby pins. For a fuller look, you can gently pull the bun to make it bigger before pinning it down.
Essential Tools and Pro Tips
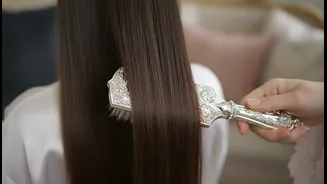
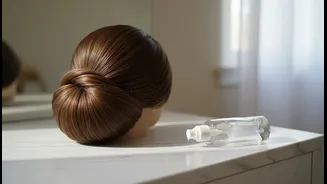
To make the process even easier, having the right tools is crucial. A boar bristle brush is excellent for smoothing hair and eliminating flyaways, while the nylon bristles in a mixed-bristle brush can help detangle. A fine toothed comb is perfect for creating clean parts and smoothing down any stubborn bumps. When it comes to products, a styling cream or a non-sticky gel can provide hold and shine without making your hair stiff. For those with curly or textured hair, an edge control product can be a lifesaver for taming baby hairs around the hairline and nape. And don't underestimate the power of a good hairspray; a light mist at the end will lock everything in place for a lasting, polished finish.