





Gathering Your Supplies
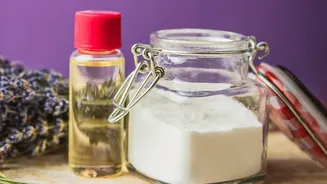
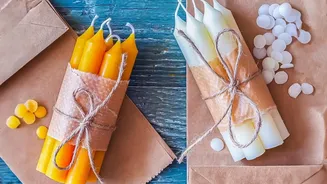
Before you begin, you'll need to gather a few key materials. For beginners, soy wax is an excellent choice; it’s eco-friendly, burns cleanly, and is forgiving with temperatures. You will also need wicks, heat-safe containers like glass jars or tins, and fragrance
oils specifically designed for candles. Your toolkit should include a pouring pot and a larger pot to create a double boiler, a kitchen thermometer for accuracy, and something to hold your wick in place, such as clothespins or a dedicated centering tool. A digital scale is also highly recommended for measuring your wax and fragrance oil by weight, which ensures consistency.
Setting Up for Safety
Working with hot wax requires a safe and organised workspace. Cover your surface with newspaper or parchment paper for easy cleanup. Ensure the area is well-ventilated by opening a window or using a fan to prevent the buildup of strong scents. It's wise to wear protective clothing like long sleeves and closed-toe shoes to guard against any accidental splashes of hot wax. Keep a fire extinguisher nearby and never leave melting wax unattended. Also, make sure children and pets are kept away from your work area to prevent accidents.
Melting the Wax
The safest way to melt your wax is by using a double boiler. If you don't have one, you can easily create one by placing your pouring pot inside a larger pot filled with a few inches of water. Heat the water over a medium heat, which will gently melt the wax in the pouring pot. Stir occasionally as the wax melts. Use your thermometer to monitor the temperature. Most soy waxes melt best between 170°F and 185°F (about 76°C to 85°C). Heating the wax to the correct temperature is crucial for ensuring it binds properly with the fragrance oil.
Adding Scent and Pouring
Once your wax has reached the target temperature, remove it from the heat. This is the moment to add your fragrance oil. A general rule is to use about 6 to 10 percent fragrance oil per pound of wax, but always check the manufacturer's recommendation. Stir the oil into the wax gently but thoroughly for about two minutes to ensure it's fully incorporated. Let the wax cool to the recommended pouring temperature, typically around 135°F (57°C), before you pour. While the wax cools, secure your wick to the bottom centre of your container using a wick sticker or a dab of hot glue. Use a centering tool or clothespins laid across the top of the jar to keep the wick straight and centred. Pour the wax slowly and steadily into your container, avoiding splashes.
Curing and Finishing Touches
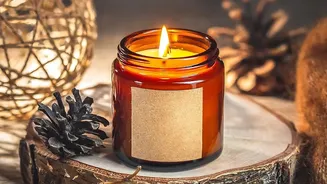
Patience is key in this final stage. Your candle needs to cure, which allows the wax and fragrance to fully bind together, resulting in a stronger scent throw. Let the candle sit undisturbed at room temperature for at least 24 hours before you move it. For the best results, many candle makers recommend a curing time of one to two weeks. Once your candle has fully hardened, the final step is to trim the wick. Before you light it for the first time, use a wick trimmer or a pair of scissors to trim the wick to about 1/4 inch. This prevents a large flame, smoking, and soot.