


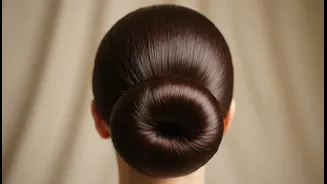
The Foundation: Flawless Preparation
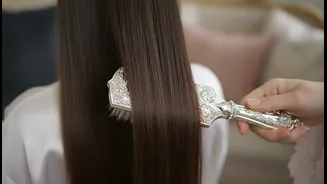
A truly sleek bun begins long before the hair is twisted into place. The first step is to create a perfectly smooth canvas. For best results, start with dry hair; second or third-day hair often has more grip and is less prone to flyaways. Begin by brushing
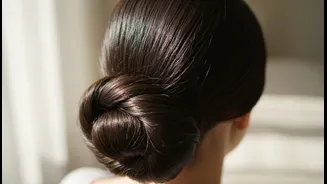
your hair thoroughly to remove any tangles. To combat frizz and achieve a polished sheen, work a smoothing serum or leave-in conditioner through your strands. For those with particularly stubborn waves or curls, a quick pass with a flat iron can help create an even texture to build upon. The goal is to have hair that is uniform and ready to be sculpted without bumps or lumps.
Mastering the Nape Ponytail
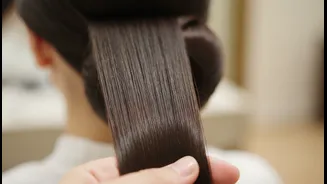
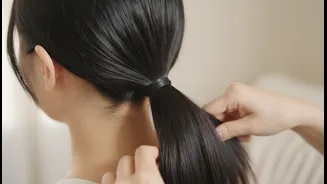
The placement and security of your ponytail are critical. A low bun requires the base to sit at the nape of your neck. Use a boar bristle brush to gather your hair, which is excellent for smoothing down flyaways and creating a sleek surface. As you brush your hair back, direct it towards the central point at the nape. Hold the hair firmly with one hand while you continue to smooth any bumps with the other, ensuring the hair is taut against your scalp. Secure the ponytail tightly with a hair tie. For extra hold, especially with thick hair, consider using a small, clear elastic first, then a more substantial tie over it. This secure base prevents the bun from loosening throughout the day.
From Ponytail to Polished Bun
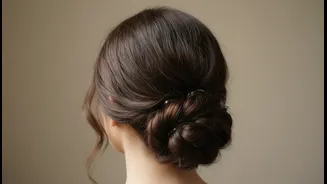
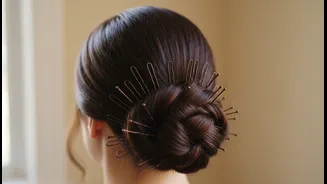
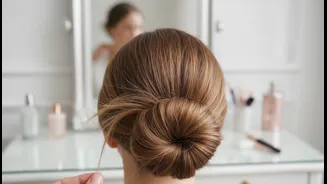
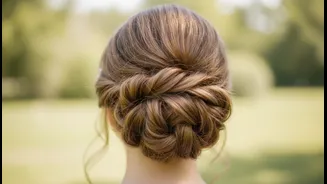
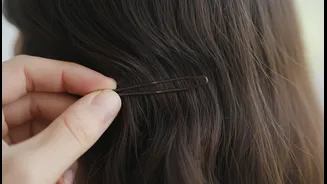
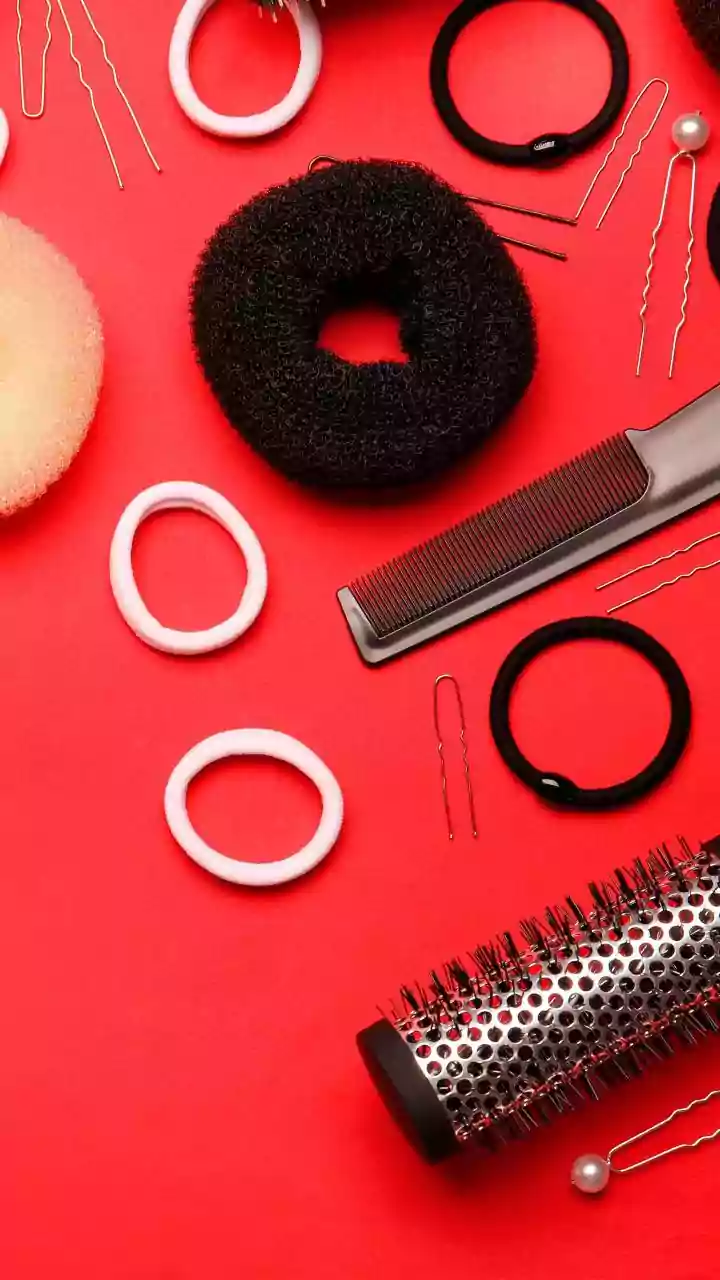
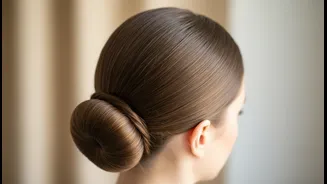
With your perfect ponytail in place, forming the bun is straightforward. There are several effective techniques. The most common method involves twisting the ponytail from base to ends. Once you have a tight rope of hair, coil it around the base of the ponytail, wrapping it around the hair tie. Tuck the ends underneath the bun and begin securing it. Use bobby pins that match your hair colour for a seamless look, inserting them vertically around the bun's circumference to lock it to the base hair. Don't be afraid to use as many as you need; a secure bun is a long-lasting bun. For a slightly different look, you can also braid the ponytail before wrapping it into a bun.
Finishing Touches for All-Day Hold
The final steps are what elevate a simple bun to a polished, professional style. Once the bun is pinned securely, it's time to tackle any remaining imperfections. For any small flyaways around the hairline or bun itself, a strong-hold hairspray is your best friend. A popular trick among stylists is to spray a clean toothbrush or a mascara spoolie with hairspray and gently comb down stray hairs for ultimate control without disrupting the style. You can also use a styling stick or a touch of pomade for targeted application on stubborn areas. A final, light mist of a shine spray can add a healthy, glossy finish to complete the look.
Adapting for Your Hair Type
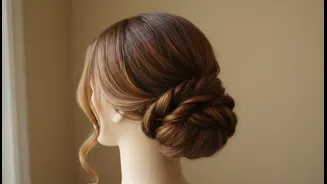
While the basic technique is universal, slight adjustments can make a world of difference depending on your hair's texture and thickness. If you have very thick hair, you may want to divide your ponytail into two sections, twist them individually, and then wrap them around each other at the base. For those with fine hair, a lightweight mousse applied before you start can add volume. You can also gently pinch and pull at the crown before forming the bun to create an illusion of fullness. For curly and coily hair types, an edge control product and a dense brush are invaluable for laying edges and achieving that signature sleekness at the hairline before gathering hair into the ponytail.