

Craving a paratha that's incredibly soft, flaky, and bursting with a savoury filling? The Vegetable Paneer Reshmi Paratha is your answer. This guide will demystify its 'silky' texture and show you how to perfect it on your tawa at home.
Understanding the 'Reshmi' Touch
Before we begin,
let's understand what makes a paratha 'reshmi'. The word 'reshmi' translates to 'silky' in Hindi and Urdu. In cooking, particularly in Mughlai cuisine from which this style originates, it describes a dish with a remarkably smooth, tender, and melt-in-the-mouth texture. While often associated with kebabs marinated in cream and cashew paste, the principle extends to these parathas. The secret lies in creating a dough that is exceptionally soft and pliable, which in turn produces a paratha that is anything but tough or chewy. It is a difference you can feel from the very first bite.
Crafting the Silky Dough
The foundation of a great reshmi paratha is its dough. The goal is softness. To achieve this, many recipes enrich the standard whole wheat flour (atta) dough. Start with two cups of atta in a large bowl. To this, you can add enriching ingredients that provide fat and tenderness. A popular method is to incorporate milk, a few tablespoons of yogurt, or even cream instead of just water. Some modern variations even use boiled and puréed potato kneaded into the flour to create an incredibly soft dough. Add a teaspoon of salt and a tablespoon of ghee or oil. Gradually add warm water (or your liquid of choice) and knead for about 8-10 minutes until the dough is smooth, supple, and non-sticky. Cover the dough with a damp cloth and let it rest for at least 20-30 minutes. This resting period is crucial as it allows the gluten to relax, making the parathas easier to roll and ensuring a softer final product.
Preparing the Rich Paneer and Vegetable Filling
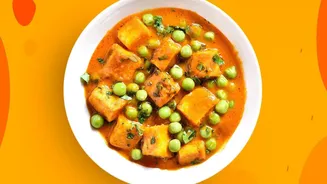
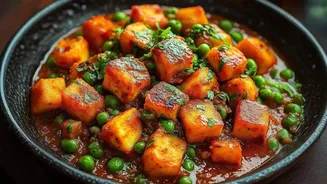
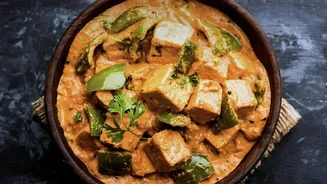
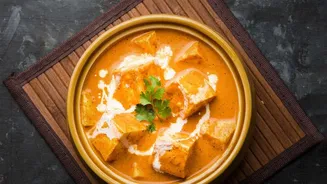
While the dough rests, prepare the flavourful core. The combination of paneer and vegetables makes for a filling that is both hearty and nutritious. Start by heating a teaspoon of oil in a pan. Sauté finely chopped onions until they become translucent. Add other finely chopped or grated vegetables like carrots, bell peppers, and peas. Cook for a few minutes until they soften slightly. It is important not to let the vegetables release too much water, as a moist filling can tear the paratha during rolling. Now, add your spices: turmeric powder, red chilli powder, cumin powder, and garam masala are excellent choices. Stir everything together before adding one cup of grated or crumbled paneer. Mix well and cook for just another minute. Overcooking can make the paneer rubbery. Turn off the heat and finish with a generous sprinkle of fresh chopped coriander and a squeeze of lemon or a pinch of dry mango powder (amchur) for a hint of tang. Allow the filling to cool down completely before you begin stuffing.
The Art of Assembling and Rolling
Once the dough has rested and the filling is cool, it's time to bring it all together. Knead the dough lightly for a minute and divide it into equal-sized balls. Take one ball and flatten it slightly. Using a rolling pin, roll it into a small circle about 4 inches in diameter. Place a generous spoonful of the paneer-vegetable mixture in the center. Be careful not to overfill. To seal it, bring the edges of the dough together, creating pleats as you go, much like closing a pouch. Pinch the top to seal it completely and flatten the stuffed ball gently with your palm. Lightly dust the ball with dry flour and begin rolling it out carefully. Apply gentle and even pressure to prevent the filling from breaking through. Roll it into a circle about 6-7 inches in diameter. Don't worry if it's not perfectly round; the taste is what truly matters.
Cooking to Golden Perfection on the Tawa
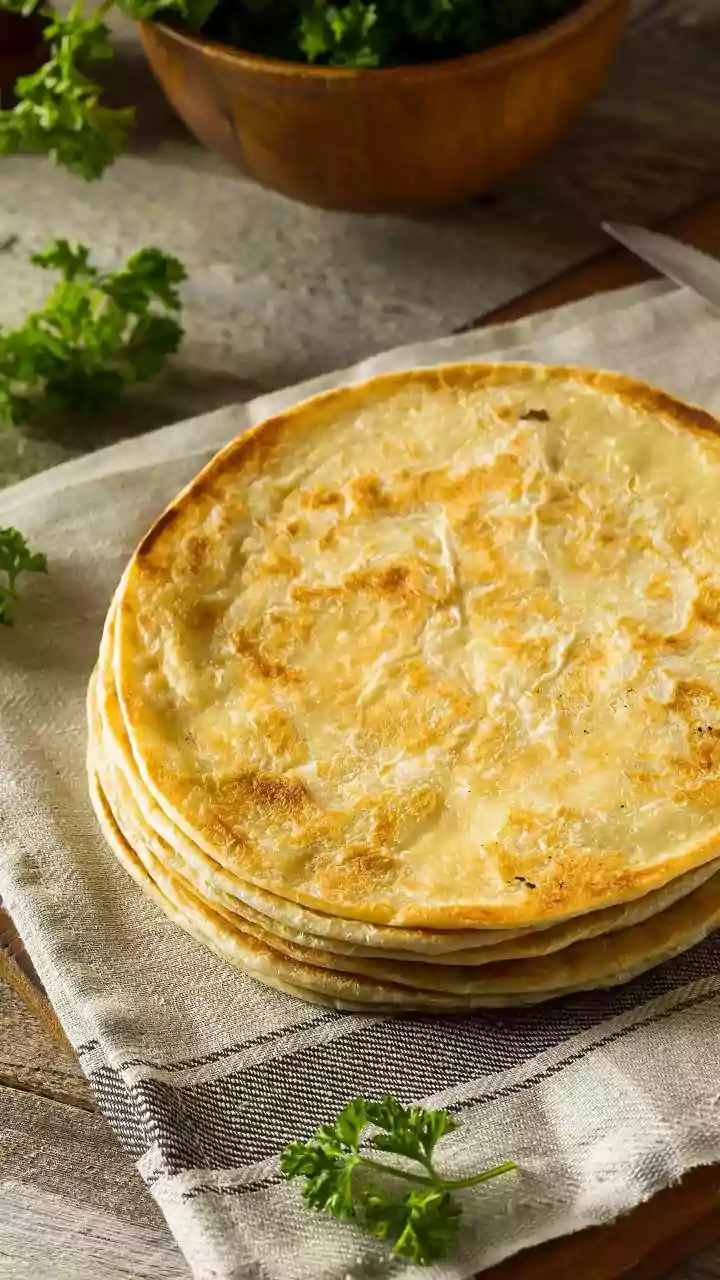
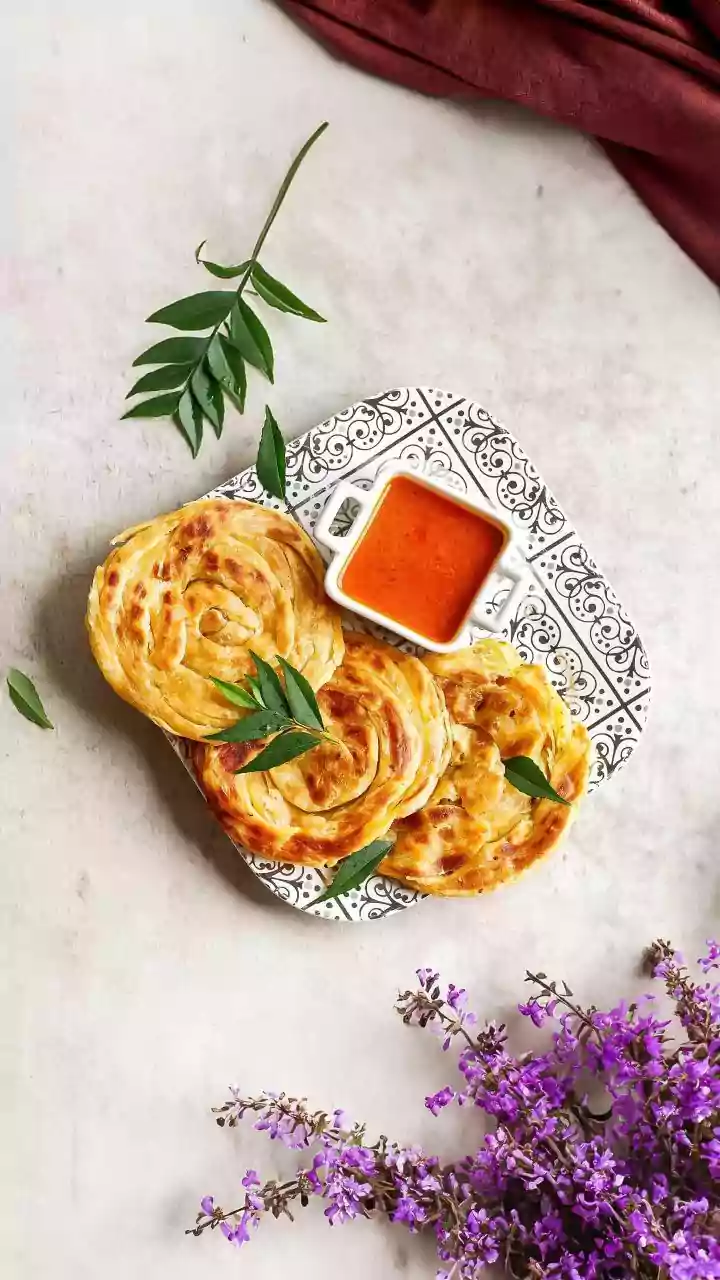
The final step is cooking the paratha on a tawa (griddle). Heat your tawa over a medium-high flame. A well-heated tawa is key; if it's too cool, the paratha will become dry, and if it's too hot, it will burn on the outside before cooking through. Place the rolled paratha on the hot tawa. Let it cook for about 30–60 seconds, or until you see small bubbles form on the surface. Flip it over and cook the other side for another minute. Now, drizzle about half a teaspoon of ghee or oil on the top surface and flip it again. Gently press down on the paratha with a spatula, especially around the edges, to help it cook evenly and puff up. Apply ghee to the other side as well. Continue to cook, flipping every 30 seconds or so, until both sides are beautifully golden–brown with some crispy spots. Each paratha should take about 3–4 minutes to cook completely.