








Start with the Right Foundation
The perfect sleek bun rarely starts with freshly washed hair. Second or third-day hair typically has more grit and natural oils, which provide a better grip for the style to hold. If your hair is clean and slippery, don't worry. You can create a similar
texture by spritzing a light texturizing spray or even a dry shampoo at the roots. The goal is to give the hair some substance without making it stiff. Before you begin brushing, work a small amount of a lightweight smoothing cream or a few drops of hair oil through the mid-lengths and ends. This helps tame frizz from the outset and adds a touch of shine, but be sure to avoid the roots for now; too much product near the scalp can make it difficult to create tension.
Create a Flawless Part
A key element of a truly sleek bun is a sharp, intentional part. Whether you prefer a classic center part or a deep side part, use a rat-tail comb to draw a clean line. For an ultra-polished look, ensure the part is perfectly straight from your hairline back to the crown. Once your part is established, you can begin the most crucial step: building tension. This hairstyle gets its 'snatched' and lifted appearance from how the hair is brushed back, not from being glued down with gel. The style is renowned for accentuating cheekbones, giving a natural 'face-lift' effect, which all comes from this foundational tension.
The Secret is Crown Tension
This is where the magic happens. Using a boar bristle brush is highly recommended by stylists because its dense bristles are excellent for smoothing every strand and eliminating bumps. Begin brushing your hair back from the hairline towards the nape of your neck. As you brush, use your free hand to smooth the hair down, keeping it taut against your scalp. Focus on creating firm, even tension across the crown of your head. The hair should feel tight and secure before you even reach for a hair tie. This is what provides the bun's structure and longevity. If you feel bumps, brush them out. If the hair feels loose, start again. This step requires patience but is the non-negotiable foundation of a lasting, sleek style.
Secure the Ponytail and Bun
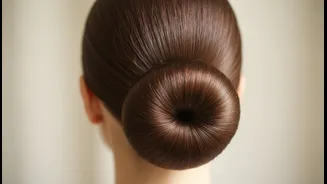
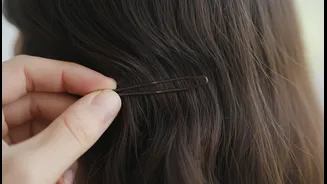
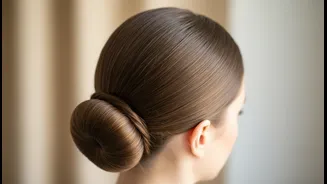
Once you've achieved smooth, uniform tension, gather your hair into a low ponytail at the nape of your neck. Secure it tightly with a good quality elastic or a hair bungee for superior hold. Don't use a fabric scrunchie for this part, as it won't provide a tight enough base. After the ponytail is secure, twist the length of the pony tightly into a coil. Wrap the coil around the base of the elastic to form the bun. Secure it firmly with bobby pins, making sure to tuck them into the base so they are hidden. For thicker hair, you may need six to eight pins for a reliable hold that lasts all day.
Use Product as a Finishing Touch
Now, and only now, is it time for products to perfect the look. Instead of drenching your hair in gel at the start, use products sparingly to address specific issues. A wax stick is a stylist's secret weapon for taming flyaways around the hairline and on the surface of the hair without a greasy finish. Lightly swipe the stick over any unruly hairs and smooth them down with your fingers or the boar bristle brush. For baby hairs or stubborn edges, an edge control product applied with a small, dedicated brush can provide a clean, polished hairline. Finally, a light mist of a flexible-hold hairspray can set everything in place without creating a crunchy, helmet-like feel. The idea is to use products to enhance the sleekness you already created with tension, not to create it from scratch.