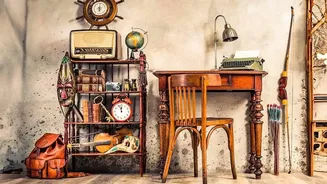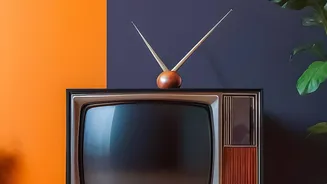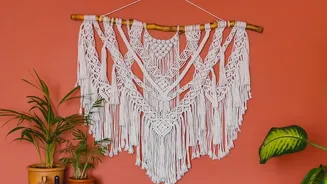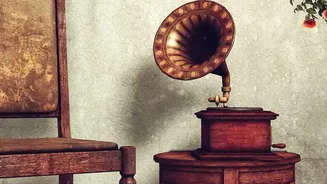

Choose Your Nostalgic Palette
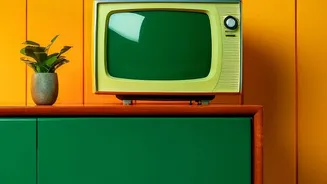
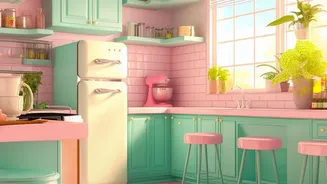
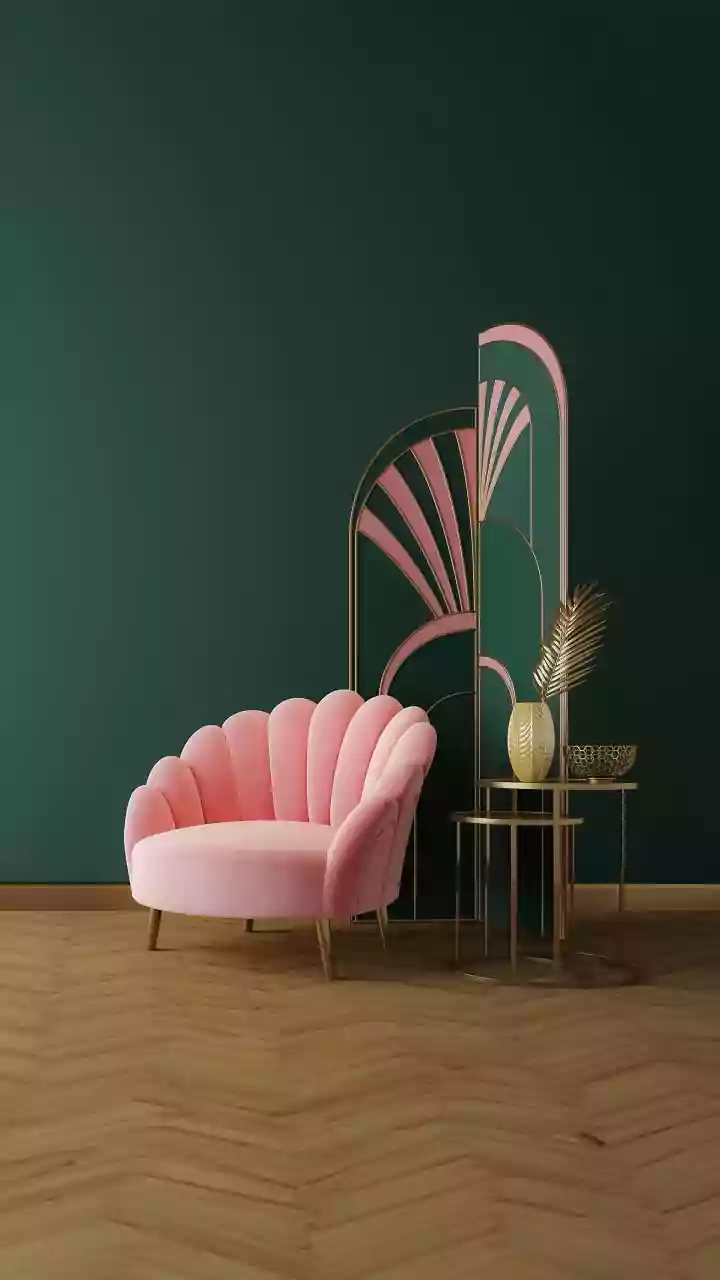
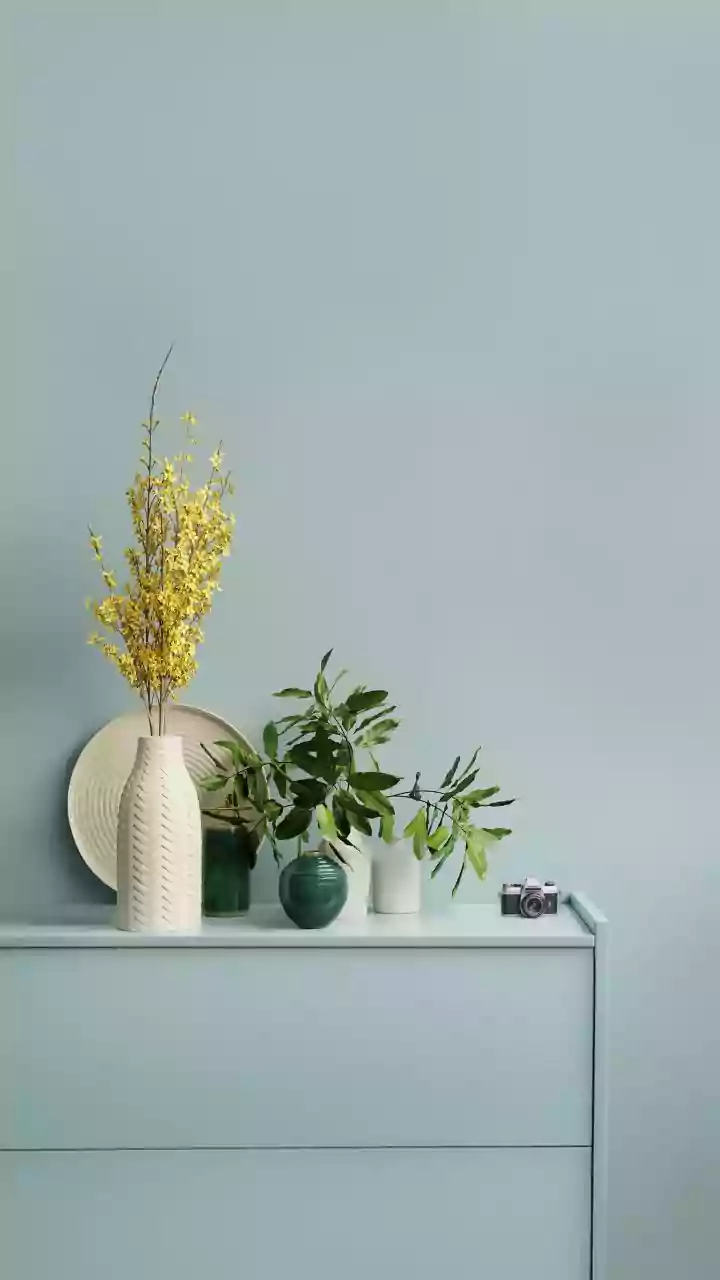
Before you pick up a brush, decide which vintage story you want to tell. Different decades had distinct colour personalities. The 1950s favoured soft pastels like mint green, buttery yellow, and bubble-gum pink. The 1960s exploded with bolder, brighter
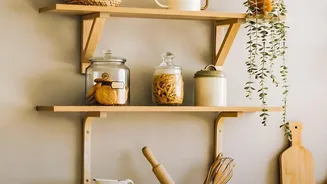
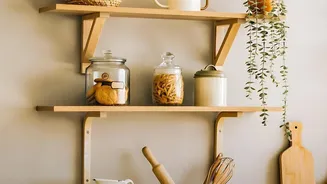
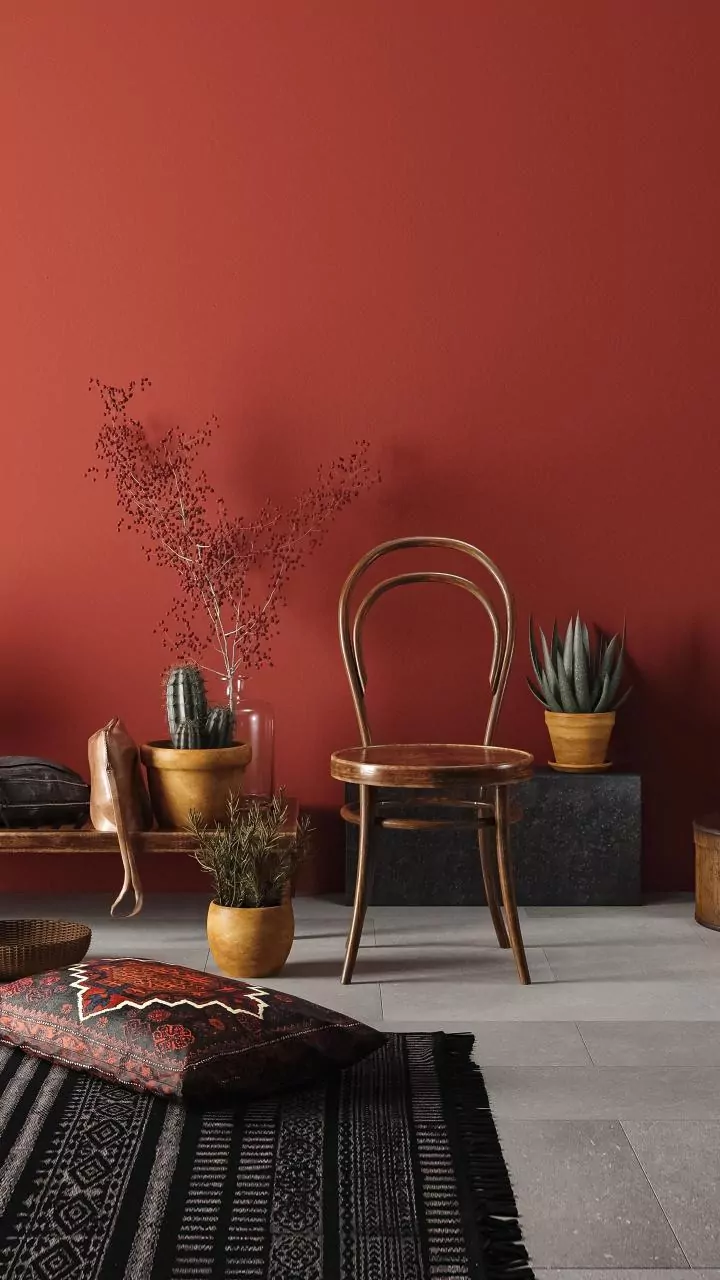
tones like sunny yellow and turquoise. The 1970s embraced earthy, natural palettes with shades like avocado green, mustard yellow, burnt orange, and deep browns. For a more subtle approach, a neutral foundation of cream, beige, or tan allows vibrant vintage accent colours to truly pop. Don't feel locked into one decade; mixing warm neutrals with a single bold hue like a deep red or ochre can create a sophisticated, eclectic vintage look.
The Magic of a Matte Finish
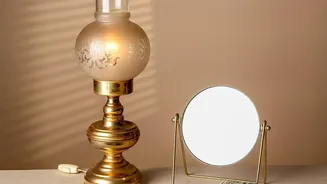
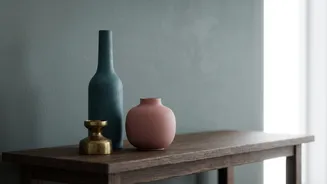
One of the quickest ways to make a new item look old is to eliminate its modern sheen. This is where chalk-style paint becomes your best friend. Chalk paint is a water-based paint known for its signature matte, velvety finish, which instantly gives items a vintage or shabby-chic appearance. One of its biggest advantages for a simple DIY project is that it requires minimal surface preparation—often no sanding or priming is needed. It adheres well to a variety of surfaces including wood, metal, and glass, making it perfect for transforming small decor accents like picture frames, vases, or lamp bases.
Embrace Imperfection with Distressing
Vintage pieces tell a story through their gentle wear and tear. You can replicate this look with simple distressing techniques. After your paint has dried, you can gently sand the edges and corners to create an aged, worn look. For an authentic effect, focus on areas that would naturally get knocked or touched over the years. Using a coarse sandpaper (like 60 or 80 grit) will remove more paint for a bolder look. Another popular method is dry brushing. Dip the very tips of your brush in paint, wipe most of it off on a paper towel, and then lightly brush it over your painted object to add texture and a hint of a contrasting colour.
Layer Colours for Depth
Authentic vintage pieces often show layers of history. You can create this effect by painting your accent piece with two different colours. Start with a base coat—this will be the colour that peeks through. Once it's dry, you can use a simple resist technique by rubbing a wax candle or a bit of petroleum jelly on the areas where you want the base colour to show, such as edges and details. Then, paint your top coat. After it dries, use a cloth or light sandpaper to rub the waxed areas; the top layer of paint will come away easily, revealing the colour underneath and creating a naturally chipped look.
Don't Forget About Textiles
Paint isn't the only way to introduce vintage colour. Textiles are a fantastic, commitment-free way to experiment. Look for accent pillows, throw blankets, or small area rugs in classic vintage palettes. Patterns can also do a lot of work, from the bold geometric prints of the 60s to the earthy floral and paisley designs of the 70s. Even swapping out your curtains for a pair in a muted, dusty pink or a warm olive green can instantly shift the room's atmosphere and ground your other vintage accents, tying the whole look together without a single drop of paint.