





The Philosophy: Less is More
Facial layering is less of a trend and more of a foundational technique used by professional makeup artists. The core idea is simple: to enhance, not mask, your natural beauty. It's an intentional process of applying thin, considered layers of product
in a specific sequence to create a durable, skin-like finish. This method rejects the idea that a flawless face requires heavy-handed application. Instead, it proves that thoughtful placement and the right formulas allow you to achieve a polished look that feels lightweight and looks incredibly natural. The goal is to build structure and dimension step-by-step, ensuring each product works in harmony with the last.
Step 1: Create the Perfect Canvas
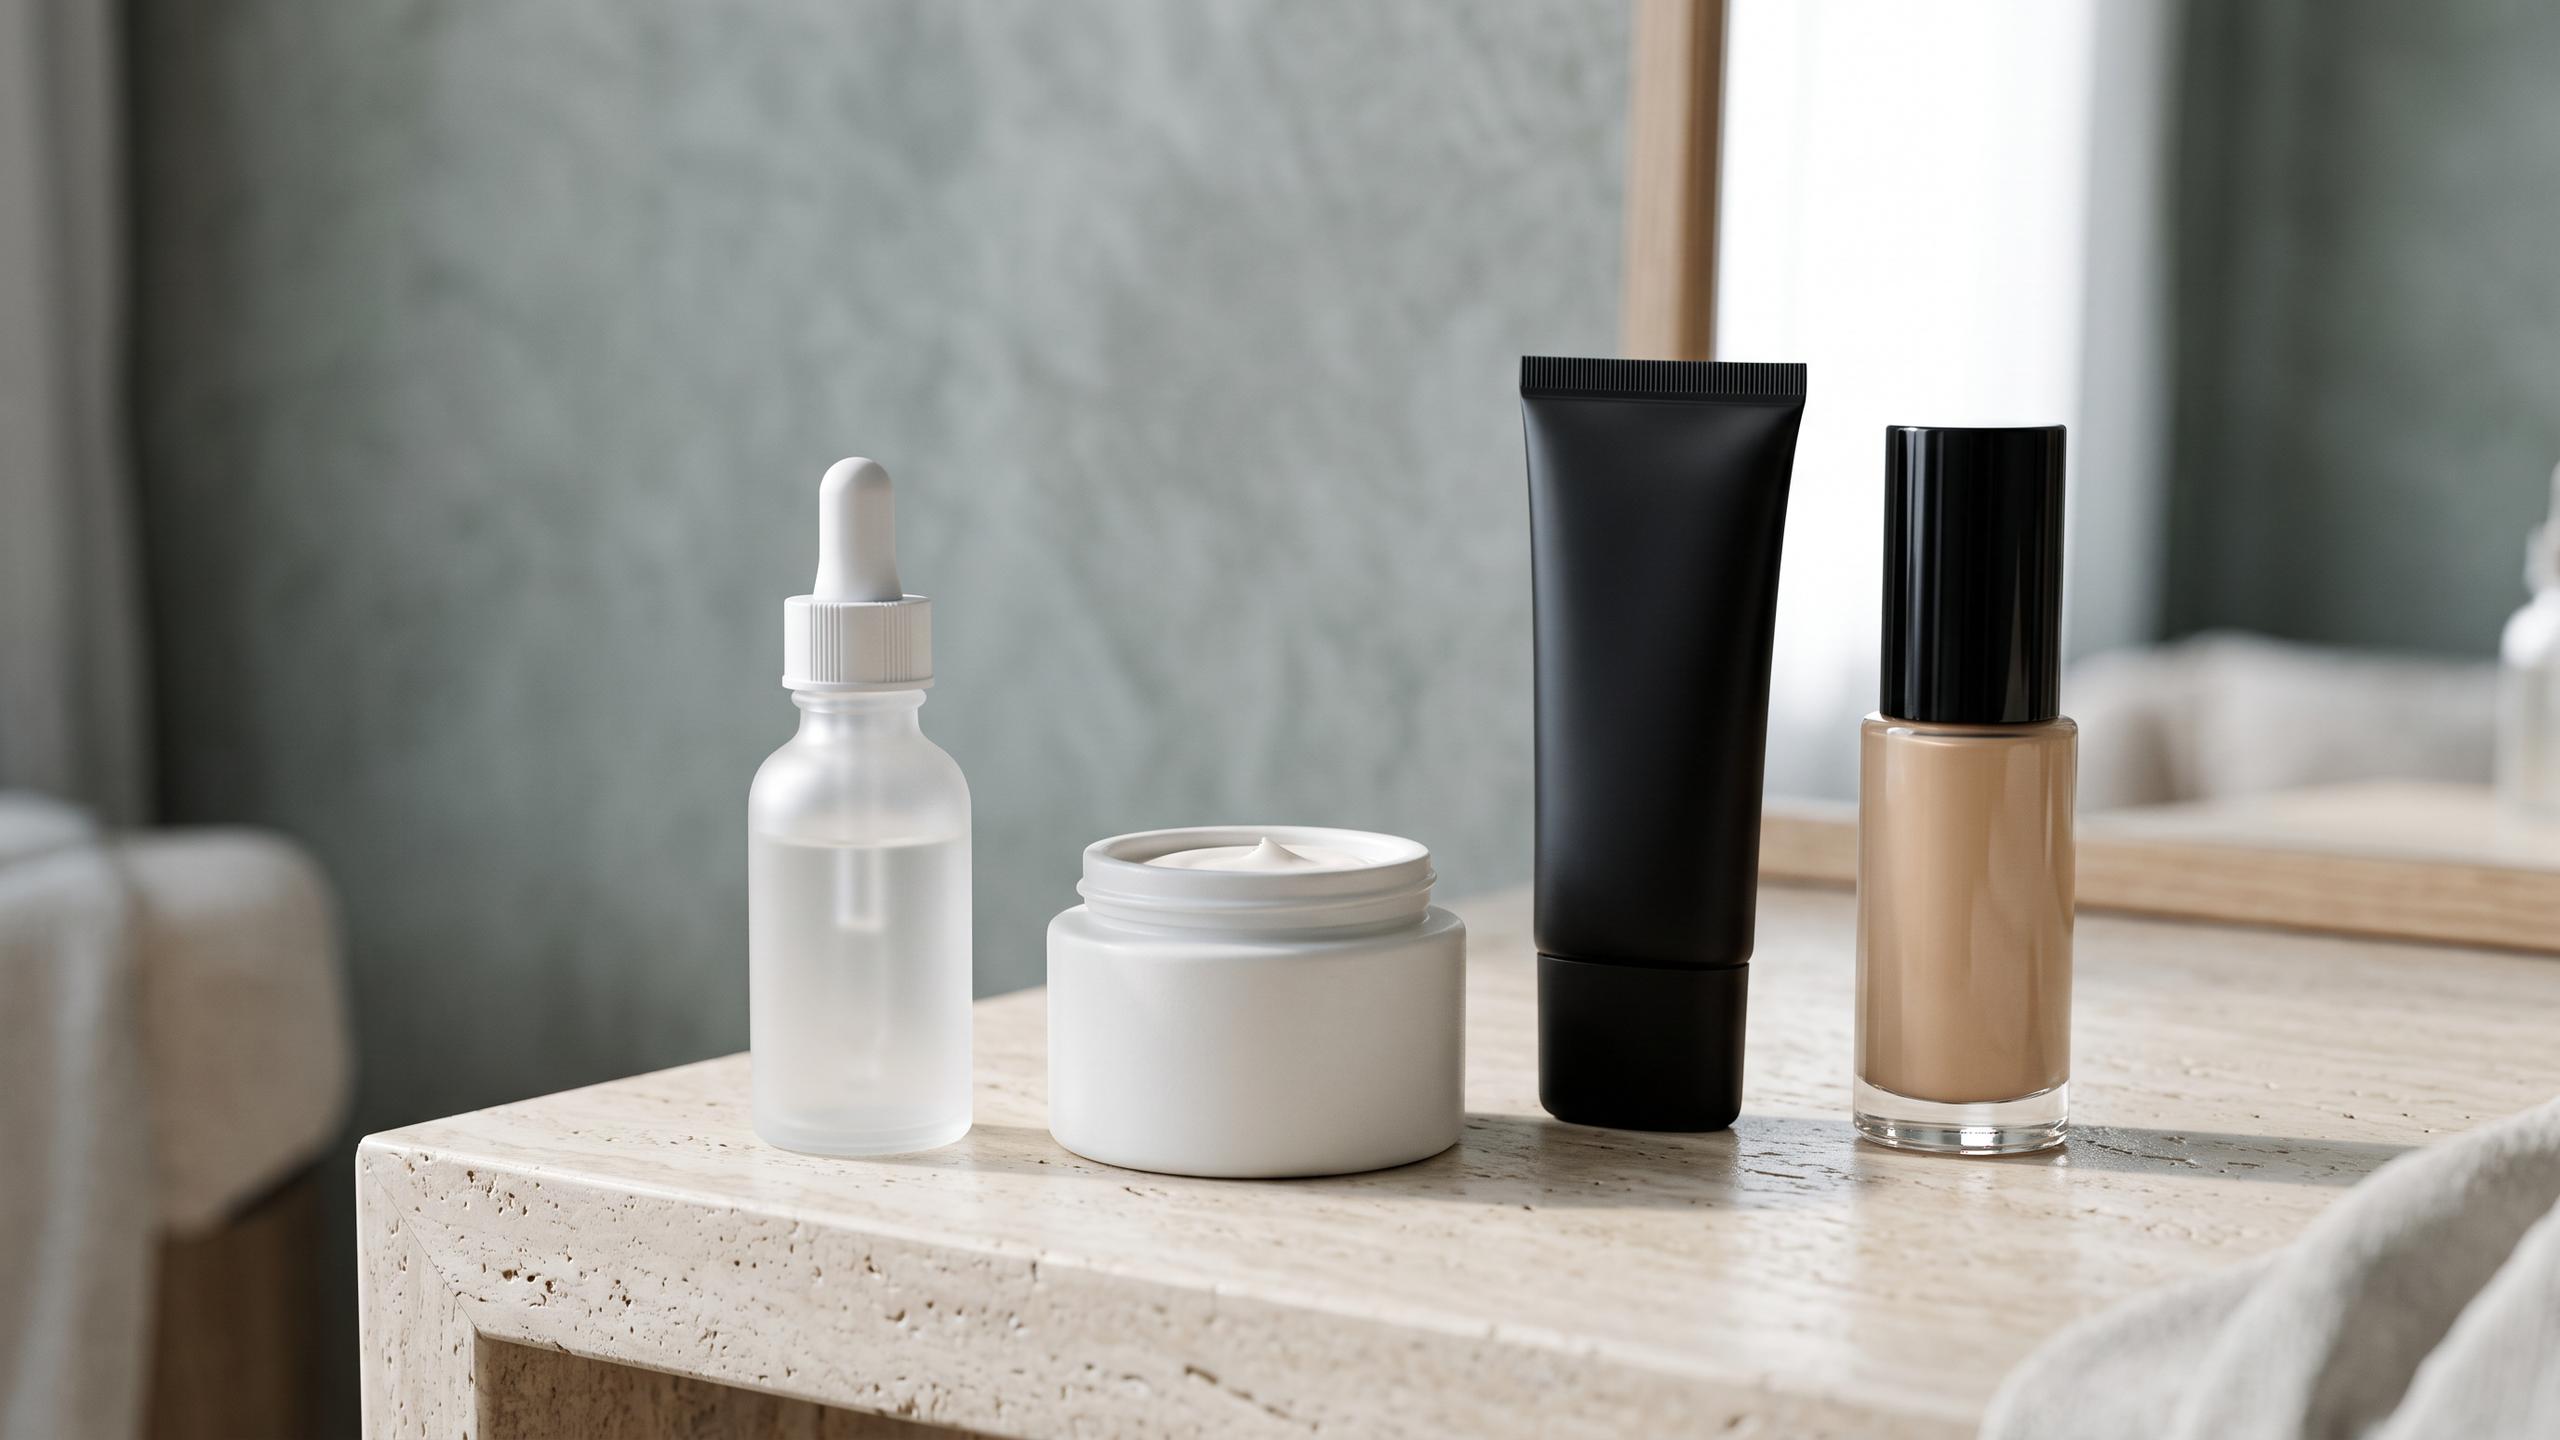
Every great makeup look begins with skincare. Proper skin preparation is non-negotiable for ensuring your makeup applies smoothly and lasts all day. Start by cleansing your face to remove any impurities. Next, apply a toner to balance the skin's pH, followed by a lightweight, hydrating serum and moisturizer suitable for your skin type. This ensures the skin is plump and hydrated, which prevents makeup from looking cakey or settling into dry patches. Allow each skincare product to absorb for a minute or two before moving on. Finally, apply a primer. This step creates a smooth surface, helps makeup grip the skin, and addresses concerns like visible pores or excess oil.
Step 2: Build Your Base Foundation
When it comes to foundation, the rule is to start light and build coverage only where necessary. Dispense a small amount of product and apply it starting from the center of your face, blending outwards. This is because the central part of the face—around the nose and cheeks—often requires the most coverage. Using your fingers, a damp beauty sponge, or a foundation brush, press and blend the product into the skin rather than rubbing it, which can cause streaks and disturb the prep underneath. The aim is to even out your skin tone, not to create a mask. For a more natural finish, you can build thin layers in areas that need a little more attention, like areas with redness.
Step 3: Apply Concealer Strategically
Concealer is a tool for targeted correction, not an all-over product. After applying foundation, you can see exactly where you need extra coverage, which often means you'll use less product overall. Apply a small amount of concealer to specific areas, such as under-eye circles, blemishes, or areas of discoloration. For the delicate under-eye area, choose a shade that is one to two shades lighter than your foundation to brighten, but avoid going too light, which can create a grey or ashy look. Use your ring finger or a small brush to gently tap and press the product into the skin until it blends seamlessly with your foundation.
Step 4: Set and Define
Setting your makeup is a crucial step for longevity, but again, precision is key. Instead of applying powder all over the face, focus on the areas that tend to get oily or where makeup might crease, like the T-zone (forehead, nose, and chin) and under the eyes. Use a fluffy brush to lightly press a translucent or skin-toned powder onto these areas. This technique, known as selective setting, locks your cream and liquid products in place without dulling the natural radiance on other parts of your face, like the high points of your cheeks.
Step 5: Add Back Colour and Dimension
Once your base is set, it's time to bring warmth and life back to the face. The general rule for layering colour is that creams and liquids go on before powders to avoid a patchy finish. If you're using cream products, apply your cream bronzer first to the areas where the sun would naturally hit, such as the temples, cheekbones, and jawline. Then, apply your cream blush to the apples of the cheeks. If you're using powder formulas, apply these after you have set your face with powder. Always apply bronzer before blush, as this allows you to build shape and warmth first, with the blush adding a fresh pop of colour on top. Blending where the two colours meet is essential for a soft, natural gradient.