


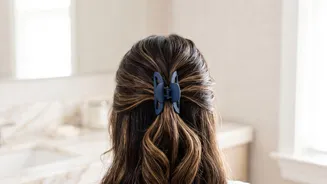
The half-up bun is a truly versatile hairstyle, but the secret to taking it from a quick fix to a chic statement lies in the details. Mastering the bun itself is key to unlocking a look that’s polished, intentional, and perfectly suited to you.
Start with the Right Foundation
The final
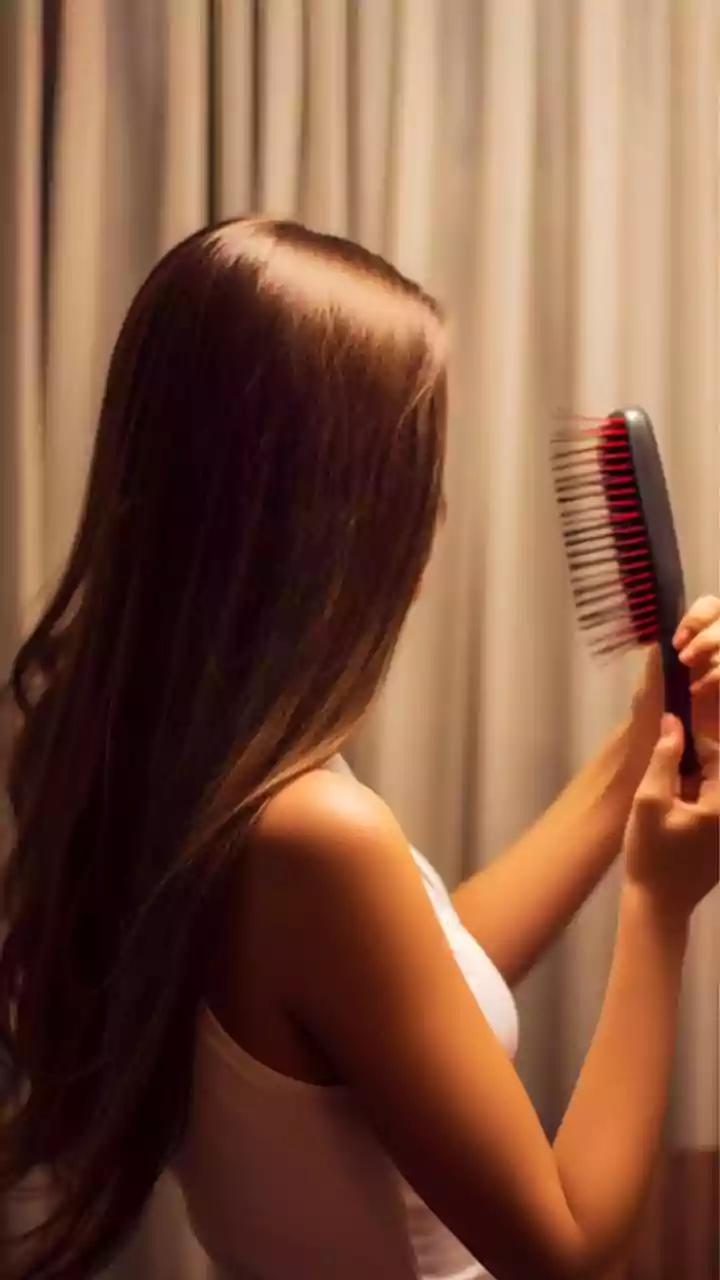
look of your half-up bun begins with your hair's texture. For an effortless, messy vibe, second-day hair is ideal as it has more natural grip. If your hair is freshly washed and silky, a light spritz of texture or sea salt spray can keep the bun from slipping. For a sleek, polished top knot, it's best to start with smooth, brushed hair. A smoothing cream can help tame flyaways for this cleaner look. Don't feel you need to completely change your natural texture; the half-up bun works beautifully on straight, wavy, and curly hair, with the preparation simply enhancing the intended style.
Mastering the Art of Sectioning
How you part your hair dramatically changes the style's overall effect. A common technique is to place your thumbs at your temples and draw a line straight back until they meet. Everything above this line becomes your bun. For a softer, more relaxed feel, you can take a lower section. If you want a more lifted, statement look, section the hair higher up on the crown of your head. A great tip for softening the style is to leave out a few face-framing pieces before you pull the rest of the hair back. This simple step can make the hairstyle feel more integrated and less severe.
The Classic Messy Bun Technique
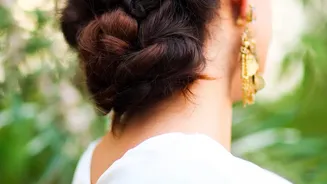
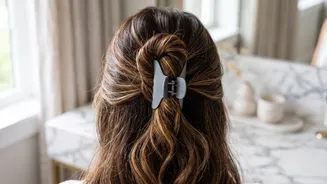
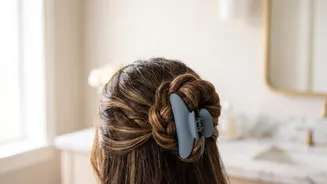
For that perfectly undone look, gather your top section into a ponytail. As you pull the hair through the elastic on the final loop, stop halfway to create a looped bun, letting the ends stick out. Gently tug on the sides of the loop to fan it out and create more fullness. This is the most crucial step to avoid a tiny, limp knot. You can then take the leftover ends and wrap them around the base of the elastic, securing them with a bobby pin. For an even messier look, you can leave the ends out or twist them loosely so they look intentional. Don't overthink the symmetry; a little unevenness adds to the charm.
Achieving a Sleek, Polished Knot
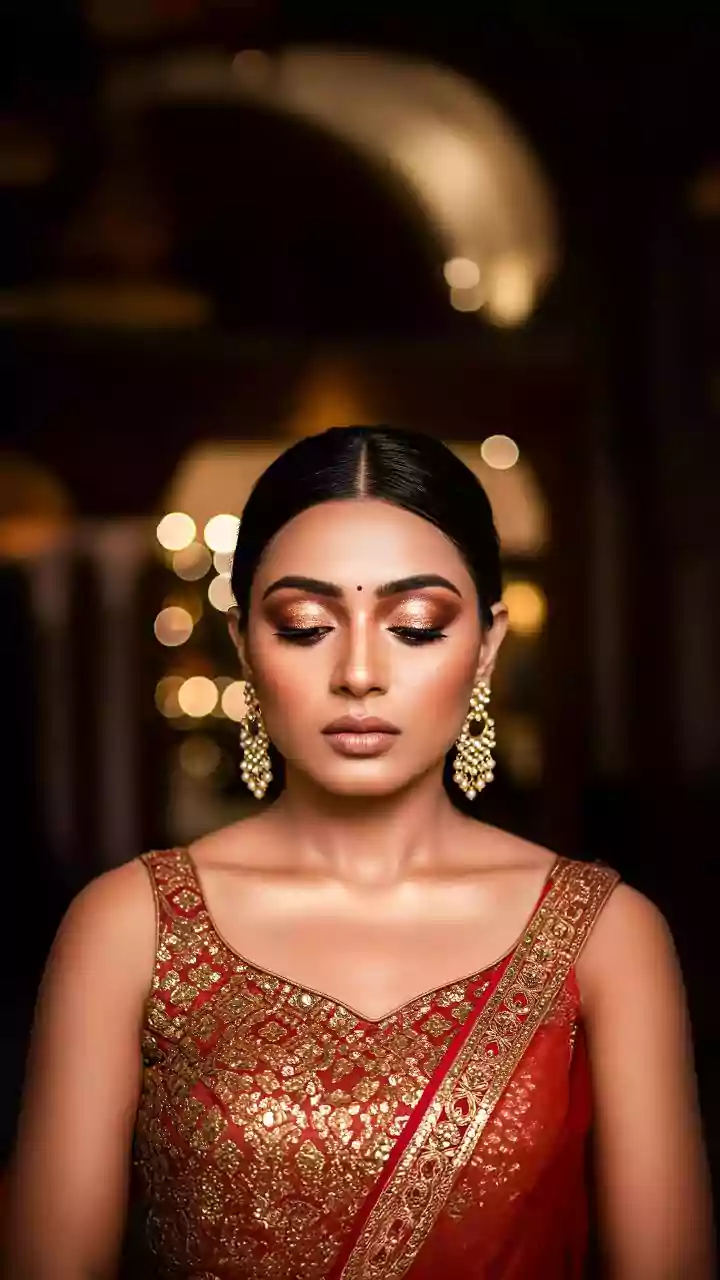
When a sharper look is desired, the technique requires more precision. Start by brushing the top section of hair smoothly back into a tight ponytail at the crown. Twist the entire ponytail until it begins to coil around itself, then wrap it into a tight bun. Secure this with another hair tie or by strategically placing bobby pins around the edges to keep it crisp and clean. A light mist of hairspray will help to lock everything in place and control any flyaways, ensuring the style remains sleek throughout the day.
Troubleshooting for Different Hair Types
Different hair textures come with unique challenges. If you have fine or thin hair and your bun looks small, try pulling the loop outwards sideways to create an illusion of width, rather than just pulling it up. Using a texturizing spray before you start can also provide much-needed grip. For those with thick hair, a half-up bun can feel heavy. To combat this, take a slightly smaller top section to reduce the weight and use bobby pins for structure instead of relying on a super-tight elastic, which can cause tension headaches. If your bun droops, try placing the ponytail higher on your head and adding a bobby pin underneath for support, like a small shelf.
Elevate Your Look with Accessories
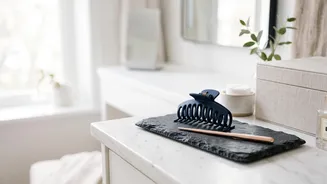
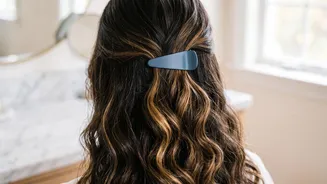
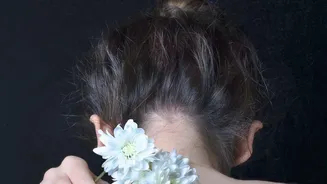
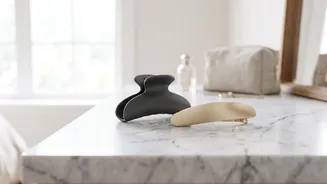
Once you've perfected the bun itself, accessories are a fantastic way to personalize the style. A scrunchie can add a touch of retro fun and is great for a casual, messy bun. For a more elegant or bohemian feel, consider wrapping a small braid from the lower section of your hair around the base of the bun. You can also incorporate braids into the 'up' section, such as a French or Dutch braid leading into the bun. Decorative clips, pins, or even a silk scarf tied around the base can instantly elevate the look for a more formal occasion or simply to add a pop of colour.