




Why Grow From Cuttings?
Growing plants from cuttings is a simple way to clone a plant you already love. Unlike growing from seeds, a cutting guarantees the new plant will be genetically identical to its parent. This means the same leaf shape, colour, and growth habit. It's a fantastic
way to create more of your favourite plants, produce backups for tender varieties that might not survive a harsh season, or share your garden with friends and family. Many common Indian houseplants, like money plants, syngonium, and hibiscus, are incredibly easy to propagate, making it a perfect starting point for beginner gardeners.
Gathering Your Simple Toolkit
You don’t need a lot of fancy equipment to get started. Most of what you need is likely already in your home. First, you'll need a healthy 'parent' plant to take the cutting from. Next, grab a clean, sharp pair of scissors or secateurs. A clean cut helps prevent disease and rot. You will also need a vessel for rooting—a simple glass jar for water propagation or a small pot with drainage holes for soil propagation. If using soil, a good quality, well-draining potting mix is essential. Some gardeners also use rooting hormone, a powder or gel that can help stimulate root growth, but it's often optional for easy-to-root plants.
The Art of Making the Cut
The key to a successful cutting is selecting a healthy, vigorous stem. Look for a stem that is actively growing but not flowering. The ideal time to take cuttings is in the morning when the plant is full of moisture. Aim for a cutting that is about 10-15 cm long. The most critical step is to make your cut just below a 'node'—the small bump on the stem where a leaf grows. This node is where the new roots will sprout. Once you have your cutting, carefully remove the lower leaves, leaving only two or three at the very top. This allows the cutting to focus its energy on producing roots instead of supporting excess foliage.
Method 1: Rooting in Water
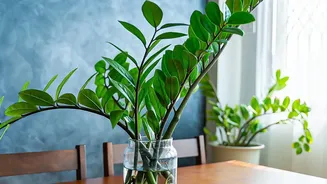
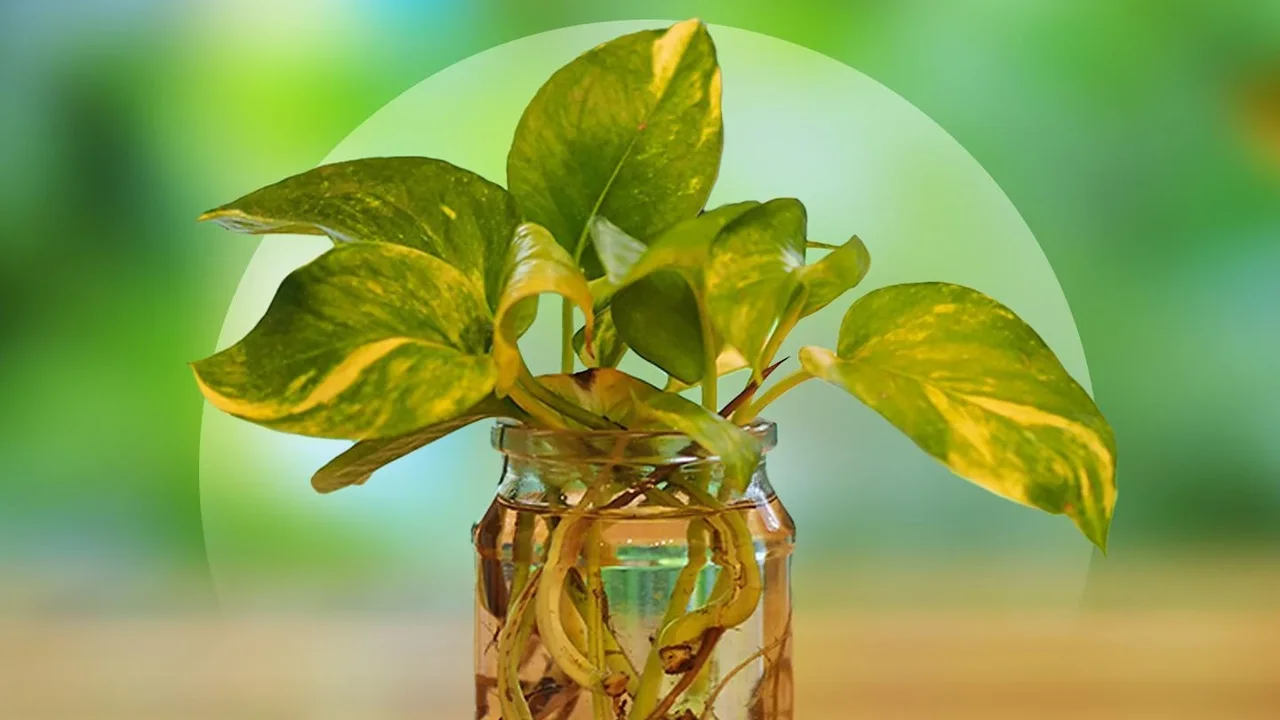
Water propagation is the easiest method for beginners because you can watch the roots grow. Simply place your prepared cutting in a glass or jar of clean, room-temperature water. Make sure that at least one node is submerged, but that the remaining leaves are not touching the water. Place the jar in a spot that receives bright, indirect sunlight. Direct sun can be too intense for a delicate cutting. To keep the cutting healthy, change the water every few days to prevent murkiness and provide fresh oxygen to the developing roots. In a few weeks, you should start to see small, white roots emerging from the node.
Method 2: Rooting in Soil
Rooting directly in soil can produce stronger, more robust roots that are already adapted to their eventual environment. Prepare a small pot with a moist, well-draining potting mix. If you're using rooting hormone, dip the bottom inch of the cutting into the powder, tapping off any excess. Using a pencil or a small stick, make a hole in the soil and gently insert the cutting, ensuring the node is buried. Firm the soil around the stem to provide support. To create a humid environment that encourages rooting, you can cover the pot with a clear plastic bag, making sure it doesn't touch the leaves. Keep the soil consistently moist but not waterlogged.
From Cutting to Potted Plant
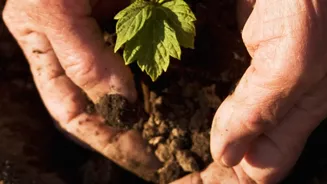
Patience is the final ingredient. It can take anywhere from a few weeks to over a month for a cutting to develop a healthy root system. For water-propagated cuttings, wait until the roots are at least one to two inches long before moving them to soil. This ensures the root system is strong enough for the transition. When you're ready to pot, fill a small container with fresh potting mix, gently place your rooted cutting inside, and cover the roots with more soil. Water it well to help the soil settle. Keep the new plant in a bright, indirectly lit spot and care for it as you would its parent. Soon enough, you’ll have a thriving new plant that you grew yourself.