




The Ultimate All-Rounder Hairstyle
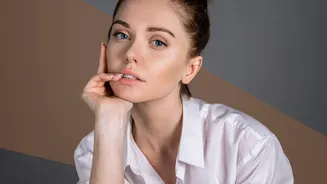
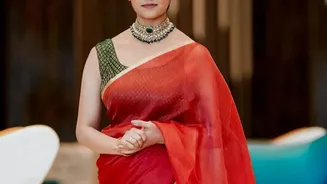
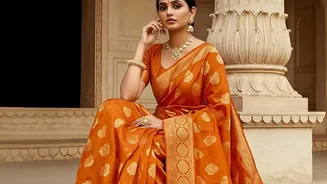
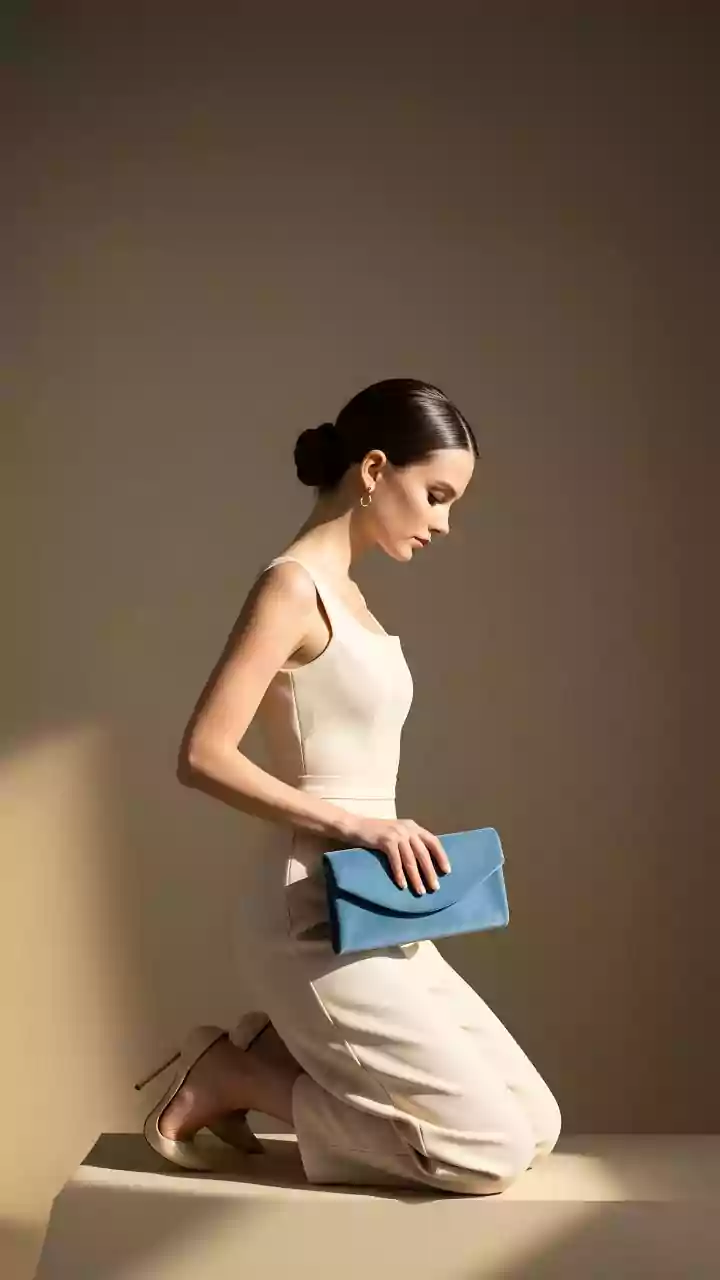
There’s a reason the low bun is a go-to for so many. It’s the rare hairstyle that pairs as beautifully with a traditional saree as it does with a sharp business suit or a casual weekend outfit. It's an undisputed classic, celebrated for its versatility
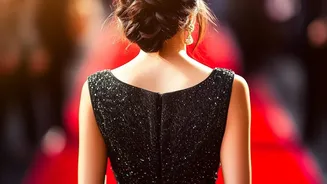
and chic appearance. This style sits at the nape of the neck, offering a softer, more grounded look than its high-bun counterpart. It has the power to elongate the neck and provide a clean canvas to show off statement earrings or a bold makeup look. Whether you're a bride-to-be, a wedding guest, or simply need a polished look for a busy day, the low bun delivers an understated sophistication that few other styles can match.
Getting Started: Hair Prep
The foundation of a great low bun is in the preparation. While you might think freshly washed hair is best, many stylists agree that day-old hair often provides better grip and hold. If your hair is clean and slippery, a light spritz of dry shampoo or a texturizing spray at the roots can add the necessary traction. Before you begin, brush your hair thoroughly to remove any knots. For a sleek, 'glass hair' finish, apply a smoothing cream or a leave-in conditioner to damp hair before blow-drying it straight. This initial step helps tame frizz and ensures a smooth surface to work with, making the entire process easier and the final result more polished.
The Art of the Perfect Parting
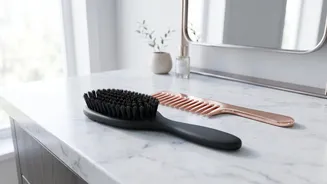
The parting is a crucial detail that defines the character of your low bun. A sharp, precise part is key to achieving a polished finish. Using a rat-tail comb, you can create a clean line. A center part offers a modern, symmetrical, and sleek look that has become a favourite on red carpets and for 'clean girl' aesthetics. For a softer, more romantic feel, a side part is an excellent choice. A deep side part can add a touch of drama and volume. The trick is to decide on your part before you start gathering your hair. Comb the hair on either side of the part downwards and flat to ensure the line remains crisp as you style.
Step-by-Step: Building Your Bun
Once your hair is prepped and parted, it's time to create the bun. Start by brushing your hair back into a low ponytail at the nape of your neck. Use a boar bristle brush for this step, as it helps to smooth down bumps and flyaways effectively. Secure the ponytail tightly with a hair elastic. Next, there are a few ways to form the bun. The simplest method is to twist the ponytail into a tight coil, wrap it around the base of the elastic, and secure the ends with U-pins or bobby pins. For a fuller look, you can braid the ponytail first, gently pull the braid apart for volume, and then wrap it into a bun. Secure the bun firmly with pins, making sure to tuck them into the base.
Achieving That Polished Finish
The difference between a simple bun and a stunning one is the finish. To achieve a truly polished look, you need to tame any flyaways and baby hairs. A styling pomade or wax stick is excellent for this. Apply a small amount along your hairline and part. You can use a clean toothbrush or an edge brush sprayed with a light-hold hairspray to gently smooth down any stray hairs for a flawless finish. To lock everything in place, give your entire head a light misting of a flexible-hold hairspray. For an extra touch of shine, a glossing spray can be applied as a final step, giving your bun that coveted mirror-like sheen.
Variations for Every Occasion
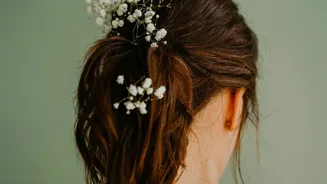
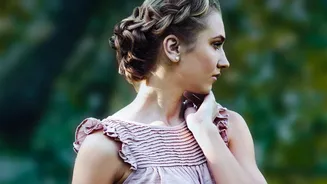
While the classic sleek low bun is a masterpiece on its own, there are many variations to explore. For weddings and festive occasions, a braided low bun adorned with fresh flowers like jasmine (gajra) or small jewelled pins is a beautiful choice. A messy low bun, with soft tendrils framing the face, offers a more romantic and relaxed vibe, perfect for a brunch or a casual day out. You can also experiment with a twisted chignon or a triple low bun for a modern twist on the classic. Don't be afraid to add accessories like ribbons, scarves, or decorative clips to personalize your look and match your outfit.