


Why Make the Swap?
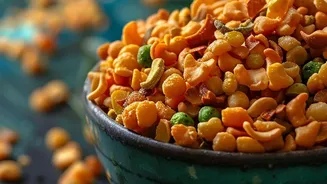
Both peanuts and green peas are technically legumes, but they offer different nutritional profiles. Green peas are notably lower in calories and fat compared to peanuts. While peanuts are a good source of protein and healthy fats, the salted, store-bought
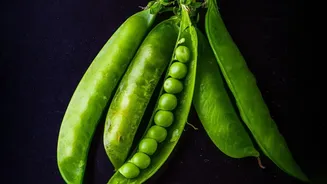
varieties can be very high in sodium. By making your own crispy green pea snacks, you get to control the ingredients completely, from the type of oil to the amount of salt. Green peas also provide a good dose of fibre, protein, and essential nutrients like Vitamin K and Vitamin A. Their naturally sweet flavour intensifies when roasted, creating a snack that’s both delicious and nourishing. This homemade approach allows you to enjoy a savoury, crunchy treat without the excess sodium and preservatives often found in packaged snacks.
The Secret to Ultimate Crunchiness
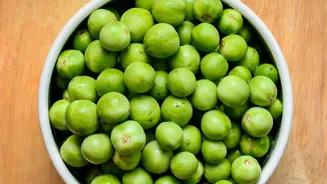
The single most important step to achieving a truly crispy pea, rather than a chewy one, is to ensure they are as dry as possible before baking. The process starts with thawing frozen peas. You can run them under warm water in a strainer or let them sit at room temperature for about 30 minutes. Once thawed, spread them on a clean kitchen towel or paper towels and gently pat them dry. For the best results, let them air-dry for an additional 30 to 40 minutes to allow any remaining surface moisture to evaporate. This drying step is crucial because it helps the peas roast and dehydrate in the oven instead of steaming, leading to that irresistible, snack-worthy crunch. Don't skip this part; it makes all the difference.
Basic Crispy Green Pea Recipe
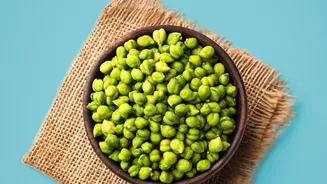
This recipe is incredibly simple and requires just a few basic ingredients. You’ll need about 2 cups of frozen green peas, 2-3 teaspoons of olive oil, and seasonings to taste. A simple starting point is a pinch of salt, pepper, and garlic powder. First, preheat your oven to 190°C (375°F). Prepare your peas as described above, ensuring they are thoroughly thawed and dried. Place the dry peas in a bowl, drizzle with the oil, and toss well to ensure every pea is lightly coated. Sprinkle in your seasonings and mix again. Spread the seasoned peas in a single layer on a baking sheet lined with parchment paper, which helps with crisping and prevents sticking. Roast for 30-40 minutes, tossing them halfway through to ensure even cooking. They are done when they are crispy and lightly golden brown. Keep in mind that they will continue to crisp up as they cool down outside the oven.
Endless Flavour Possibilities
Once you’ve mastered the basic recipe, the real fun begins. These roasted peas are a blank canvas for a wide array of flavour profiles. For a bit of heat, add a pinch of cayenne pepper or smoked paprika along with your other seasonings. You can create a savoury, cheesy flavour by tossing the peas with nutritional yeast after roasting. Other fantastic combinations include curry powder, everything bagel seasoning, or a zesty mix of chili powder and lime. For an herby touch, try dried rosemary or thyme. The key is to use dry seasonings, as wet ingredients will prevent the peas from getting crispy. Feel free to experiment with your favourite spice blends to create a custom snack that perfectly suits your palate.
Serving and Storage
These crunchy green peas are fantastic on their own as a portable snack, perfect for packing in lunchboxes or enjoying on the go. But their use doesn’t stop there. They make a wonderful crunchy topping for salads, adding texture and flavour in place of croutons. You can also sprinkle them over soups, pasta dishes, or grain bowls to add a surprising and delightful crunch. To store them, allow the peas to cool completely to room temperature. This is important to maintain their crispiness. Then, store them in an airtight container at room temperature. They are best enjoyed within a few days for maximum crunch. However, with how addictive they are, you may find you don’t have any left to store.