


The Race Against Totality
A total solar eclipse is a fleeting and overwhelming experience. The period of totality—when the moon completely obscures the sun—can last for just a couple of minutes. This is not the time to be learning your camera's controls or deciding on a composition.
The light changes dramatically and quickly, from the eerie twilight of the partial phases to the sudden darkness of totality. Most common photography mistakes begin when a photographer is forced to improvise under this immense pressure. In the awe of the moment, with cheers often erupting from crowds, your ability to think through complex technical settings will be compromised. A plan allows you to operate on muscle memory, ensuring you get the shots you want without missing the live experience.
Your Essential Gear Checklist
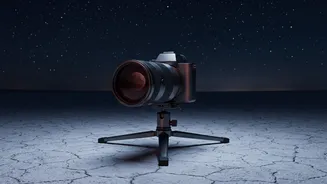
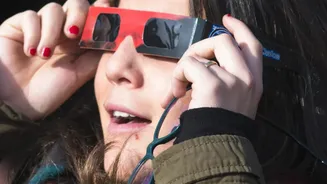
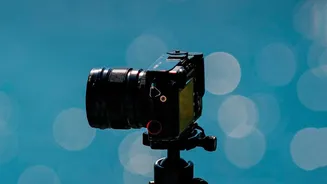
While any camera can technically capture an eclipse, specific gear makes a huge difference. First and foremost is a certified solar filter that fits securely over the front of your lens. This is non-negotiable for all partial phases and protects both your camera sensor and your eyes from permanent damage. Do not use eclipse glasses, standard neutral-density (ND) filters, or other homemade solutions on your lens. Next, a sturdy tripod is crucial to prevent camera shake, especially as the light dims. To further avoid blur, use a remote shutter release or your camera's built-in timer. Finally, a telephoto lens (300mm or longer is often recommended) will make the sun appear large enough in the frame to capture details like the corona during totality.
Practice, Practice, Practice
The single most important step in your plan is practice. You should conduct a full dress rehearsal before eclipse day. This means setting up all your gear—tripod, camera, lens, and filter—and practicing the entire sequence. You can practice aiming, framing, and focusing on the full sun on any clear day, as long as your solar filter is securely attached. This helps you determine your baseline exposure for the partial phases. A great tip is to practice removing the solar filter quickly and smoothly just before totality and replacing it just after, all without bumping the camera. Rehearse until the entire process feels routine and even boring. This preparation builds the confidence and muscle memory needed to act decisively on eclipse day.
Dial In Settings for Every Phase
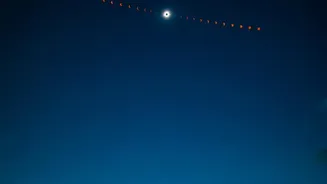
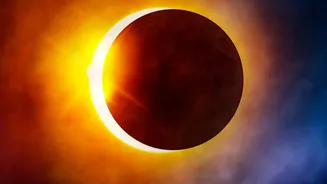
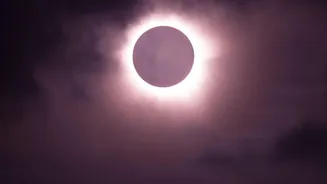
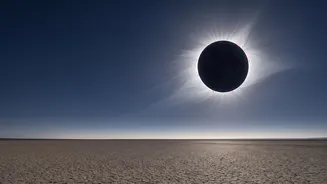
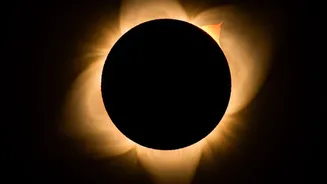
An eclipse has distinct phases, each requiring different camera settings. Your plan should account for these in advance. For the long partial phases, use your solar filter, set your camera to its base ISO (like 100 or 200), and choose a mid-range aperture (f/8 is a common starting point). Your shutter speed will be your main variable. As totality approaches, you will capture the 'diamond ring' effect and 'Baily's Beads'. For these brief, bright phenomena, you must remove the solar filter and use a very fast shutter speed. During the stunning darkness of totality, with the filter still off, you'll need to slow your shutter speed significantly to capture the ethereal corona. Many photographers use exposure bracketing during totality—taking a series of shots at different shutter speeds—to ensure one is perfectly exposed. Having these settings planned out means you're just turning a dial, not guessing in the dark.
Execute and Experience the Moment
On eclipse day, your job is to execute the plan you've rehearsed. Arrive at your chosen location early to avoid any last-minute rush. Set up your equipment and double-check that everything is working. Once the eclipse begins, you should follow the sequence you practiced. Trust the settings you've already determined. By automating the technical process, you give yourself the greatest gift of all: the freedom to put down the camera for a moment, look up (with proper eye protection during partial phases), and experience the profound, awe-inspiring beauty of the cosmos in motion. The goal isn't just to take a photo of an eclipse; it's to have a memory of seeing one, with a great photo to accompany it.