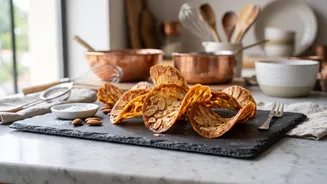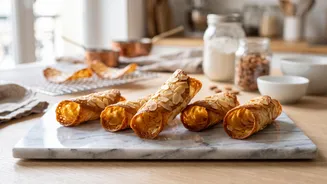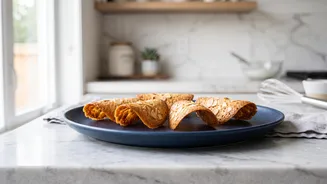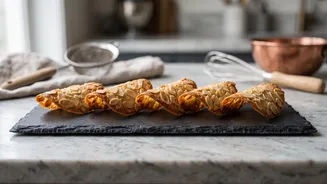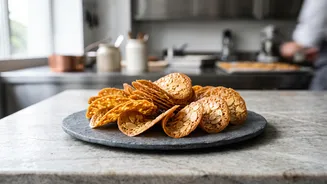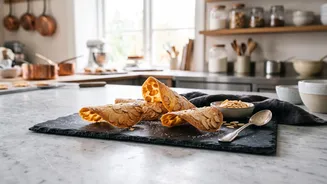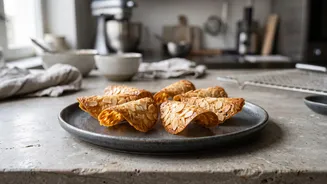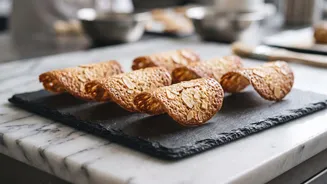




French almond tuiles are famously delicate, crisp, and delicious. But their signature curved shape can be frustrating to achieve. What if the secret to a perfect, uniform arch was already in your kitchen? It's time to grab your rolling pin.
The Classic Tuile Challenge
Tuiles, French
for 'tiles', are named for the curved terracotta tiles that line the rooftops in Provence. These thin, elegant cookies are meant to mimic that gentle arch. Traditionally, bakers make them from a simple batter of egg whites, sugar, flour, and butter, often with sliced almonds. The batter is spread wafer-thin and baked until golden. The challenge arrives the second they leave the oven. Tuiles are only pliable for a few moments while piping hot; once they cool, they become brittle and will crack if you try to shape them. This incredibly short window of time often leads to frantic work, burnt fingertips, and a disappointing number of broken cookies.
Why A Rolling Pin Is Your Best Tool
While many recipes suggest using a wine bottle or the side of a glass, the humble rolling pin is the superior tool for shaping tuiles. Its uniform diameter ensures every single cookie has the exact same elegant curve, creating a professional and consistent look. The long, stable surface allows you to shape multiple cookies at once, which is crucial given the race against time. By laying the hot, flat cookies over the barrel of the pin, you can gently press them into shape with far less direct handling. This reduces the risk of breakage and protects your fingers from the intense heat, making the entire process less stressful and more successful.
Setting Up Your Shaping Station
Success with tuiles is all about preparation. Before you even think about putting the cookies in the oven, your shaping station must be ready. Place your rolling pin on the counter, securing it with a folded tea towel on either side to prevent it from rolling away. Have an offset spatula or a thin, flexible metal spatula at hand. This is essential for quickly and cleanly lifting the delicate cookies from the hot baking sheet. Because you can only bake a few tuiles at a time to manage the shaping process, work in small batches. Trying to bake a full sheet will almost guarantee that most will harden before you can get to them.
The Shaping Technique, Step-byStep
Once your first small batch of tuiles is baked to a golden brown at the edges, it's time to act fast. Open the oven and pull the baking sheet out, placing it right next to your prepared rolling pin. Let the cookies cool on the sheet for just under a minute—they need to be firm enough to lift but still completely pliable. Slide your offset spatula under the first cookie, lift it cleanly, and immediately drape it over the top of the rolling pin. If needed, you can gently press it to conform to the curve. Quickly repeat with the remaining cookies on the sheet. Let them sit on the rolling pin for a few minutes. As they cool, they will harden into that perfect, tile-like shape.
Troubleshooting Common Tuile Issues
What happens if a cookie cools too quickly and cracks when you try to shape it? Don't throw it away. Simply place the broken cookie back on the hot baking sheet and slide it into the still_warm oven for 30_60 seconds. This should make it pliable enough to try shaping again. If your batter is spreading into lacy, hole_filled shapes in the oven, it may be too thin, or the pan may have been too warm between batches. Allowing the batter to chill thoroughly before baking and letting the pan cool slightly can help create a more stable cookie that holds together. Storing finished tuiles is also key; they readily absorb moisture from the air and can lose their crispness. Keep them in a completely airtight container, where they will stay perfect for a couple of days.