

Get the Right Solar Filter for Your Camera
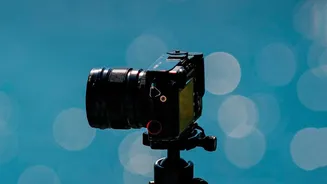
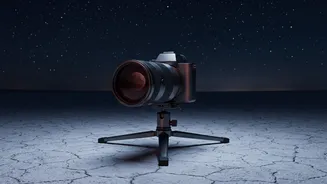
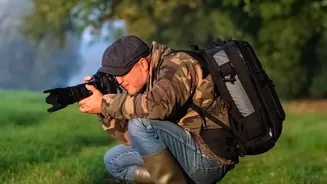
This is the single most important piece of equipment you need. A dedicated solar filter must be securely attached to the front of your camera lens before you point it at the sun. These filters are designed to block the vast majority of the sun's intense
light, including harmful infrared (IR) and ultraviolet (UV) radiation. Standard neutral density (ND) filters are not sufficient and will not protect your equipment. Solar filters for photography are specifically made to handle the sun's intensity, reducing it to a level that is safe for your camera's sensor. Without one, the focused light can permanently damage or even melt internal components, including the sensor and lens aperture blades.
Protect Your Eyes First and Foremost
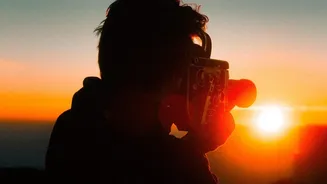
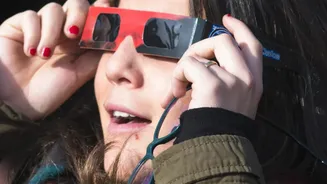
Your camera isn't the only thing at risk; your eyesight is far more valuable and vulnerable. Never look at the sun through your camera's optical viewfinder, even if a filter is attached to the lens. The concentrated solar rays passing through the lens can still cause severe and instantaneous eye injury. To compose your shot, use your camera’s electronic viewfinder (EVF) or its rear LCD screen (Live View mode). This allows you to see what the camera sees without looking directly through the optical path. When you aren't looking through the camera, you must wear certified solar eclipse glasses that meet the ISO 12312-2 international safety standard. Regular sunglasses offer no protection against the sun's harmful rays during an eclipse.
Understand the Dangers to Your Equipment
Pointing an unprotected camera at the sun is like using a magnifying glass to focus light onto a single point. The result is intense heat that can be catastrophic for your gear. The most common victim is the camera's sensor, which is highly sensitive to light. Direct sun exposure can lead to dead pixels, discoloured stripes, or complete sensor failure. But the damage doesn't stop there. The intense heat can also warp or crack the delicate blades of the lens's aperture mechanism and damage the lens coatings designed to reduce glare. Even smartphone cameras are at risk, and you should hold a pair of eclipse glasses over the phone's lens to protect it.
Practice Before the Main Event
An eclipse is a fast-moving event, and you don't want to be fumbling with new equipment when every second counts. A few days before the eclipse, take your setup outside on a sunny day to practice. Get used to attaching the solar filter securely to your lens. Practice composing and focusing on the sun using your camera's Live View screen. This is also a good time to determine your base camera settings. A good starting point is a low ISO like 100 and an aperture around f/8, adjusting only the shutter speed to get the correct exposure. Practicing ensures you can operate everything smoothly and safely, allowing you to focus on capturing the moment rather than troubleshooting your gear.
Know When to Remove the Filter—and When to Put It Back On
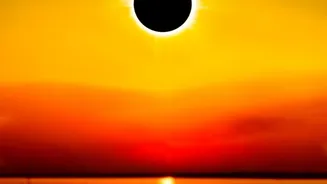
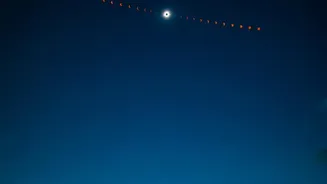
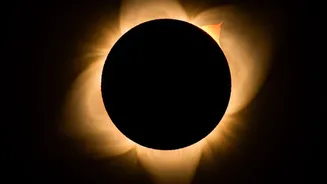
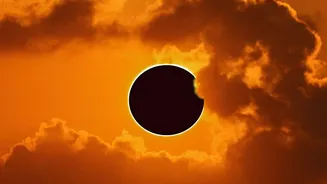
There is only one brief period when it is safe to remove the solar filter: during the 'totality' phase of a total solar eclipse. This is the few minutes when the moon completely blocks the sun's face. As soon as the sun begins to reappear—the moment you see the 'diamond ring' effect—the filter must be put back on immediately. If you are not in the path of totality and will only be viewing a partial or annular eclipse, there is no safe time to remove the filter. The filter must remain on the lens for the entire duration of the event.