




The Basic Toolkit You Already Have
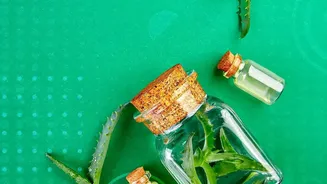
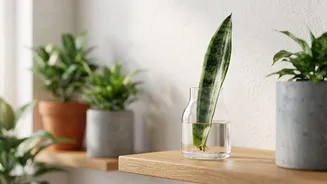
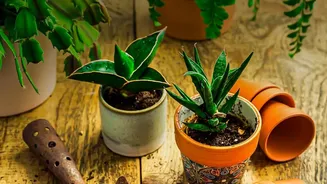
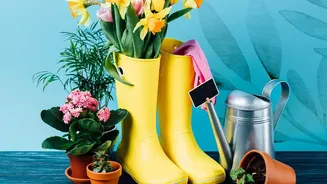
You don't need a fancy laboratory to start propagating. Most of the essential tools are likely already in your home. You will need a sharp, clean pair of scissors or pruning shears, a few small glass jars or bottles for water propagation, and some small pots
with drainage holes if you plan to propagate directly in soil. Using clean tools is crucial; wiping your scissors with a bit of rubbing alcohol can prevent the spread of bacteria and give your cuttings the best chance of survival.
Easy Plants for Beginner Propagators
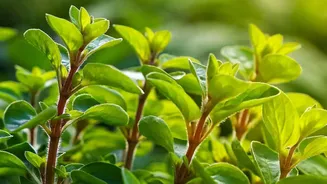
Not all plants are created equal when it comes to propagation. For your first attempt, choose a plant known for its willingness to root. In India, some of the easiest and most common houseplants to propagate include Money Plant (Pothos), Spider Plant, Syngonium, Coleus, and herbs like Tulsi (Holy Basil) and Mint. These plants are resilient and tend to grow roots relatively quickly, giving you a rewarding and confidence-boosting experience.
Taking the Perfect Cutting
The secret to a successful cutting is finding the right spot to snip. Look for a healthy stem on the mother plant. For vining plants like Pothos, you need to include a 'node' in your cutting. A node is a small bump on the stem where a leaf grows from; this is where new roots will sprout. Your cutting should be about 4-6 inches long. Once you've made your cut, remove any leaves on the bottom half of the stem that would otherwise be submerged in water or soil, as they can rot.
Method 1: The Water Technique
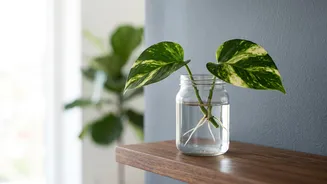
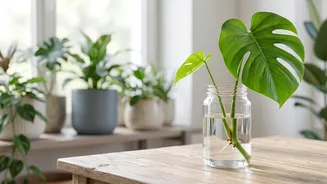
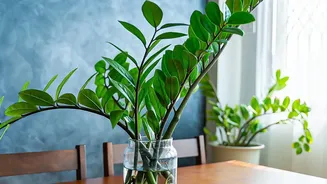
Water propagation is the most popular method for beginners because it allows you to watch the roots grow. Simply place your prepared cutting in a jar of clean, room-temperature water, ensuring the nodes are submerged but the remaining leaves are above the waterline. Place the jar in a spot with bright, indirect sunlight—direct sun can be too intense. Change the water every few days to keep it fresh and oxygenated. In a few weeks, you should see delicate white roots begin to emerge from the nodes. Once the roots are about one to two inches long, your new plant is ready to be transferred to soil.
Method 2: The Soil Technique
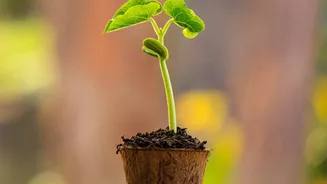
Alternatively, you can plant your cutting directly into soil. This method skips the transition from water to soil, which can sometimes shock the plant. Fill a small pot with a well-draining potting mix. For an extra boost, you can dip the cut end of the stem into a rooting hormone, though this is often optional for easy-to-root plants. Poke a hole in the soil with your finger or a pencil, insert the cutting, and gently firm the soil around it. Water it thoroughly and keep the soil consistently moist but not waterlogged. To increase humidity, you can cover the pot with a clear plastic bag, which creates a mini-greenhouse effect.
Patience and Common Pitfalls
The biggest virtue in propagation is patience. Some plants root in a week; others may take over a month. Avoid the temptation to constantly pull the cutting out to check for roots, as this can disturb their delicate growth. Common mistakes include using dull or dirty tools, taking a cutting without a node, overwatering, or giving up too soon. If your cutting turns mushy or black, it has likely rotted, and it's best to start over with a fresh cutting. Don't be discouraged—every gardener has had propagation attempts fail. Each one is a learning experience that gets you closer to a home full of thriving, self-made plants.