


Your Simple Starting Ingredients
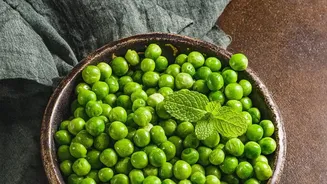
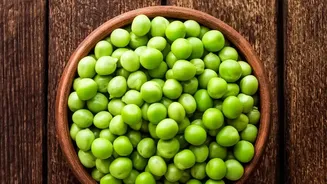
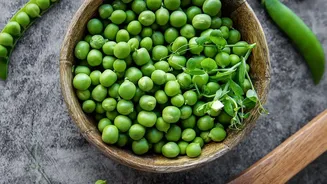
The beauty of this snack lies in its simplicity. You don't need a long list of fancy items to get started; in fact, you probably have everything you need already. Frozen peas work best as they provide a consistent result, but fresh peas can also be used
if you blanch them first. The foundation of this recipe requires only three basic components. Here’s what you’ll need: - A bag of frozen green peas (around 12-16 oz). - Olive oil or another high-heat cooking oil like avocado or melted coconut oil. - Salt and freshly ground black pepper.
The Secret to Ultimate Crispiness
The single most important step for achieving a truly crispy pea, rather than a chewy or steamy one, is ensuring they are completely dry before cooking. Moisture is the enemy of crunch. After thawing the frozen peas under warm water, spread them on a clean kitchen towel or paper towels. Gently pat them dry, then let them sit and air-dry for at least 20-30 minutes. Taking this extra time allows the surface moisture to evaporate, which helps the peas roast and dehydrate in the oven instead of just steaming. Don’t overcrowd your baking sheet, either; give the peas space to allow moisture to escape during cooking.
Method 1: The Classic Oven-Baked Crunch
The oven method is a reliable way to get a large, even batch of crispy peas. Once your peas are thoroughly dry, the process is straightforward. Preheat your oven to around 190°C (375°F). In a bowl, toss the dry peas with a tablespoon or two of oil, ensuring each pea is lightly coated. Add your salt and pepper, then spread them in a single layer on a baking sheet lined with parchment paper. Bake for 30-40 minutes, shaking the pan every 10-15 minutes to promote even browning. They are done when they are golden brown and shrunken. The peas will get even crispier as they cool, so let them rest for a few minutes before diving in.
Method 2: The Speedy Air Fryer Alternative
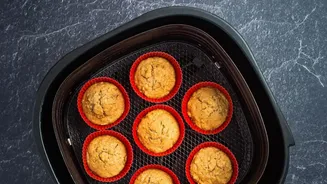
If you have an air fryer and need a crunchy snack fast, this is the method for you. The circulating hot air is perfect for creating that desirable crispy texture in less time. Preheat your air fryer to 200°C (400°F). Toss your dried peas in oil and seasonings just as you would for the oven method. Place the peas in the air fryer basket in a single layer; you may need to cook in batches depending on the size of your appliance. Cook for about 12-15 minutes, shaking the basket every 5 minutes to ensure they cook evenly and don't burn. They should be browned and delightfully crispy when finished.
Flavour Adventures for Every Occasion
While salt and pepper are delicious, this is where you can get creative. The peas' mild flavour is a perfect canvas for a wide variety of seasonings, making them suitable for any occasion. Try tossing them with your chosen spice blend before baking. For a cheesy flavour without dairy, use nutritional yeast. For a bit of heat, a pinch of cayenne or chili powder works wonders. Here are a few combinations to try: - Spicy & Smoky: Smoked paprika, garlic powder, and a pinch of cayenne pepper. - Zesty Italian: Dried oregano, garlic powder, and a little lemon pepper. - Curry Kick: Mild curry powder, a dash of cumin, and turmeric. - Everything Bagel: A generous sprinkle of everything bagel seasoning before baking.
Serving, Storing, and Re-Crisping
These crispy peas are a fantastic standalone snack, but their use doesn't end there. They add a wonderful, flavourful crunch when sprinkled over salads, soups, or pasta dishes. To store them, allow the peas to cool completely to room temperature. This is a crucial step, as storing them while warm will create condensation and make them soggy. Keep them in an airtight container at room temperature for up to three days. If they lose some of their crispness, you can easily revive them by popping them back in a 180°C (350°F) oven or an air fryer for 5-10 minutes until they're crunchy again.