


Safety First: Protecting Your Eyes and Gear
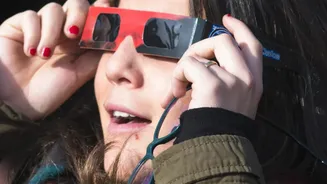
Before you even think about camera settings, safety is the absolute priority. Staring at the sun, even when partially obscured, can cause permanent eye damage. You must use certified solar viewing glasses or viewers that meet the ISO 12312-2 international
standard. Regular sunglasses are not safe. Likewise, pointing a camera at the sun without a proper filter can destroy its sensor. You need a dedicated solar filter that fits securely over the front of your lens. These filters are specifically designed to block the sun's intense light and harmful radiation. Do not use stacked regular neutral density (ND) filters, smoked glass, or other DIY solutions, as they may not block invisible UV and infrared light. Critically, never look through your camera's optical viewfinder when pointed at the sun, even with a filter attached; use your camera's rear LCD screen (Live View) instead.
Assembling Your Eclipse Toolkit
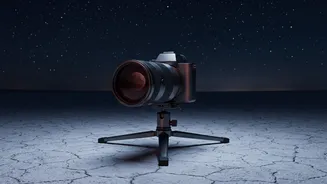
While any camera can work, one with manual controls, like a DSLR or mirrorless camera, will give you the most creative freedom. The most important piece of gear after your filter is a telephoto lens; a focal length of 200mm or longer is recommended to make the sun a prominent feature in your frame. A sturdy tripod is essential to keep your camera stable for sharp images, especially as the light changes and during the longer exposures needed for totality. A remote shutter release or using your camera's built-in timer will also help minimize camera shake. Finally, be sure to have fully charged spare batteries and extra memory cards. The event can last for hours, and you don't want to be caught unprepared.
Dialing In: The Partial Phases
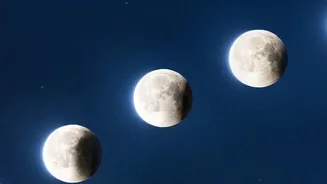
The partial phases, when the moon is slowly covering and then uncovering the sun, are the longest parts of the eclipse. During this time, your solar filter must remain on the lens. Set your camera to Manual mode. A good starting point is to set your aperture to f/8 and your ISO to a low value like 100 or 200 to maximize image quality. You will then adjust your shutter speed to get the correct exposure. On a sunny day before the eclipse, practice by taking test shots of the sun (with the filter on) to find the optimal shutter speed, which will likely be between 1/1000 and 1/4 of a second. Use manual focus and zoom in on the edge of the sun on your LCD screen to ensure it’s perfectly sharp. Once focused, tape the focus ring down to prevent it from accidentally shifting.
The Main Event: Capturing Totality
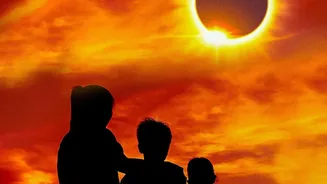
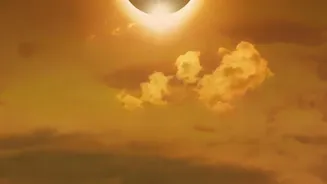
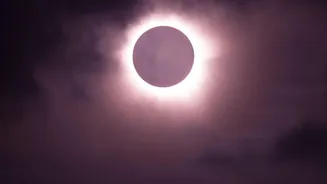
This is the moment you've been waiting for, and it happens fast. Just before the sun is completely covered, you might see Baily's Beads or the 'diamond ring' effect. As soon as the diamond ring disappears and totality begins, you MUST remove the solar filter. The sun’s corona, its outer atmosphere, is only about as bright as a full moon, and leaving the filter on will result in a black, underexposed image. The corona has a huge range of brightness, so the best strategy is to bracket your exposures. Keep your aperture and ISO fixed and shoot a wide range of shutter speeds, from as fast as 1/1000s to as long as a full second. This will capture everything from the faint, wispy outer corona to the brighter areas near the moon's edge. As totality ends and the second diamond ring appears, put your solar filter back ON your lens immediately.
Don't Forget the Wide-Angle View
While the close-up of the corona is the classic shot, don't forget to capture the broader experience. A second camera with a wide-angle lens can be set up on another tripod to take photos of the surrounding landscape and the dramatic 360-degree twilight that occurs during totality. These images tell the story of where you were and what it felt like to be there. You can even set this camera to shoot a time-lapse to capture the entire transition from daylight to darkness and back again. Including people's reactions can also add a powerful human element to your eclipse story.
Tips for Smartphone Photographers
You can still get great shots without a dedicated camera. The same safety rules apply: you must use a solar filter over your phone's lens during the partial phases. You can simply hold a pair of certified eclipse glasses over the lens. A small tripod and a phone mount will help keep your shots steady. Use your phone’s optical zoom to get a closer view, rather than the digital zoom which will degrade image quality. If your phone's camera app has a 'pro' or manual mode, use it to lower the exposure or ISO to avoid a blown-out image of the sun. During the brief moments of totality, remember to remove the filter to capture the corona, just as you would with a DSLR.