






An Enduringly Chic Hairstyle
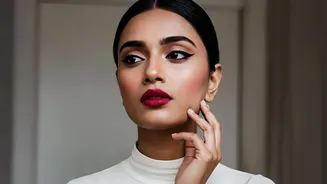
Few hairstyles offer the perfect balance of sophistication and practicality quite like a braided low bun. It keeps your hair neatly off your face while adding a touch of intricate detail that elevates your entire look. This style is incredibly versatile,
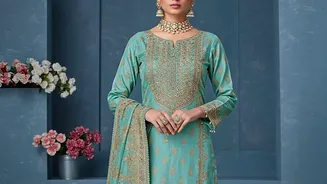
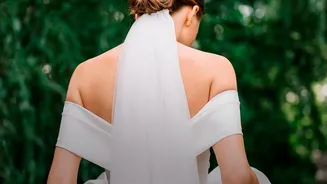
pairing beautifully with traditional Indian wear like sarees and lehengas for weddings and pujas, as well as with a sharp blazer for the office or a simple dress for a brunch date. Its beauty lies in its construction—the braid adds texture and visual interest to an otherwise simple bun, making it look complex and thoughtfully styled with minimal extra effort.
Gather Your Essential Tools
Before you begin, make sure you have everything you need within reach. A little preparation makes the styling process much smoother. You will need a paddle brush, one or two elastic hair ties, several bobby pins that match your hair colour, and a firm-hold hairspray to set the final look. For a messier, more textured look, you can also have some texturizing spray or dry shampoo on hand. If your hair is fine or you want a fuller bun, a hair donut or foam bun maker can also be a helpful tool.
Step 1: Prepare Your Hair
For the best results, start with hair that is easy to work with. Hairstylists often suggest working with second-day hair, as it has a bit more grip and texture than freshly washed hair. If your hair is clean, you can add some texture with a sea salt or texturizing spray. Brush your hair thoroughly to remove any knots and tangles, ensuring it's smooth from root to tip. If you have very curly or wavy hair, you might want to comb out the curl pattern slightly to make the braiding process neater. For added volume at the crown, you can gently tease the hair at the top before you begin.
Step 2: Create the Low Ponytail
Gather all of your hair at the nape of your neck to create a low ponytail. How you secure it depends on the final look you want. For a sleek, polished bun, make the ponytail tight and smooth. For a softer, more romantic style, you can keep the ponytail a bit looser and even pull out a few face-framing strands. Securing your hair in a ponytail first provides a strong, stable anchor for the bun, which helps the style last all day.
Step 3: Braid, Wrap, and Secure
Now for the main event. Divide your ponytail into three equal sections and create a standard three-strand braid all the way to the end, securing it with a small, clear elastic band. To create the illusion of a thicker, fuller bun, gently pull on the edges of the braid with your fingertips. This technique, often called 'pancaking', widens the braid and adds volume. Once your braid is ready, wrap it around the base of your ponytail to form the bun. Circle the braid around the elastic, tucking the end underneath the bun. Use bobby pins to secure the bun to your head, inserting them along the edges until it feels stable and firm.
Tips for a Flawless Finish
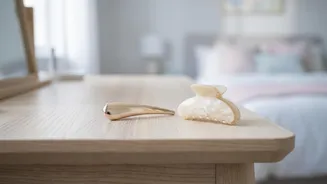
To ensure your braided bun looks perfect and lasts for hours, finish with a light mist of firm-hold hairspray to tame any flyaways. If you notice any loose sections, use extra bobby pins to discreetly secure them. For Indian functions, this hairstyle serves as a perfect base for accessories. You can tuck fresh flowers like jasmine (gajra) or roses around the bun for a traditional look, or add jewelled pins and accessories for a more glamorous, modern feel. To protect your style overnight, consider wrapping your hair in a silk or satin scarf.
Easy Variations to Try
Once you've mastered the basic technique, you can experiment with different variations. Instead of a single braid, you can divide your ponytail into two sections, braid each one, and then wrap them around each other to create a more intricate bun. You can also try different types of braids, such as a fishtail or a rope braid, for a unique texture. Another popular variation is the side-swept braided bun, where the bun is positioned asymmetrically for a soft, romantic effect. For a fusion look, you can incorporate a French or Dutch braid from your hairline down to the nape before creating the bun.