




The Joy of Propagation
Plant propagation is the process of creating new plants from existing ones. For houseplant enthusiasts, it’s a budget-friendly method to expand a collection and ensure your favourite varieties live on. If a plant gets leggy or overgrown, taking cuttings
can also encourage bushier, healthier growth on the parent plant. More than just a practical skill, the process of snipping a stem, watching it sprout new roots, and potting it up can be a relaxing and meditative experience. It’s a quiet, satisfying way to connect with nature right on your windowsill.
The Easiest Method: Stem Cuttings in Water
While there are many ways to propagate, the most straightforward technique for beginners is rooting stem cuttings in water. This method works wonderfully for a huge variety of common vining and stemmed houseplants. It allows you to visibly track root development, which is incredibly exciting and helps you know exactly when your new plant is ready for soil. The best time to do this is during the spring and summer, which is the active growing season for most plants, as they have more energy for faster rooting.
Gathering Your Simple Toolkit
You don’t need a lot of fancy equipment to get started. In fact, you probably have everything you need at home already. You will require a clean, sharp pair of scissors or pruning shears, a small glass jar or bottle, and clean water. Having a small pot and some fresh, well-draining potting mix on hand will be necessary for when your cutting has developed a healthy root system. Using a sterile mix rather than garden soil is best, as it prevents harmful pathogens from affecting the new, delicate roots.
Step 1: Make the Perfect Cut
First, identify a healthy, mature stem on your parent plant. Look for a section that has several leaves. You’ll want to make your cut about four to six inches from the tip of the stem. The crucial step is to locate a node—the small bump on the stem where a leaf grows from. This area contains the cells that will differentiate into new roots. Using your sharp scissors, make a clean cut just below a node. Once you have your cutting, gently remove the lowest one or two leaves, ensuring that at least one node is bare and can be submerged in water.
Step 2: Place in Water and Wait
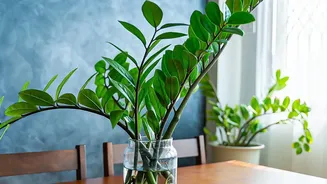
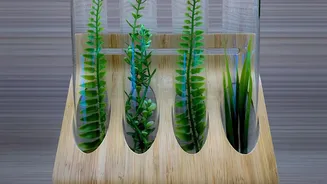
Fill your glass jar with room-temperature water and place the cutting inside, making sure the bare node is completely submerged but the remaining leaves are above the water line. Place the jar in a spot that receives bright, indirect sunlight. Direct sun can be too intense for a new cutting. All that’s left to do is wait and watch. To keep the water fresh and oxygenated, change it every few days. Depending on the plant, you could start seeing the first signs of white roots emerging from the node in as little as a week, though some may take a month or more.
Step 3: From Water to Soil
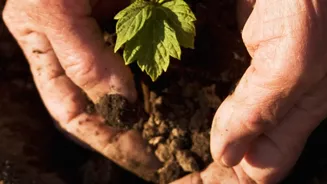
Once the new roots have grown to be about one to two inches long, your cutting is ready to be transferred to soil. This transition is a big step, so handle it with care. Fill a small pot with a well-draining potting mix. Use a pencil or your finger to make a small hole in the center. Gently place the rooted cutting into the hole and backfill with soil, lightly tamping it down to secure the new plant. Water it thoroughly, allowing any excess to drain away. Keep the soil consistently moist for the first few weeks as the plant adapts from its water environment to its new home in the soil.
Best Beginner-Friendly Plants to Propagate
Some plants are notoriously easy to propagate, making them perfect for your first attempt. Pothos (Epipremnum aureum) and Philodendron are champions of water propagation and root very quickly. Other excellent choices include the Spider Plant (Chlorophytum comosum), which produces its own baby plantlets; the Snake Plant (Dracaena trifasciata), which can be propagated by division or cuttings; and the ZZ Plant (Zamioculcas zamiifolia). Succulents like Echeveria are also simple to multiply from single leaves or offsets.