


Gather Your Essential Gear
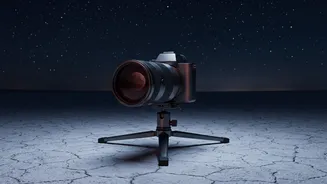
You don't need a space telescope to get great shots, but the right equipment is crucial. A camera with manual controls, like a DSLR or mirrorless model, is your best bet. For lenses, think long. A telephoto lens with a focal length of at least 200mm is recommended
to make the moon a significant feature in your frame; lenses in the 400-600mm range are even better for capturing surface detail. A sturdy tripod is non-negotiable. The long exposures required, especially during totality, mean even the slightest camera shake will cause blur. Finally, consider a remote shutter release or use your camera’s self-timer to avoid vibrating the camera when you take a picture. Unlike a solar eclipse, you won't need any special filters for your lens or eyes.
Master Your Focus and Settings
Before the eclipse begins, get your focus locked in. Your camera’s autofocus may struggle in the low light. The best technique is to use your camera’s live view, digitally zoom in on the bright edge of the moon, and manually adjust the focus ring until the details are perfectly sharp. Once you have it, switch your lens to manual focus to lock it in for the night. Always shoot in RAW format, which gives you far more flexibility to adjust colours and exposure in post-processing. For white balance, a 'Daylight' or a custom setting around 4000-5000K is a good starting point to capture the moon's true colours. Throughout the eclipse, you will be in Manual (M) mode, adjusting your settings as the light changes dramatically.
Phase 1: The Partial Eclipse Begins
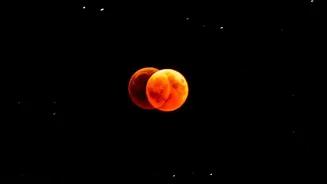
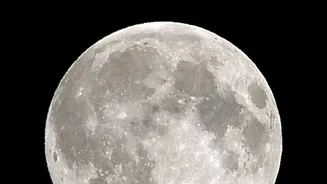
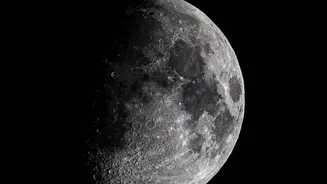
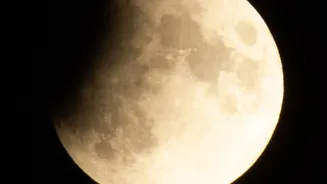
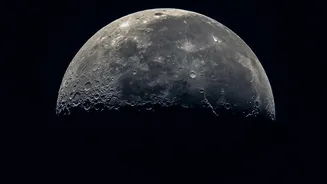
As Earth’s shadow first starts to creep across the lunar surface, the moon is still incredibly bright. Your settings will be similar to those for a regular full moon. A good starting point is the 'Looney 11' rule: set your aperture to f/11, and your shutter speed to the reciprocal of your ISO (e.g., ISO 100 with a 1/100s shutter speed). You can adjust from there. Keep your ISO low (100 or 200) to minimise noise. As the shadow covers more of the moon, you’ll need to start gradually increasing your exposure time or ISO to compensate for the diminishing light.
Phase 2: The 'Blood Moon' Totality
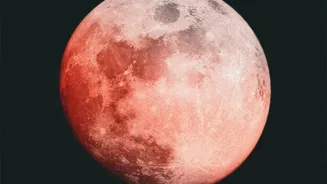
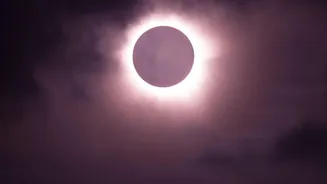
This is the main event. When the moon is fully engulfed in Earth’s shadow (the umbra), it becomes incredibly dim and may glow with a reddish, coppery hue. This is when your settings will change the most. Open your aperture wider (e.g., f/5.6 or f/4) to let in more light. You will also need to significantly increase your ISO—don't be afraid to push it to 800, 1600, or even higher depending on your camera's capabilities. This will be balanced with a slower shutter speed, potentially ranging from 1/2 second to several seconds. Using a tripod is essential here to get a sharp image. Bracket your shots by taking photos at different exposure levels to ensure you get a perfectly exposed image of the faint, colourful moon.
Phase 3: Emerging from Shadow
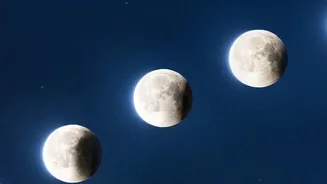
As the moon begins to exit the shadow, the process reverses. The sliver of emerging moon will become very bright, very quickly. You'll need to work backwards, rapidly decreasing your shutter speed and ISO to avoid blowing out the highlights on the bright portion of the moon. Continue to adjust your settings as more of the lunar surface is illuminated, returning to settings similar to those you used during the initial partial phase. Taking shots at regular intervals—say, every five to ten minutes—can provide a fantastic series of images to create a composite photo later, showing the entire journey of the moon through Earth's shadow.
Creative Compositions and Advanced Ideas
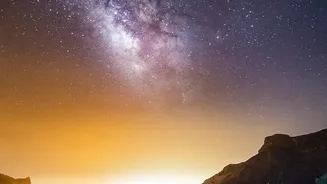
While a close-up of the moon is classic, don't forget about the wider context. A wide-angle lens can be used to create a stunning landscape shot that includes the eclipsed moon in the sky above a dramatic foreground. You can also plan to create a time-lapse or a composite image showing the different phases of the eclipse in a single frame. This involves taking photos at consistent intervals throughout the event without moving the camera, and then layering them together using photo-editing software. These advanced techniques can turn a great photo of the moon into a compelling story of a celestial spectacle.