




Why Bother Composting?
Before you start, it’s worth knowing the 'why'. Composting is an incredibly rewarding process that diverts a significant amount of waste from landfills. Instead of rotting and releasing greenhouse gases, your kitchen scraps decompose into a rich, dark,
soil-like material. This finished compost is a powerhouse of nutrients for your plants, improving soil structure, helping it retain water, and reducing the need for chemical fertilisers. It's a simple way to create a healthier garden and a healthier planet.
Understanding the Ingredients: 'Greens' and 'Browns'
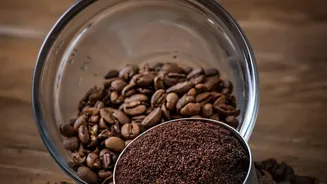
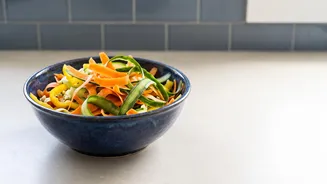
A healthy compost pile needs a balanced diet. This diet consists of two main categories: 'greens' and 'browns'. 'Greens' are nitrogen-rich materials that provide protein for the microorganisms doing the decomposition work. Your vegetable peels—potato, carrot, cucumber skins—fall squarely into this category, along with fruit scraps, coffee grounds, and fresh grass clippings. 'Browns' are carbon-rich materials that provide energy. Think of things like dried leaves, shredded newspaper or cardboard, and small twigs. A good rule of thumb for a beginner is to aim for a ratio of about two to three parts 'browns' for every one part 'greens' by volume. This balance is key to preventing problems like bad smells.
Setting Up Your Composting Space
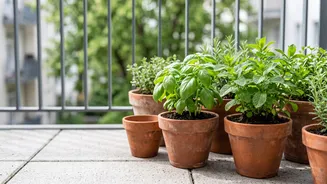
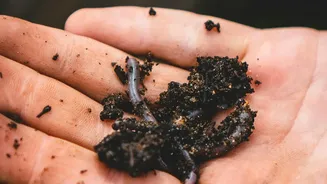
You don't need a massive garden to compost. For beginners, a dedicated compost bin is often the easiest way to start. You can purchase one or build a simple enclosure that's roughly one cubic metre (3x3x3 feet), as this size helps the pile heat up effectively. If you have limited space, such as on a balcony, vermicomposting (using worms) in a specialised bin is a highly efficient alternative. Place your bin or pile in a convenient spot that's not in direct, harsh sunlight. A small container in your kitchen can be used to collect daily scraps like vegetable peels before taking them out to the main pile.
The Step-by-Step Composting Process
Once you have your spot, building the pile is like making lasagna. Start with a base layer of coarse 'browns' like twigs to allow for airflow. Next, add a layer of your 'greens' (your collected vegetable peels and other kitchen scraps). Follow this with a thicker layer of 'browns'. Lightly water each layer as you go; the goal is for the pile to feel as damp as a wrung-out sponge, not soaking wet. Continue alternating layers until you've used your materials. Every week or two, you'll need to 'turn' the pile with a garden fork. This aerates the mixture, providing essential oxygen to the microbes and helping everything break down evenly.
What to Leave Out of the Pile
While most vegetable peels are composting gold, some items should be avoided in a simple home compost pile. Do not add meat, fish, bones, dairy products (like cheese or yogurt), or oily/greasy foods. These items can create foul odours, slow down decomposition, and attract unwanted pests like rodents. It's also wise to limit the amount of acidic scraps like large quantities of citrus peels or tomatoes, as too much acid can harm the beneficial bacteria in the pile. While a few are fine, moderation is key.
Troubleshooting Common Problems
Don't be discouraged if your pile isn't perfect right away. A few common issues are easily fixed. If your compost has a rotten egg or ammonia smell, it's likely too wet or has too many 'greens'. The solution is to turn the pile and mix in more dry 'browns' like shredded cardboard or leaves to absorb moisture and restore the carbon-nitrogen balance. If the pile isn't breaking down or heating up, it might be too dry or too small. Try adding water while turning it, and ensure your pile is at least three feet high and wide.
Harvesting and Using Your 'Black Gold'
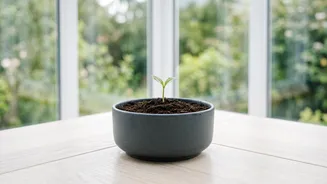
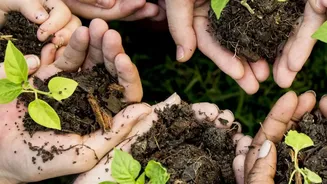
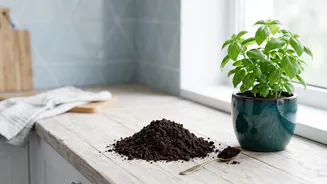
Patience is the final ingredient. Depending on your method and how often you turn it, your compost could be ready in as little as three months or up to a year. You'll know it's ready when it has transformed into a dark, crumbly, soil-like material with a pleasant, earthy smell. You should no longer be able to identify the original vegetable peels. To use it, you can spread a two to three-inch layer as mulch around trees, shrubs, and garden plants. You can also mix it into potting soil for container plants or work it into your vegetable garden beds before planting to give your plants a nutrient-rich boost.