



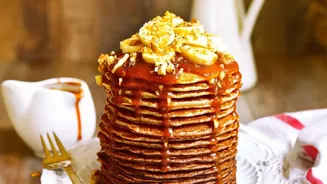


Understanding Ragi Flour
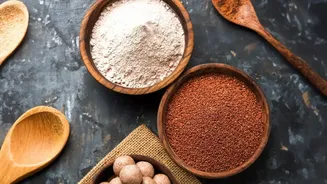
Ragi, or finger millet, is a nutrient-dense ancient grain popular in many Indian households. Unlike refined wheat flour, ragi flour is gluten-free and packed with calcium, iron, and dietary fibre. These qualities make it a healthy choice, but they also
change how it behaves in a batter. Ragi flour is more absorbent and creates a denser batter than its wheat-based counterparts. This density is a primary reason why cooking it requires a different approach. Because it lacks gluten, the structure of the pancake is different, and its high fibre content affects how moisture is absorbed and heat is transferred.
The Science of the Burn
The main reason ragi pancakes burn is simple: the batter is dense and the heat is too high. High heat cooks the exterior far too quickly. A dark, crisp crust forms almost immediately, which then acts as a barrier, preventing heat from penetrating the dense, moist centre. While the outside looks done or even burnt, the inside remains raw and doughy. Furthermore, some analyses show that processes like germination can increase the sugar content in ragi flour. These natural sugars can caramelise and burn faster under high temperatures compared to the starches in refined flours.
Mastering the Low-and-Slow Method
Patience is the key ingredient. To achieve a perfectly cooked ragi pancake, you must use gentle, consistent heat. Start by heating your pan (a heavy-bottomed one works best for even heat distribution) on a medium setting. Once it's hot, reduce the flame to low or low-medium. Grease the pan lightly with ghee or butter. Pour a ladle of batter, but don't make the pancake too large or thick; smaller, moderately-sized pancakes cook through more easily. Let it cook undisturbed. The goal is to allow the heat to slowly and gently penetrate the dense batter, cooking it from the inside out without scorching the surface.
Tips for the Perfect Batter
A great pancake starts with a great batter. While ragi flour is the star, many recipes benefit from adding a portion of whole wheat flour (atta) or oat flour to lighten the texture. For fluffiness, don't overmix the batter. Mix only until the wet and dry ingredients are just combined; a few lumps are perfectly fine. Overmixing develops gluten (if using wheat flour) and knocks out air, leading to tough, flat pancakes. After mixing, let the batter rest for 5 to 15 minutes. This allows the ragi flour to fully hydrate, resulting in a softer, more tender pancake and helping the leavening agents like baking powder do their work.
Know When to Flip
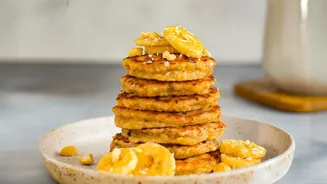
Flipping too early is a common mistake. With ragi pancakes, you need clear visual cues. As it cooks on the first side, you will see bubbles start to form on the surface. Don't flip yet. Wait until those bubbles begin to pop and leave small holes on the surface, and the edges look dry and set. This indicates the bottom is golden-brown and the internal structure is stable enough to be flipped. Flip carefully and cook for another minute or two on the other side. Cooking on a low, steady flame ensures the second side cooks through without burning before the centre is done.