





Gathering Your Essential Tools
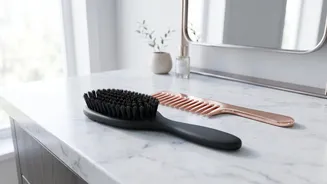
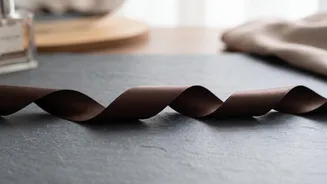
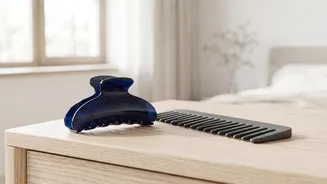
Before you begin, having the right tools on hand will make the process much smoother. You don't need a professional kit, just a few key items. For this style, you will need a hair brush, at least one hair elastic, and several hair pins. For a cleaner
look, you might want a clear elastic. You may also want a texturizing spray or dry shampoo to give your hair some grip, and a light-hold hairspray to set the final look.
Choosing the Right Pins
Not all pins are created equal, and the right pin is crucial for a bun that stays in place. While standard bobby pins are common, U-shaped pins are often recommended for updos because they can secure the hair without being uncomfortably tight. For thick or heavy hair, longer and stronger pins, sometimes called 'spin pins' or 'power pins', are designed to hold more weight without bending or slipping. Ideally, choose pins that match your hair color to keep them discreet. The goal is to use enough pins for a secure hold, but not so many that they weigh the style down.
Step 1: Prep Your Hair for Success
The foundation of a great bun is the right hair texture. This style often holds best in second-day hair, which has a bit more natural grip than freshly washed, silky hair. If your hair is clean, you can create a similar texture by spritzing a dry shampoo or a texturizing spray from roots to ends. This simple step adds volume and prevents the twists from slipping. Brush your hair thoroughly to remove any tangles before you start gathering it.
Step 2: Create a Low Ponytail
Gather all your hair at the nape of your neck to create a low ponytail. The placement is key: a classic, elegant look is achieved with a ponytail centered at the nape. Secure it firmly with a hair elastic. For a softer, more modern feel, you can gently loosen the hair at the crown with your fingertips to create a little lift before tightening the ponytail. If you want a more polished finish, you can wrap a small strand of hair around the elastic to conceal it, securing the end with a bobby pin.
Step 3: The Art of the Twist
Now for the defining feature of the style. There are a couple of ways to create the twist. The simplest method is to take the entire ponytail and twist it from the base to the ends until it starts to coil on itself. Another popular technique is to split the ponytail into two equal sections. Twist each section individually into a rope-like strand, and then twist those two ropes around each other. This double-twist method often creates more texture and visual interest.
Step 4: Shape and Secure the Bun
Once your ponytail is twisted, wrap it around the base of the elastic to form the bun. Tuck the ends of your hair underneath the bun to hide them. Now it’s time to pin it in place. The secret to a secure bun is strategic pinning. Instead of just pushing pins in, try to anchor them. A common technique is to catch a small piece of hair from the bun's edge with the pin, and then turn the pin toward your scalp and push it into the base of the bun. This creates a locking effect. For extra hold, you can cross two bobby pins in an 'X' shape. Continue adding pins around the bun until it feels secure.
Finishing Touches and Variations
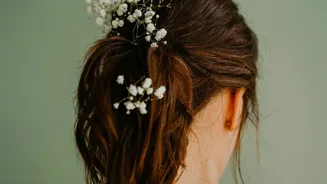
With the bun secured, you can customize the final look. For a sleeker, more formal style, use a light mist of hairspray to tame any flyaways. For a softer, more romantic vibe, gently pull out a few face-framing strands. You can also gently tug on sections of the bun itself to add a bit more volume and create a deliberately 'undone' look. This style is also beautiful when adorned with accessories like decorative clips, pearl pins, or even fresh flowers for a special occasion.