




Gathering Your Supplies
Before you begin, assembling the right tools will make the process smooth and enjoyable. You can buy these items individually or find a starter kit online. You will need: wax, wicks, containers, a pouring pot, a larger pot for a double boiler, a thermometer,
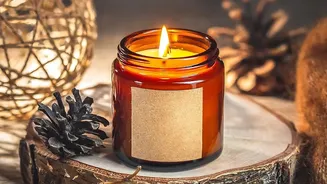
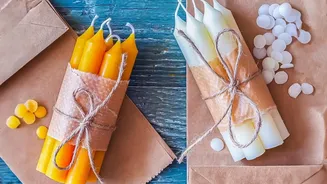
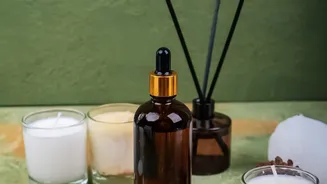
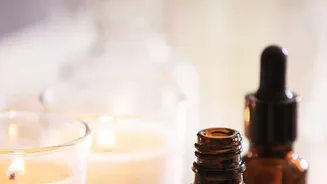
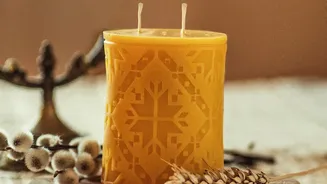
and fragrance oils. For wax, soy wax is a great choice for beginners; it's natural, burns cleanly, and is forgiving with temperatures. Beeswax and paraffin are other popular options. The wick size is crucial and depends on the diameter of your container, so check the manufacturer's recommendations to ensure an even burn. For containers, heat-safe glass jars, tins, or ceramic pots are excellent choices. You can even repurpose old candle jars. Lastly, choose fragrance oils specifically designed for candles, as essential oils may not perform as well in hot wax.
Preparation and Safety First
Candle making involves handling hot wax, so safety is paramount. Protect your work surface with newspaper or a covering you don't mind getting wax on. Keep paper towels handy for any spills. It's also wise to wear long sleeves and closed-toe shoes to protect your skin from accidental splashes. Ensure your workspace is well-ventilated by opening a window or using a fan, especially when working with fragrances. Before you start melting, prepare your containers. Wash and dry them thoroughly. Secure a wick to the bottom center of each container using a wick sticker or a dab of hot glue. Use a wick centering tool, or even a clothespin resting across the jar's rim, to hold the top of the wick straight and centered.
Melting and Scenting the Wax
The key to a great candle is controlled temperature. Use a double boiler method to melt the wax safely; never place your pouring pot directly on the heat source, as this can scorch the wax. Fill a large pot with a few inches of water and place your smaller pouring pot containing the wax inside it. Heat the water over a medium flame, allowing the wax to melt slowly and evenly. Stir occasionally. For most soy waxes, you should heat the wax to around 185°F (85°C). Once it reaches this temperature, remove it from the heat. This is the optimal time to add your colour dyes and fragrance oil. A general rule is to use about 6-10% fragrance oil by weight of the wax. Stir gently but thoroughly for about two minutes to ensure the fragrance oil binds completely with the wax.
The Perfect Pour
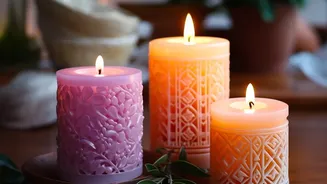
After adding the fragrance, let the wax cool slightly before pouring. Pouring the wax when it's too hot can cause cracks or sinkholes to form as it cools. A good pouring temperature for many soy waxes is around 135°F (57°C), but always check the specific recommendations for your chosen wax. Pour the wax into your prepared containers slowly and steadily to avoid creating air bubbles. Fill to about a quarter-inch from the rim. If you are making pillar candles or using certain paraffin waxes, you may need to save a small amount of wax for a second pour to top off any sinkholes that form around the wick as the candle initially sets.
Curing and Final Touches
Patience is the final ingredient. Once poured, do not disturb the candles. Let them sit at room temperature for at least 24 hours to cure completely. Curing allows the wax and fragrance to fully bond, which results in a stronger scent throw when you finally light your candle. Avoid placing them in the fridge or a cold area to speed up the process, as this can cause the wax to crack. Once fully hardened, trim the wick to about a half-inch. You can now add decorative touches. Consider creating a custom label, tying a ribbon around the jar, or adding a dust cover. These small details elevate your creation, making it a true piece of home decor or a thoughtful, handmade gift.