






A Taste of Tradition
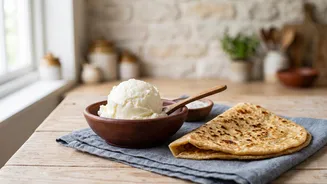
White butter, known as safed makhan, is a staple in many Indian households, cherished for its fresh, mild flavour. Unlike commercially available yellow butter, which is often salted and may contain artificial colouring, homemade white butter is simply
the pure fat churned from cream (malai). It holds deep cultural significance, most famously associated with Lord Krishna's childhood love for it, earning him the name 'Makhan Chor' or butter thief. This connection has cemented its place in religious practices and festive occasions like Janmashtami, where offering freshly made butter symbolises purity and devotion.
Why Make White Butter at Home?
The primary benefit of making makhan at home is control over the ingredients. You get a pure, unprocessed product with no salt, preservatives, or other additives. Homemade white butter is celebrated for its superior taste and creamy texture, which store-bought versions struggle to match. Furthermore, the process yields not just butter but also fresh, tangy buttermilk, a valuable byproduct perfect for baking or drinking. Many believe homemade white butter is more nutritious, retaining more fat-soluble vitamins like A and D from the cream. It's an energy-dense food, and when consumed in moderation, it can be a source of healthy fats.
What You Will Need
The beauty of making white butter lies in its simplicity. You only need one primary ingredient: heavy cream, also known as malai. You can collect malai over several days by skimming the thick layer that forms on top of boiled, cooled full-fat milk. Store this cream in an airtight container in the freezer until you have enough. Alternatively, you can use store-bought heavy cream or whipping cream with a high fat content (at least 35%). Besides the cream, you will need a bowl, an electric mixer (stand or hand-held) or a blender, and ice-cold water, which is crucial for helping the butter solids separate from the buttermilk.
Step-by-Step Preparation
Start by bringing your collected malai or cream to room temperature. Place it in a deep bowl or blender. Begin whipping the cream on a low to medium speed. The cream will go through several stages: first, it becomes smooth, then it will form soft peaks like whipped cream, and then stiff peaks. It's important to keep going past the whipped cream stage. As you continue to churn, the mixture will start to look grainy and then suddenly separate. You will see solid clumps of butterfat and a thin, milky liquid, which is the buttermilk. This process can take anywhere from 5 to 15 minutes, depending on your equipment and the cream's temperature. Once the butter has clearly separated, add a cup of ice-cold water. The cold temperature helps the butter firms up, making it easier to gather.
Finishing and Storing Your Butter
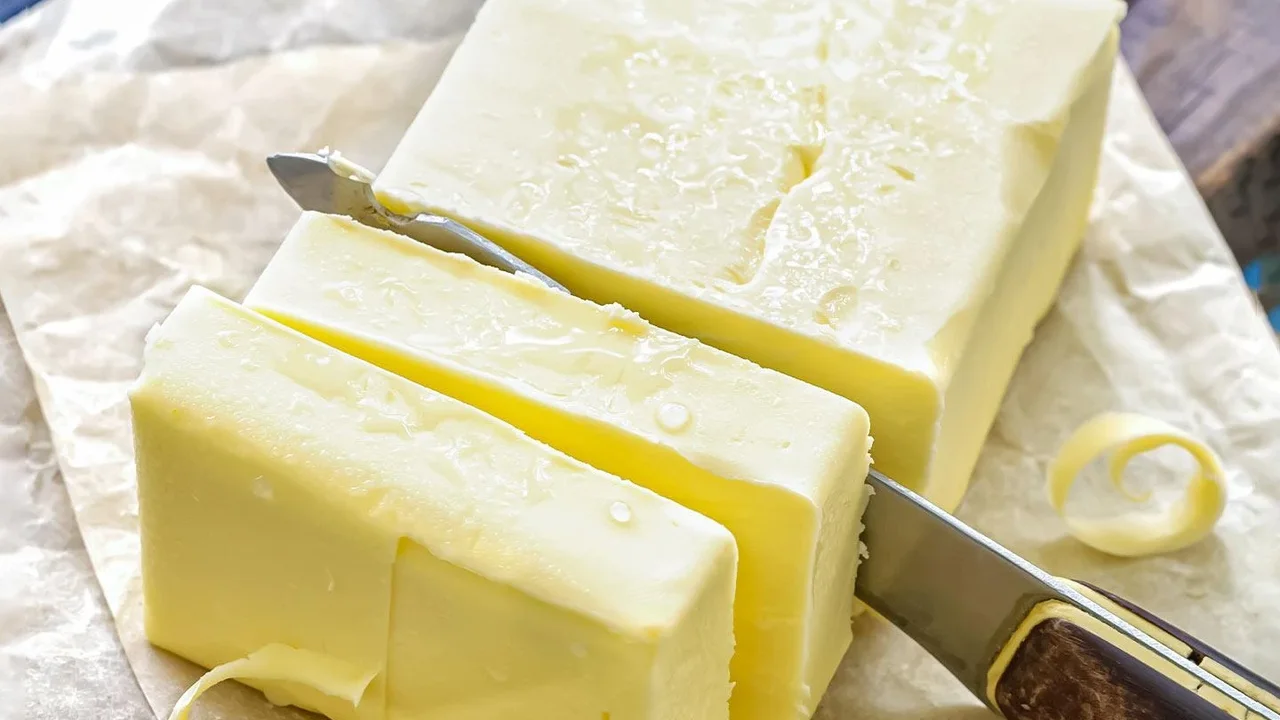
Once the butter has clumped together, strain out the buttermilk. You can save the buttermilk for other recipes. Next, you need to 'wash' the butter to remove any remaining buttermilk, which improves its shelf life. Place the butter solids in a bowl of fresh, ice-cold water and gently knead or press it with a spatula or clean hands. The water will become cloudy. Discard the water and repeat this washing process two or three times until the water runs clear. After washing, press out as much excess water as possible. You can shape the butter into a block or roll it into a log using parchment paper. Store your homemade butter in an airtight container in the refrigerator for about a week. For longer storage, it can be frozen for several months.