



What Exactly is Facial Layering?
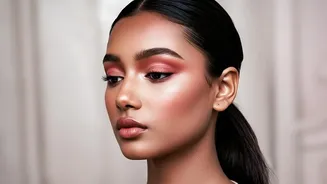
Facial layering is a makeup philosophy centred on building coverage with multiple, whisper-thin veils of product rather than applying one thick coat. The goal is to enhance your natural features without masking your skin. Think of it as creating a watercolour
painting versus an oil painting; the result is dimensional, breathable, and seamlessly blended. This method respects the natural texture of your skin, allowing each product to work in harmony. Instead of a heavy-handed approach, you apply foundation, concealer, and colour products intentionally and sparingly, building them up only where necessary. This prevents the makeup from looking like a mask and ensures a more realistic, fresh-faced appearance that lasts all day.
The Core Benefits of a Lighter Touch
The primary advantage of layering is achieving a finish that looks and feels like real skin. Thin layers are less likely to settle into fine lines or pores, which can often make skin appear older or more textured than it is. This technique also increases the longevity of your makeup. Each thin layer has a chance to set properly, creating a more durable and resilient base that is less prone to slipping or separating, especially in warmer climates. Furthermore, it gives you complete control over your coverage. You can keep it sheer and natural for everyday wear or build it up for special occasions without ever reaching that dreaded cakey stage. The result is breathable, comfortable makeup that enhances your complexion.
Step 1: Always Start with Skin Prep
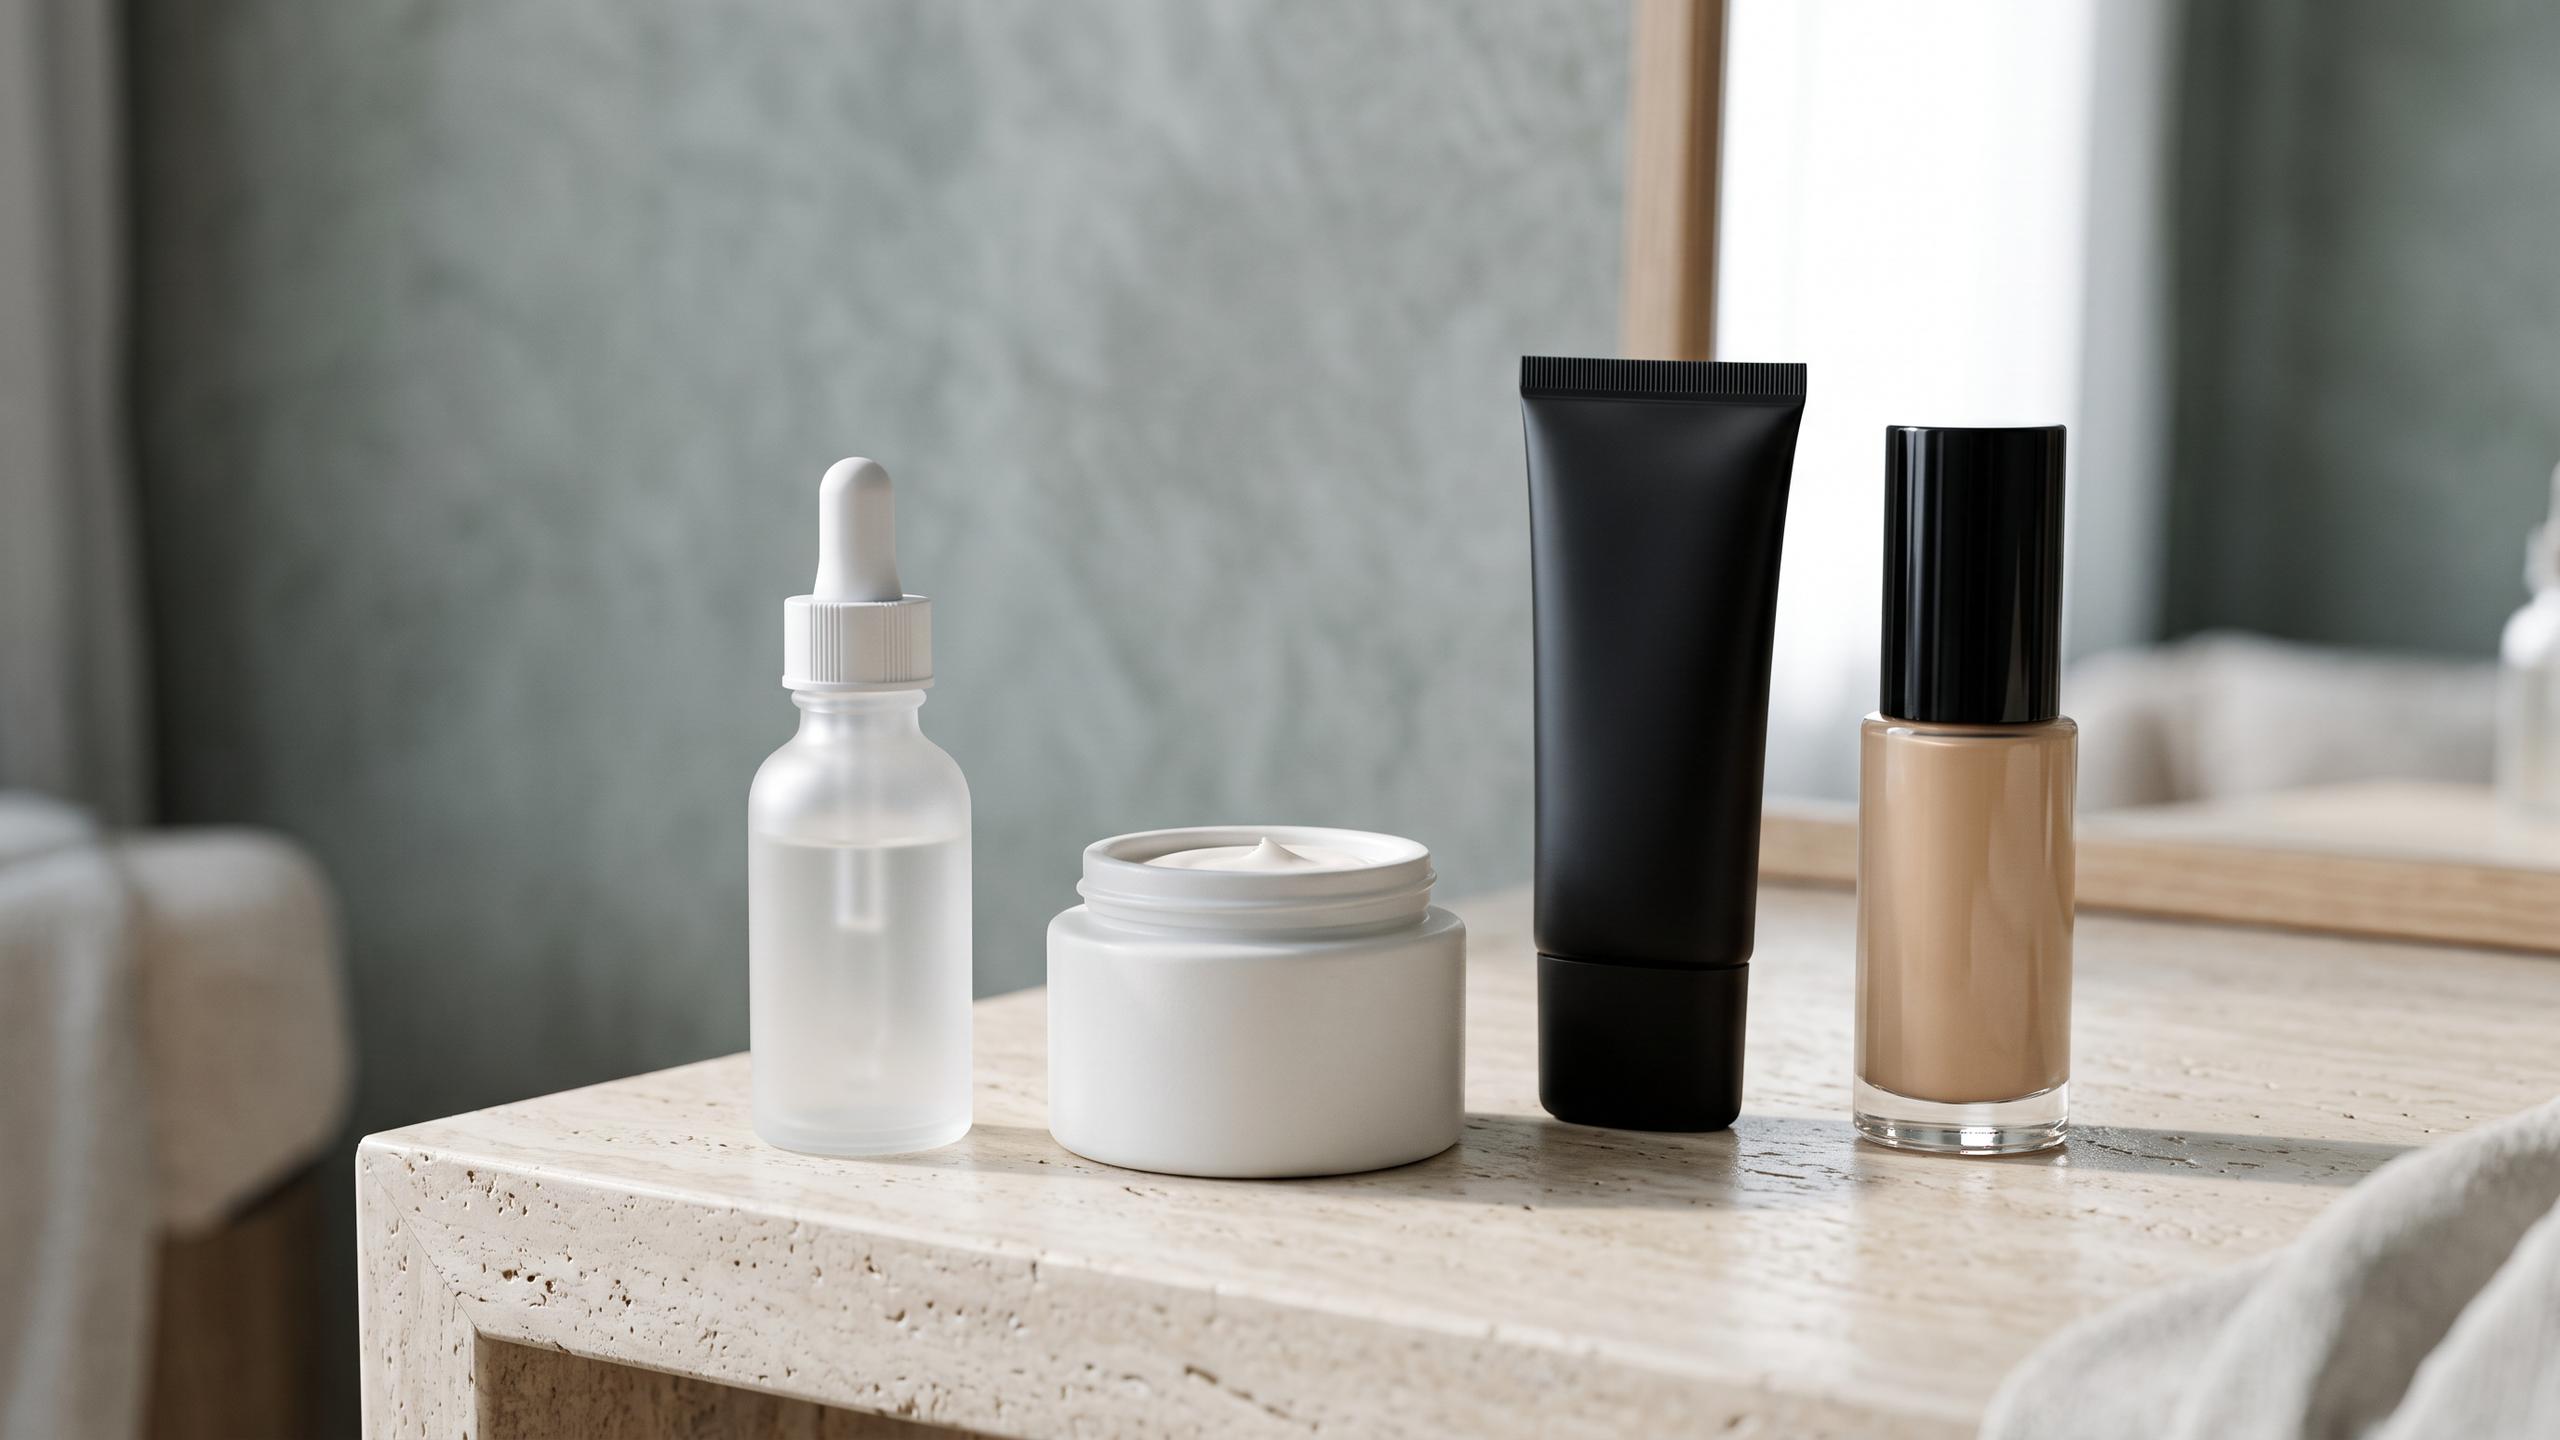
Flawless makeup begins with a well-prepped canvas. Before any colour comes near your face, ensure your skin is cleansed, hydrated, and protected. Apply your skincare products in order from the thinnest to the thickest consistency—serum, moisturiser, and finally, a broad-spectrum sunscreen. Give each layer a minute or two to absorb properly. This prevents products from pilling or sliding around. A good primer can also make a significant difference by creating a smooth surface for the foundation to grip onto, helping to control oil or add hydration where needed. Remember, foundation will only look as good as the skin underneath it.
Step 2: Apply Your Base in Sheer Veils
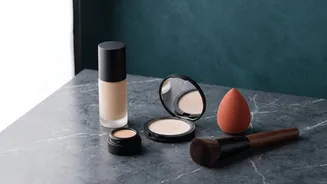
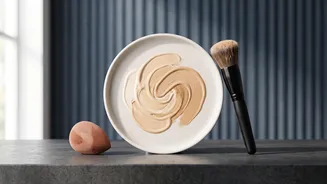
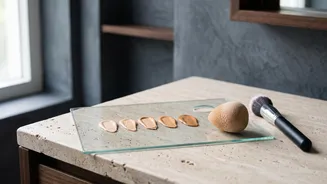
Instead of applying foundation all over your face at once, start with a small amount on the back of your hand. Using your fingertips, a damp sponge, or a dense brush, begin applying the foundation to the centre of your face and blend it outwards. Your fingers can warm the product, helping it melt into the skin for a natural finish. A damp sponge is excellent for pressing the product in without streaks and soaking up any excess. The key is to use gentle tapping or stippling motions rather than rubbing, which can disturb the layers underneath. Apply one thin layer first, then assess where you might need a little more coverage, adding a second thin layer only to those specific areas.
Step 3: Conceal with Precision
After your foundation is blended, you can see which areas truly need extra attention. This is where precision concealing comes in. Rather than swiping a large amount of concealer under your eyes or over blemishes, apply a small dot of product only where it is needed. For under-eye circles, focus the product on the darkest part, usually the inner corner, and gently tap to blend it out. For blemishes, use a concealer that matches your foundation shade and use a small brush or your fingertip to tap and blend the edges until they disappear into the base. This targeted approach provides coverage without adding unnecessary bulk.
Step 4: Build Colour and Dimension
A general rule in layering is to apply liquid and cream products before powders. This ensures everything melts together seamlessly. Apply your cream bronzer or blush over your unset foundation, using a light hand to build warmth and a natural flush. These cream formulas will blend directly into the foundation for a lit-from-within glow. Once your cream products are in place, you can strategically set your makeup. Use a small amount of translucent powder and press it lightly onto areas that tend to get oily, like the T-zone. Avoid powdering your entire face to maintain a natural radiance. If you are using powder blush or bronzer, this is the time to apply it.