





The Ragi Pancake Problem
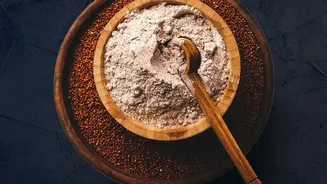
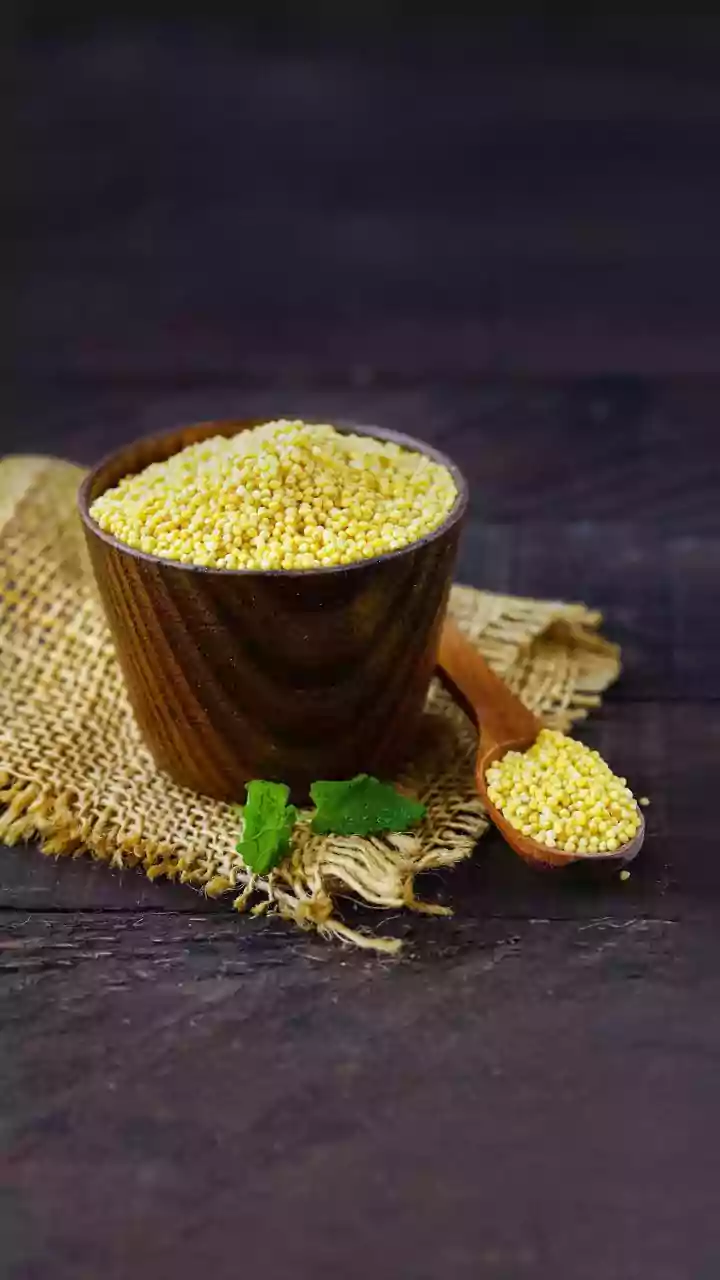
Ragi, or finger millet, is a nutritional powerhouse, packed with calcium, iron, and fibre. It’s a beloved staple in many Indian households for good reason. However, when you try to transform this wholesome flour into fluffy pancakes, challenges arise.
Ragi flour is gluten-free and dense, which means its batter behaves very differently from one made with wheat flour. It holds more moisture and takes longer to cook through. This often leads to a frustrating dilemma: by the time the inside is cooked, the outside is burnt to a crisp, or if you cook it gently, you end up with a pale, slightly pasty pancake that lacks that satisfying golden-brown crust.
The 'Hot Pan, Low Flame' Solution
The headline holds the secret. Starting with a properly heated pan is crucial for any pancake. A hot surface instantly begins to cook the batter, creating a seal that prevents it from spreading too thin and sticking. You can test if your pan is ready by dropping a tiny bit of batter; if it sizzles gently, you’re good to go. Once you pour the batter, however, that's the moment to immediately turn the flame down to low. This is the most critical step. The initial heat gives you the browning reaction, but the subsequent low, gentle heat allows the dense ragi batter to cook evenly from the inside out without the exterior scorching. A pan that is too hot will cook the outside too fast, forcing you to flip a pancake that is still liquid inside.
Building a Better Batter
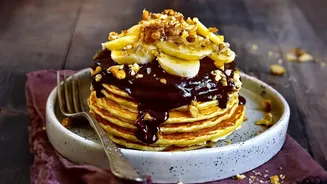
While technique is key, a great pancake starts with a great batter. Because ragi has a naturally nutty, slightly earthy flavour, it pairs well with natural sweeteners. Incorporating mashed ripe banana, dates, or a touch of jaggery not only adds sweetness but also moisture, which helps create a softer pancake. These natural sugars also help with browning. Many recipes suggest letting the batter rest for 5 to 15 minutes. This allows the flour to fully hydrate and gives leavening agents like baking powder time to activate, resulting in a fluffier final product. Be careful not to overmix; just combine until the dry ingredients are incorporated to avoid dense, chewy pancakes.
Your Step-by-Step Guide to Success
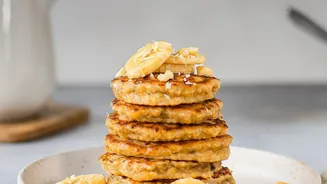
Ready to put it all into practice? Heat your non-stick or cast-iron pan over a medium flame. Grease it lightly with ghee or an oil with a high smoke point. Pour a ladleful of your ragi batter onto the hot pan. As soon as the batter is down, reduce the heat to low. Now, be patient. Wait for bubbles to form on the surface and for the edges to look set and dry; this can take a couple of minutes. This is your sign that the bottom is browned and the structure is solid enough for flipping. Flip the pancake carefully and cook for another minute or two on the other side until it’s cooked through. Stacking them on a plate as you go will help them stay warm.
Beyond the Flame
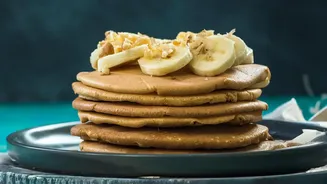
A few other small details can elevate your ragi pancakes from good to great. Using a heavy-bottomed pan can help distribute heat more evenly, further preventing hot spots that cause scorching. Don't overcrowd the pan; cooking one or two pancakes at a time gives you space to flip them easily and helps maintain a consistent temperature. While butter is delicious, it has a low smoke point and can burn quickly, contributing to a scorched taste. Cooking with ghee or another neutral oil is often a better choice for the pan, saving the butter for serving. Finally, remember that ragi flour is naturally dark, so your cooked pancakes will have a deep brown colour.