
Essential Gear for Lunar Success
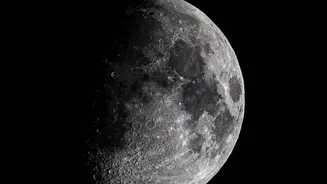
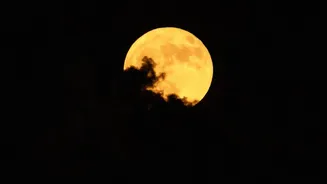
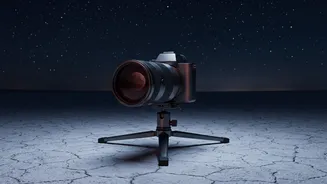
While modern smartphones have improved, a dedicated camera with manual controls is best for capturing the moon's craters and texture. The most critical piece of equipment is a telephoto lens; something in the 200mm to 600mm range is ideal for making the moon a significant
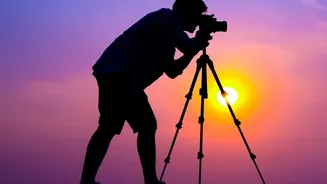
part of your frame without excessive cropping later. A sturdy tripod is also non-negotiable. The slightest camera movement can ruin a shot, and a tripod provides the stability needed for sharp images. Finally, a remote shutter release or using your camera's self-timer (a 2- or 10-second delay) will prevent the vibration caused by pressing the shutter button.
Switch to Manual Mode
The first and most important setting adjustment is to switch your camera's mode dial to Manual (M). Your camera's automatic modes are designed to evaluate an entire scene, and the vast darkness of the night sky will trick them into overexposing the very bright moon. This results in that all-too-common washed-out white circle. Manual mode gives you complete control over the exposure triangle: aperture, shutter speed, and ISO. This allows you to tell the camera exactly how to expose for the moon's bright, sunlit surface, ignoring the darkness around it.
Aperture: The Sharpness Sweet Spot
It might seem counterintuitive for night photography, but you don't want your widest aperture. Lenses are typically sharpest in their mid-range. For detailed moon shots, an aperture between f/8 and f/11 is the ideal starting point. This range provides excellent sharpness across the lunar surface and its edges. While a wider aperture lets in more light, it creates a shallower depth of field and can result in softer images. Since the moon is incredibly bright, you don't need the extra light from a wide-open aperture.
Shutter Speed: Freezing the Moon in Motion
The moon moves across the sky much faster than you might think, and so does the Earth. A slow shutter speed will result in motion blur, smearing the details you're working so hard to capture. A good starting point for your shutter speed is between 1/125s and 1/400s. A common guideline is the 'Looney 11' rule, which suggests matching your shutter speed to your ISO at an aperture of f/11. For example, with ISO 100, you'd use a shutter speed of 1/100s (or the closest setting, like 1/125s). If your shot looks too bright, increase your shutter speed.
ISO: Keeping It Clean and Noise-Free
Because the moon is reflecting direct sunlight, it is exceptionally bright against the night sky. This means you can, and should, use the lowest possible ISO setting on your camera. Start at your base ISO, which is typically ISO 100 or 200. This will produce the cleanest image with the least amount of digital noise, preserving the fine textures of the craters. Only if your image is still too dark after adjusting your shutter speed should you consider raising the ISO, but try to keep it below 800 to maintain quality.
Focusing: The Final, Critical Step
Getting a tack-sharp image depends on precise focus. Don't rely on autofocus to find the moon in the dark sky; switch your lens to manual focus (MF). Use your camera's live view mode and digitally zoom in as far as you can on the edge of the moon. Carefully turn the focus ring until the craters on the moon's edge appear as sharp as possible. Once you've nailed the focus, be careful not to bump the ring. Some photographers even place a small piece of tape on the focus ring to lock it in place.