




The Magic of Making More
Plant propagation is the process of creating new plants from parts of a parent plant, like stems, leaves, or roots. Think of it as cloning your favourite green companions. For any budding plant parent in India, this is a fantastic skill to learn. It’s
incredibly cost-effective, allowing you to fill your home with greenery for free. It's also a wonderfully sustainable hobby that lets you share your plant journey by gifting newly rooted plants to friends and family. Beyond the practical benefits, there's a unique joy in watching a small cutting sprout roots and grow into a full-fledged plant, a testament to your care and a little bit of nature's magic.
The Water Method: Just Add H2O
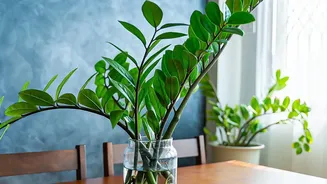
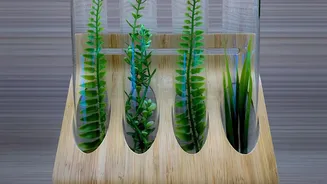
Water propagation is often the easiest and most visually satisfying method for beginners. It works brilliantly for vining plants common in Indian homes like Pothos (Money Plant), Philodendrons, and Syngonium. First, select a healthy stem from the mother plant. Using clean, sharp scissors, take a cutting that is about 4-6 inches long. Crucially, ensure the cutting has at least one or two 'nodes'—the small bumps on the stem where leaves grow. This is where new roots will emerge. Remove the leaves from the lower part of the cutting to prevent them from rotting in the water. Place the cutting in a clear glass or jar of water, making sure the nodes are submerged. Then, place it in a spot with bright, indirect light and change the water every few days to keep it fresh and oxygenated. In two to four weeks, you should see delicate white roots begin to appear.
From Water to Soil: The Big Move
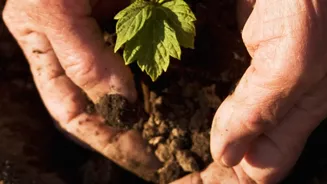
Once your water-propagated cutting has developed roots that are about one to two inches long, it's time to move it to its permanent home in a pot. Waiting too long can make it harder for the plant to adapt, as water roots are more delicate than soil roots. Prepare a small pot with a fresh, well-draining potting mix. Make a small hole in the centre with your finger or a pencil. Gently place the rooted cutting into the hole and backfill with soil, patting it down lightly to secure the plant. Water the soil thoroughly and keep it consistently moist for the first few weeks as the new roots acclimate to their new environment. Don't be alarmed if the plant looks a little droopy at first; this is normal shock, and it should perk up as it establishes itself.
Division: For When Plants Get Crowded
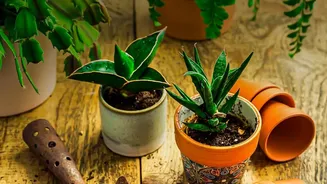
Another incredibly simple method, especially for clumping plants, is division. This works perfectly for popular houseplants like Snake Plants, Peace Lilies, Spider Plants, and many ferns. Division is best done when a plant has outgrown its pot or looks overcrowded. To do it, carefully remove the entire plant from its pot. Gently loosen the soil around the roots with your hands. You will see that the plant is made of several smaller sections or crowns. Using your hands or a clean, sharp knife, carefully separate these sections, ensuring each new piece has a healthy clump of roots attached. Pot each new division into its own container with fresh soil, water it well, and you're done. You've not only created new plants but also given the parent plant more room to thrive.
Tips for Propagation Success
To give your new plant babies the best start in life, a few key practices make all the difference. Always use clean, sterilized tools, whether it's scissors or a knife, to prevent spreading disease to the fresh cuts. Start with a healthy parent plant; avoid taking cuttings from plants that are stressed, sick, or have pests. Patience is paramount. Some plants root in a week, while others can take a month or more. Finally, provide the right environment. Cuttings thrive in warmth and humidity with bright, indirect light. Avoid direct, harsh sunlight, which can scorch the vulnerable new plants.