






Start with a Hydrated Canvas
The key to a blush that looks like second skin is starting with a smooth, hydrated base. A natural flush doesn't sit on top of dry patches, so your preparation is just as important as the application. Begin with your regular skincare routine, making sure
your face is well-moisturised. This allows any makeup you apply on top to melt seamlessly into the skin. After your moisturiser has settled, apply your foundation or tinted moisturiser as you normally would. A dewy or satin-finish base works particularly well for this look, as it enhances the overall radiant effect you’re aiming for.
Choose Your Ideal Formula
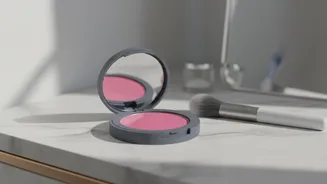
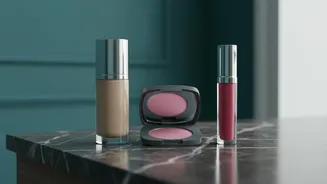
For a truly natural look, the blush formula you choose makes a significant difference. Cream and liquid blushes are overwhelmingly recommended for this technique. Their emollient textures merge with your skin, creating a believable, lit-from-within glow that’s difficult to achieve with powders. Creams are incredibly user-friendly and can be blended out with just your fingertips. Liquids offer a similar skin-like finish, often with more intense pigmentation that requires a light hand. While cream is often the top choice, powder blush can also work, especially for those with oily skin or for setting a cream blush to extend its wear time. If you use powder, opt for one with a fine-milled, buttery texture to avoid a chalky finish.
Find Your Most Natural Shade
The goal is to replicate the colour your cheeks naturally turn when you flush. A simple trick is to gently pinch your cheeks and observe the colour that appears. Another method is to look at the colour inside your lower lip. When in doubt, let your skin tone and undertone guide you. For fair skin, soft pinks and light peaches add a delicate warmth. Medium skin tones are versatile and look radiant in rosy pinks, warm apricots, and corals. Tan and olive skin tones are beautifully complemented by deeper corals, terracotta, and warm rose shades. For deep skin, rich and highly pigmented shades like deep berry, plum, and brick red provide a stunning flush without looking ashy.
Master the ‘W’ Application Technique
This sun-kissed look is achieved using what makeup artists call the 'W' technique. Imagine drawing a soft, wide 'W' across the centre of your face. Start at the high point of your cheekbone, near your temple. Sweep the blush down towards the apple of your cheek, then up across the bridge of your nose. Continue the motion down the other side of your nose and back up towards the opposite temple. This placement mimics the high points of the face where the sun would naturally hit, creating a cohesive and authentic-looking glow. For an even more realistic effect, you can add a tiny dab of leftover product to the centre of your forehead and chin.
The Secret is Seamless Blending
Application is only half the battle; blending is what makes the look truly believable. After placing the blush in a 'W' shape, you need to diffuse the edges so there are no harsh lines. The tools you use can depend on your blush formula and personal preference. Your fingertips are excellent for melting cream blushes into the skin, as the warmth from your skin helps the product blend seamlessly. A damp makeup sponge is another great option, allowing you to gently press and stipple the colour into your base for an airbrushed effect. For powders or even creams, a soft, fluffy brush can be used to lightly buff the colour in using soft, circular or sweeping motions. The key is to blend until the colour looks like a gentle flush, not like makeup sitting on your skin.