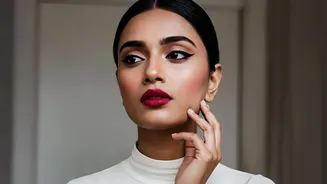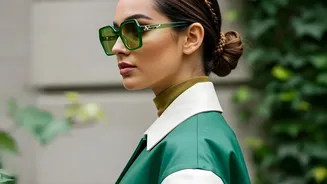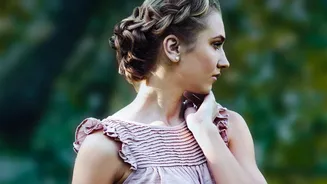




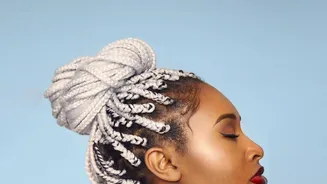


Why Choose a Braided Low Bun?
The braided low bun is the perfect combination of elegance and ease. It's a versatile hairstyle that works for almost any occasion, from a formal wedding to a casual day at the office. The braid adds a touch of intricate detail that makes the style look
more complex and polished than it actually is to create. It keeps your hair neatly off your face while showcasing texture and dimension. Whether you opt for a sleek and tight version or a soft, romantic, and messy style, the braided low bun is a reliable and beautiful choice.
Gather Your Tools
Before you begin, make sure you have everything you need. This will make the process smoother and ensure your style holds. You will need a hairbrush, a comb for creating clean parts, a main hair tie for the ponytail, small clear elastics for the braid, several bobby pins that match your hair colour, and a firm-hold hairspray or finishing spray. Optionally, you might want a texturizing spray for added grip, a pomade or gel for smoothing flyaways, or a hair donut if you have fine hair and want a fuller-looking bun.
Step 1: Prepare Your Hair
Start by brushing your hair thoroughly to remove all knots and tangles. For a sleeker look, you can work a small amount of styling cream or gel through your hair to tame flyaways. If your hair is very fine or clean, it can be slippery. In this case, lightly spritzing it with water or a texturizing spray can provide the grip needed for the style to hold. Part your hair where you normally would, or create a clean center part with a comb for a more polished finish.
Step 2: Create the Low Ponytail and Bun
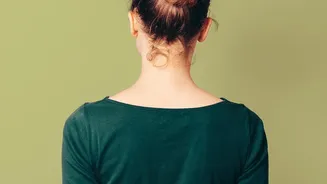
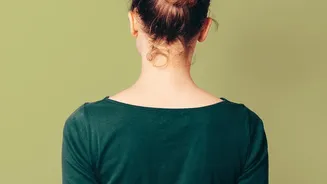
Gather your hair at the nape of your neck and secure it into a low ponytail with a hair tie. For the braided wrap technique, separate a small section of hair (about an inch wide) from the underside of the ponytail and clip it aside for now. Take the main part of the ponytail and twist or coil it around its base to form a simple bun. Don't worry about it being perfect. Secure the bun against your head using bobby pins, inserting them in an 'X' shape for extra hold.
Step 3: Add the Braided Detail
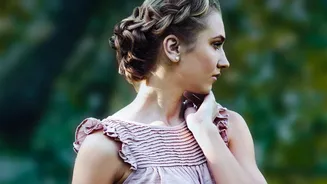
Now, unclip the section of hair you set aside. Braid this section firmly all the way to the ends and secure it with a small, clear elastic. To create a fuller-looking braid, you can gently pull on the edges of the braid to 'pancake' it, making it appear wider. Carefully wrap this braid around the base of your bun, covering the hair tie and the bobby pins from the previous step. Tuck the end of the braid underneath the bun and secure it discreetly with a couple of bobby pins.
Step 4: Secure and Finish
Once your braided bun is in place, give your head a gentle shake to check for any loose spots. Add extra bobby pins where needed to ensure the style feels secure. To tame any remaining flyaways and lock everything in place, finish with a light mist of a firm-hold hairspray. For an extra-sleek finish around the hairline, you can use a small amount of gel or pomade applied with a comb or a clean toothbrush.
Variations to Try
This hairstyle is wonderfully adaptable. For a different look, try a fishtail braid instead of a standard three-strand braid. You can also create two smaller braids and cross-wrap them over the bun for a more intricate design. For a softer, more romantic feel, leave a few face-framing tendrils out at the front before you start. Another option is to braid your entire ponytail before coiling it into a bun, which creates a fully braided texture throughout the bun itself.