




Safety First, Then Action
Before you do anything else, prioritise safety. Water and electricity are a dangerous combination. If water is near electrical outlets, appliances, or extension cords, shut off the power at the main breaker before you approach the area. Move any furniture,
rugs, and electronic devices away from the wet patches immediately. This not only protects your belongings but also clears the area for effective drying. Once the area is safe and clear, the next step is to remove as much standing water as possible. Time is your enemy here, as water can cause damage within minutes.
Remove Excess Water Immediately
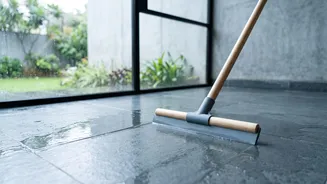
Your first line of defence is to get rid of the standing water. Don't wait for it to evaporate. For smaller puddles, thick, absorbent towels or a good quality microfiber mop will do the trick. Wring them out and repeat until no more water can be soaked up. For more significant amounts of water, a wet/dry vacuum is an incredibly effective tool that can pull a surprising amount of moisture from the surface. A squeegee can also be useful to push water towards a drain or an area where it can be easily mopped up. The more water you can physically remove at this stage, the faster the drying process will be.
Create Maximum Airflow
Once the excess water is gone, your main goal is to accelerate evaporation. The single most important factor for this is air movement. Open windows and doors on opposite sides of the room to create a cross-breeze, but only if it's not still raining or excessively humid outside. Turn on all your ceiling and pedestal fans, directing them towards the wet floor. For best results, position fans to blow air across the floor surface, not directly down at it. This sweeping motion helps lift moisture from the floor and carry it away more efficiently.
Use a Dehumidifier for Best Results
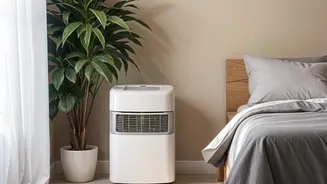
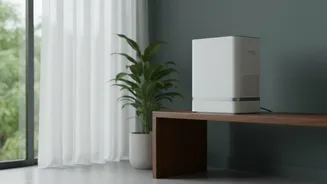
While fans move moist air around, a dehumidifier actively removes that moisture from the atmosphere. Running a dehumidifier in the closed-off room is one of the most effective ways to speed up drying, especially in the humid conditions of the monsoon. The machine pulls water from the air, creating a drier environment that encourages moisture to evaporate from your floors and subfloor more quickly. If you don't own one, consider renting a unit for a day or two in cases of significant water ingress; it can make a huge difference in preventing long-term issues like mould.
Tailor Your Method to the Floor Type
Different flooring materials react to water differently. For ceramic or porcelain tile, the main concern is water seeping into the grout. After drying, you'll want to ensure the grout is completely dry to prevent mould. For hardwood floors, the situation is more urgent as wood can warp, cup, or buckle when wet. Avoid using high heat, as it can damage the wood; rely on powerful airflow and dehumidification. For laminate flooring, water can cause the core to swell, often leading to irreversible damage, so speed is absolutely critical. If water gets under laminate or vinyl planks, you may need to lift them to dry the subfloor beneath.
Check for Lingering Dampness and Prevent Mould
Even after your floor looks and feels dry, moisture can remain trapped in the subfloor or within grout lines. The 24-72 hour window after water exposure is critical for preventing mould growth. After the initial drying, it's wise to keep fans and a dehumidifier running for at least another day. Pay close attention to any musty smells, which are a tell-tale sign of mould. Once you are confident the floor is completely dry, clean the area with a suitable disinfectant to kill any lingering bacteria or mould spores. This final step ensures your home remains healthy and free from the long-term consequences of water damage.