





Solidify Your Support Hold
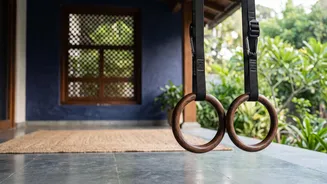
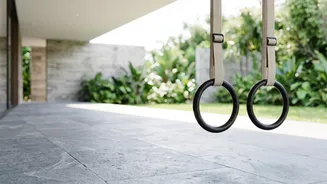
Before you can dip, you must be able to simply hold your bodyweight on the rings. The support hold is the foundational position for all ring work. Jump up so your arms are fully extended, knuckles facing out, and shoulders pressed down, away from your ears.
Your goal is to eliminate the shakes. This requires immense core tension and shoulder stability. Initially, your body will want to tremble as it learns to manage the instability. Aim to build up to a solid, unshakable 30-second hold. This position teaches your body to create the tension needed to stay in control throughout the entire dip movement.
Master Dips on a Stable Surface
Unassisted ring dips are significantly harder than their parallel bar counterparts. Before even thinking about rings, you must prove your strength on a stable surface like dip bars or two sturdy boxes. Focus on achieving a full range of motion, lowering your body until your shoulders are slightly below your elbows before pressing back up to a full lockout. Don't rush the reps; control is key. A widely accepted benchmark is the ability to perform at least 10 to 15 clean, consecutive bar dips. This ensures your chest, shoulders, and triceps have the raw pressing power required for the next stage.
Build Pushing Strength with Ring Push-Ups
Once you've mastered bar dips, the next step is to introduce the instability of the rings in a less demanding exercise: the ring push-up. By setting the rings low to the ground and performing push-ups, you begin to train the smaller stabiliser muscles around your shoulders and core. This exercise mimics the feeling of controlling the rings without having to support your entire bodyweight in a vertical press. Focus on keeping the rings steady throughout the movement. You'll quickly notice how much harder your muscles have to work to prevent the rings from sliding apart. Aim for several sets of 10-15 reps before moving on.
Control the Negative
The eccentric, or lowering, phase of an exercise is where you build significant strength and control. Practicing negative ring dips is a crucial step to preparing your joints and connective tissues for the full movement. Start in the top support hold position. As slowly and with as much control as possible, lower yourself down. Your goal is a smooth, 3- to 5-second descent. At first, you may only be able to control the top portion before your form breaks. That's okay. Over time, you'll build the strength to control the entire negative until your shoulders touch the rings. This not only builds strength but also bolsters your confidence on the rings.
Use Assistance to Practice the Full Motion
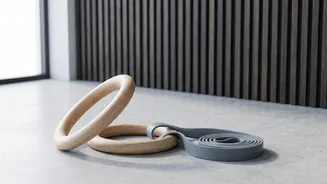
The final checkpoint is performing the full ring dip with assistance. This allows you to practice the complete movement pattern while your body is still building the requisite strength. The two most common methods are using resistance bands or your feet for support. A resistance band can be looped over the rings and placed under your knees or feet to provide an upward boost, making the bottom of the dip more manageable. Alternatively, you can lower the rings and keep your toes on the ground for support, a technique known as a toe-supported dip. This allows you to 'spot' yourself, adding assistance only when needed. Gradually reduce the assistance until you can perform a full, unassisted rep with perfect form.