



Your New Favourite Healthy Snack
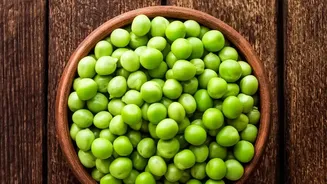
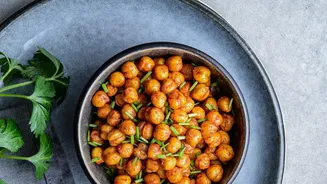
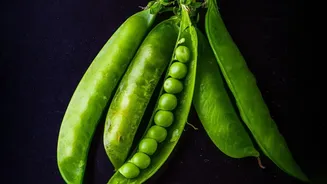
Move over, roasted chickpeas. There’s a new contender for the title of best healthy, crunchy snack, and it’s the wonderfully simple green pea. When roasted in the oven, these little green gems undergo a magical transformation, turning from soft and tender to
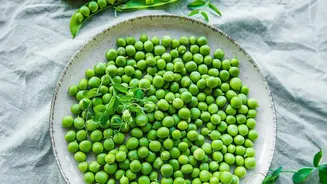
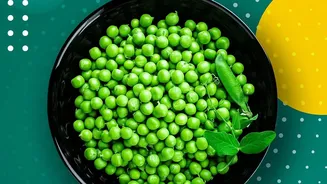
irresistibly crispy and flavourful. They offer that satisfying crunch we all crave, but are packed with fibre and plant-based protein, making them a snack you can feel good about. This recipe is incredibly budget-friendly, relying on a simple bag of frozen peas, and it’s a fantastic way to get kids excited about eating their vegetables.
Gather Your Simple Ingredients
The beauty of this recipe lies in its simplicity. You likely have everything you need already. For the basic version, you will require: Frozen Peas: About two cups will do. Regular frozen peas work best as they hold their structure well during roasting. You can use fresh peas, but they should be blanched for a couple of minutes first. Olive Oil: Two to three teaspoons are all that's needed to help the peas crisp up and the seasonings adhere. You can also use avocado or melted coconut oil. * Seasoning: Start with the basics—salt, pepper, and garlic powder to taste. About an eighth of a teaspoon of each is a good starting point.
The Step-by-Step Method to Crispy Perfection
Achieving that perfect crunch is all in the technique. Follow these steps for snack success: 1. Preheat Your Oven: Set your oven to 400°F (or about 200°C). Line a large, rimmed baking sheet with parchment paper for easy cleanup. 2. Thaw and Dry the Peas: This is the most crucial step. Thaw your frozen peas by running them under warm water. Once thawed, you must get them as dry as possible. Spread them on a clean kitchen towel or paper towels and gently pat them dry. For extra crispiness, let them air-dry for 30 minutes. Excess moisture will cause the peas to steam instead of roast, preventing them from getting crunchy. 3. Season Generously: Place the dry peas in a bowl, drizzle with olive oil, and sprinkle with your chosen seasonings. Toss well to ensure every pea is evenly coated. 4. Roast in a Single Layer: Spread the seasoned peas onto your prepared baking sheet. Make sure they are in a single layer and not overcrowded, which allows moisture to escape and promotes even browning. 5. Bake and Shake: Roast for 30 to 40 minutes. It's important to shake the pan or stir the peas every 10-15 minutes to ensure they cook evenly and don't burn on one side. They are done when they are golden-brown and crispy. The cooking time can vary based on your oven, so start checking them after 25 minutes.
Endless Flavour Variations
Once you've mastered the basic recipe, the sky's the limit for flavour combinations. Don't be afraid to experiment with your favourite spice blends. Some popular ideas include: Smoky & Spicy: A mix of smoked paprika, chili powder, and a pinch of cayenne pepper. Cheesy (Dairy-Free): Toss with nutritional yeast, garlic powder, and onion powder for a savoury, cheesy flavour. Herby Delight: Try a combination of dried rosemary, thyme, and a squeeze of fresh lemon juice after roasting. Everything Bagel: Use a generous sprinkle of everything bagel seasoning for a savoury, seedy crunch.
Storing Your Crunchy Creation
These roasted peas are at their absolute best when eaten fresh and slightly warm from the oven. However, if you manage to have any leftovers, you can store them. Allow the peas to cool completely before placing them in an airtight container at room temperature. They should stay relatively crispy for up to three days. If they lose some of their crunch, you can easily revive them by reheating them in the oven or an air fryer at 350°F (175°C) for 5-10 minutes until they crisp up again.