
The Golden Rule of Pesarattu Upma
The magic of this beloved Andhra dish lies in its contrast of textures. You want the thrilling crispness of the green gram dosa giving way to the pillowy softness of the semolina upma. To achieve this, the golden rule is simple: the upma must wait for
the pesarattu, never the other way around. A pesarattu is at its absolute best the moment it leaves the hot tawa—at peak crispiness and temperature. It loses its delicate crunch with each passing minute, becoming soft and limp if left to sit. Upma, on the other hand, is far more forgiving. A well-made upma can be kept warm, covered, for a short period without losing its texture or flavour. By preparing the upma first, you free yourself to give the pesarattu your full attention, frying and serving it immediately for that perfect, restaurant-quality experience at home.
First, Craft the Perfect Upma
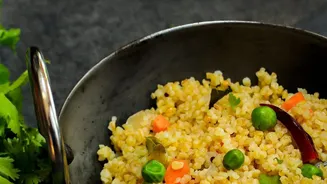
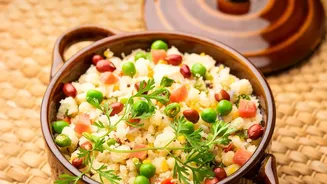
Begin by making a fluffy, flavourful upma. The key is to have it ready and waiting, warm and inviting. For about four servings, start by dry-roasting one cup of coarse semolina (rava) in a pan on medium heat until it's fragrant but not browned, then set it aside. In the same pan, heat a tablespoon of oil or ghee. Add a teaspoon of mustard seeds and let them pop. Follow with a teaspoon each of chana dal and urad dal, frying until they turn light golden. Now, toss in a sprig of curry leaves, one or two chopped green chillies, and an inch of grated ginger. Sauté for a minute before adding one finely chopped onion. Cook until the onion is soft and translucent. Pour in three cups of water and salt to taste, bringing it to a rolling boil. Now, reduce the heat to low and slowly stream in the roasted rava while stirring continuously to prevent lumps. Once all the rava is incorporated, cover the pan and let it steam for two to three minutes until the moisture is absorbed. A final swirl of ghee is optional but recommended. Keep it covered and warm.
Next, Prepare the Pesarattu Batter
The heart of a great pesarattu is a well-made batter. It doesn’t require fermentation, so you can make it just before you plan to cook. Start by soaking one cup of whole green gram (moong) and two tablespoons of raw rice in water for at least four to six hours. Soaking for the right amount of time is key; over-soaking can result in a softer dosa. After soaking, drain the water completely. Transfer the soaked gram and rice to a blender. Add one or two green chillies, a one-inch piece of ginger, a teaspoon of cumin seeds, and salt to taste. Add just enough water to help it grind into a smooth, thick batter, similar to a standard dosa batter. The consistency is crucial; if it’s too runny, the pesarattu won’t be crispy, and if it’s too thick, it will be difficult to spread. Avoid adding water after grinding; it's best to achieve the right consistency in the blender itself.
The Final Assembly: From Tawa to Plate
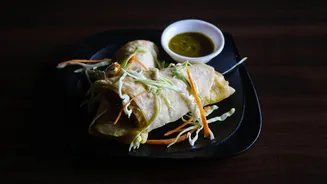
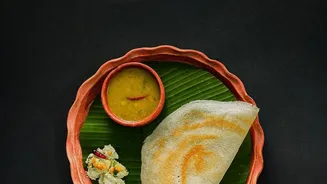
With your warm upma and fresh batter ready, it’s time for the final act. Heat a flat dosa tawa or non-stick pan over medium heat. Lightly grease it and, once hot, pour a ladleful of the pesarattu batter in the center. Working quickly, spread it outwards in a circular motion to form a thin crepe. Drizzle a little oil or ghee around the edges and on top. Many enjoy sprinkling finely chopped onions over the surface at this stage; gently press them into the batter with a spatula. Cook until the underside is golden brown and the edges start to lift away from the pan. This dosa is often cooked on just one side to maintain a soft top surface for the filling. Place a generous spoonful of the warm upma on one half of the pesarattu. Fold the other half over it and gently press. Don't let it linger; slide the freshly made MLA Pesarattu directly onto a serving plate. This immediate serving is what preserves its signature crunch.