

A Taste of Indian Heritage
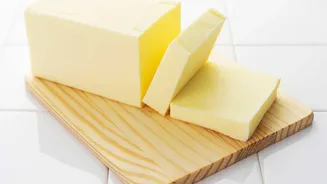
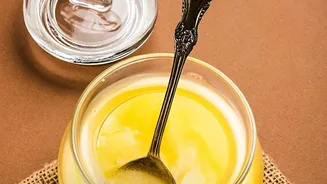
White butter is deeply woven into the fabric of Indian culture and cuisine. Its history can be traced back to ancient times, famously known as the favourite food of Lord Krishna. This connection has cemented its place in religious practices and daily
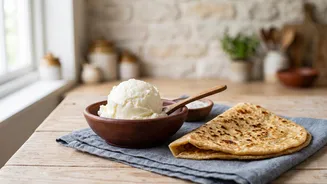
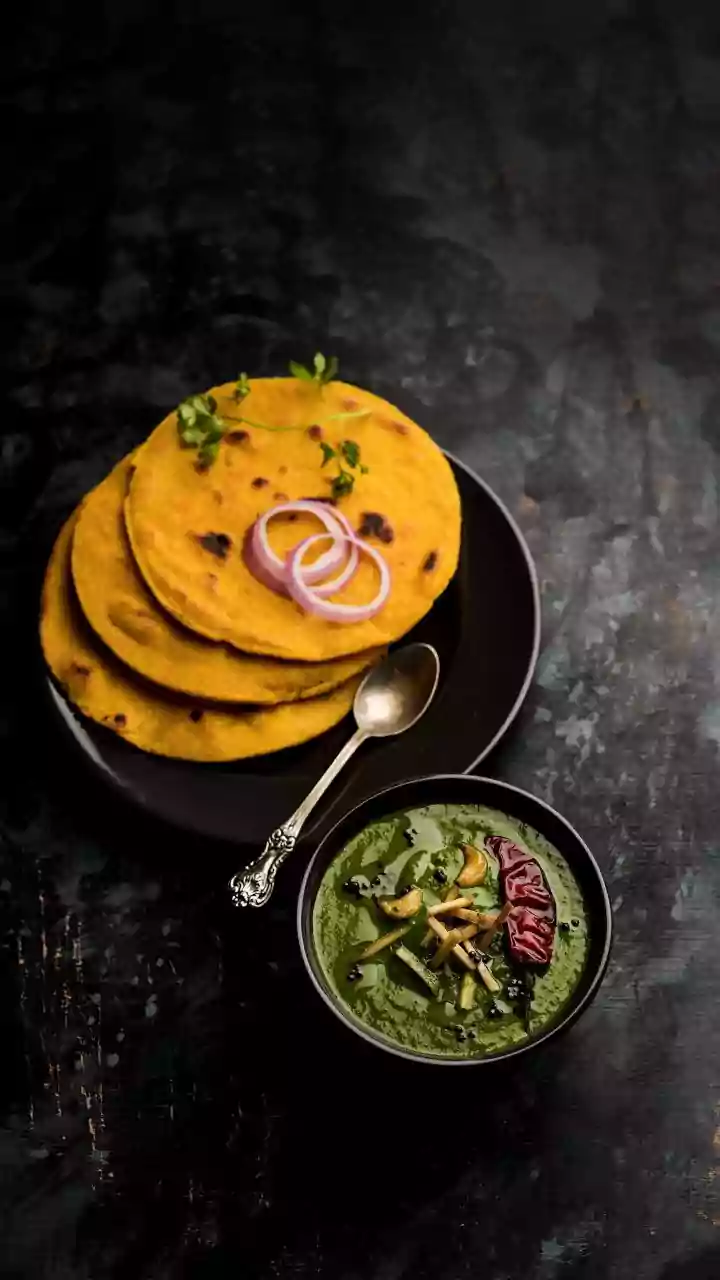
life for centuries. For many, the image of 'safed makkhan' melting onto a hot paratha or a dollop enriching a bowl of dal is a cherished culinary memory. It's a flavour that speaks of home, comfort, and the authenticity of traditional Indian food, served liberally with classics like makki di roti and sarson ka saag.
Purity and Simple Nutrition
One of the most significant differences between homemade white butter and its commercial yellow counterpart is what it lacks: salt, preservatives, and artificial colouring. This makes it a fresher, more natural product. For those monitoring their sodium intake, this is a major advantage. Nutritionally, white butter is a source of fat-soluble vitamins like A, D, and E. Vitamin A is beneficial for vision and skin, Vitamin D helps in bone health, and Vitamin E acts as an antioxidant. Because it is unprocessed, these nutrients are readily available.
Potential Wellness Benefits
Beyond its purity, homemade butter contains several compounds that are believed to support wellbeing. It is a source of butyrate, a short-chain fatty acid that may help promote gut health and reduce inflammation. Some sources also suggest that it contains lecithin, a substance that may aid in the assimilation of fats and boost metabolism. While commercial butters often contain trans fats, homemade white butter offers healthy calories that are important for the body. However, like all fats, it should be consumed in moderation as part of a balanced diet.
Your Simple Guide to Making White Butter
Making your own white butter sounds complex, but it's a surprisingly simple process that requires just one main ingredient: full-fat cream, or 'malai'. Thanks to modern kitchen gadgets like blenders or food processors, what once took considerable effort can now be done in minutes. The process involves collecting the cream, churning it to separate the fat solids from the liquid, and then washing the butter to increase its freshness and shelf life. The leftover liquid is buttermilk ('chaas'), which is also nutritious and can be used in other recipes.
Step 1: Collect the Cream
The journey begins with collecting malai. After boiling full-fat milk, allow it to cool completely, then refrigerate it for several hours or overnight. A thick layer of cream will form on the surface. Skim this layer off carefully and store it in an airtight container in the freezer. Continue collecting the cream over several days or weeks until you have accumulated at least 2 to 3 cups. When you're ready to make butter, thaw the frozen cream by moving it to the refrigerator or leaving it at room temperature.
Step 2: The Churning Process
Once thawed, transfer the cream to a blender, food processor, or a large bowl if using a hand mixer. Add a little cold water and begin churning. At first, the cream will become smooth and resemble whipped cream. Continue to blend. After a few minutes, you will notice a change in texture and sound as the fat solids begin to separate from the liquid, forming clumps of butter. This process usually takes between 10 to 15 minutes.
Step 3: Separate and Wash
Once the butter has clearly separated into lumps, you can add some ice cubes or very cold water to help it firm up. This makes it easier to handle. Gather the butter solids with your hands or a spatula, squeezing gently to remove the buttermilk. Place the butter in a separate bowl filled with fresh, ice-cold water. Knead it gently to wash away any remaining buttermilk. You may need to repeat this washing process two or three times with fresh cold water, until the water runs clear. This step is crucial for ensuring the butter stays fresh for longer. Once washed, press out any excess water and store your fresh makkhan in an airtight container in the refrigerator.