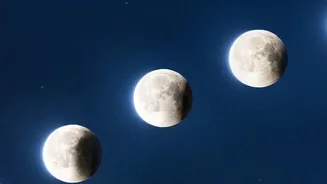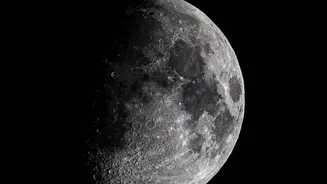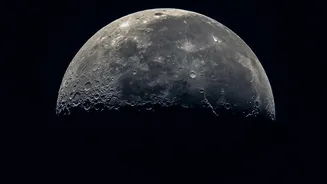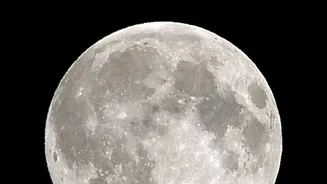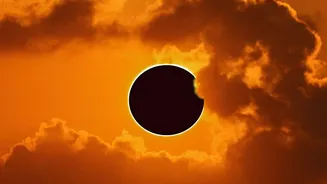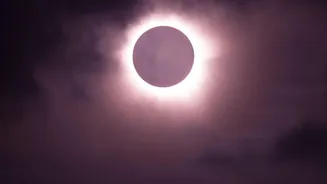




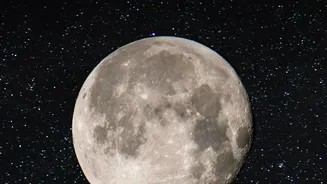
A lunar eclipse is a breathtaking celestial event, but capturing its beauty can be frustrating. All too often, the result is a blurry, disappointing photo. This guide will walk you through the essential steps to nail your focus every time.
Why Your Autofocus Will Fail
Before we dive
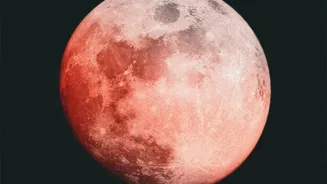
into the 'how', it's important to understand the 'why'. Your camera's autofocus (AF) system is a sophisticated piece of technology, but it relies on detecting contrast to work properly. When you point it at a bright, full moon, it can often find an edge or a crater to lock onto. However, during an eclipse, the moon darkens significantly. As it slips into Earth's shadow, the contrast drops dramatically, turning the moon into a dim, reddish object that confuses most autofocus systems. The camera will 'hunt' back and forth, unable to find a point of contrast to lock onto, resulting in a blurry image. For this reason, taking control and switching to manual focus is not just a suggestion—it's a necessity for sharp eclipse photos.
Essential Gear for Sharpness
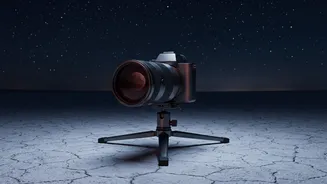
You don't need a space telescope, but a few key pieces of gear are non-negotiable for getting a crisp shot. First, a camera that allows for manual control over focus and exposure is a must. Second, you'll need a telephoto lens, ideally with a focal length of 200mm or longer, to make the moon appear large enough in your frame to show detail. Finally, and most critically, you need a sturdy tripod. The moon is moving, and you'll be using a long lens, which magnifies even the slightest camera shake. A solid tripod eliminates that variable. To further prevent vibrations, a remote shutter release or using your camera's built-in two-second timer is highly recommended, as even the act of pressing the shutter button can cause blur.
Switch to Manual and Use Live View
Your most powerful focusing tool is your camera's LCD screen. Start by switching your camera and lens to Manual Focus (MF). Then, activate your camera's 'Live View' mode, which displays the real-time image from the sensor on the screen. Point your camera at the moon and, if possible, get your initial focus before the eclipse begins, when the moon is at its brightest. Don't rely on the infinity symbol (∞) on your lens's focus ring; many lenses can focus slightly 'past' infinity, which will make your image soft.
Magnify and Refine Your Focus
With the moon on your LCD screen, use your camera's digital zoom or magnify function. Zoom in as far as you can—typically 5x or 10x—on the edge of the moon or a bright, high-contrast crater. This magnified view is where you'll do the precision work. Slowly and carefully turn the manual focus ring on your lens. Watch the screen closely and adjust the ring back and forth until the details of the craters or the edge of the moon appear as sharp and well-defined as possible. Take your time with this step, as it's the most crucial part of the entire process.
Use Focus Peaking If Available
Many modern mirrorless and DSLR cameras have a feature called 'focus peaking', which is a manual-focusing game-changer. When enabled, the camera highlights the parts of the image that are in sharpest focus with a bright color overlay (often red, yellow, or blue). After you've used Live View to magnify the moon, turn on focus peaking. As you adjust the manual focus ring, you'll see the colorful highlights appear on the sharpest edges of the moon's craters. Adjust the focus until those colored highlights are as bright and crisp as possible. It's a fantastic visual confirmation that your focus is perfect.
Lock It and Take a Test Shot
Once you've achieved perfect focus, the goal is to not touch it again for the rest of the eclipse. Some photographers will place a small piece of gaffer tape on the focus ring to lock it in place. Before the eclipse starts, take a test shot. Then, use your camera's playback function to zoom in on the captured image of the moon and confirm it is tack-sharp. If it's not, repeat the manual focusing process. Once it's sharp, you're ready to shoot the eclipse without worrying about focus, allowing you to concentrate on adjusting your exposure as the moon dims and brightens.
Settings That Support a Sharp Image
While focus is key, other settings contribute to a crisp final image. To capture the fine details on the lunar surface, use a mid-range aperture like f/8 or f/11. Most lenses are sharpest in this range, avoiding the softness that can come with shooting at their widest or narrowest apertures. Keep your ISO low (around 100-200) for the brighter phases of the eclipse to minimize digital noise. You'll need to increase ISO and use slower shutter speeds during the darkest part of totality, but a solid focus will ensure the details you can capture remain sharp.