



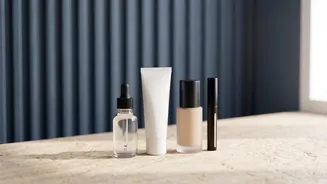
The Philosophy of Facial Layering
Facial layering is less a trend and more a fundamental shift in how to approach makeup application. The goal is to enhance, not mask. Instead of applying one heavy layer of foundation to do all the work, this method involves building thin, intentional
veils of different products in a specific sequence. Each layer has a purpose: primer grips, foundation evens, concealer targets, and powders set. The result is a finish that looks dimensional, blended, and incredibly natural. The core principle is that thin layers are less likely to cake, crease, or shift throughout the day. This technique allows your skin to breathe, which can lead to fewer clogged pores and less irritation compared to heavy makeup application. It’s about creating a flawless look by ensuring each product can perform at its best without being disrupted by the next.
It All Starts with Skin Prep
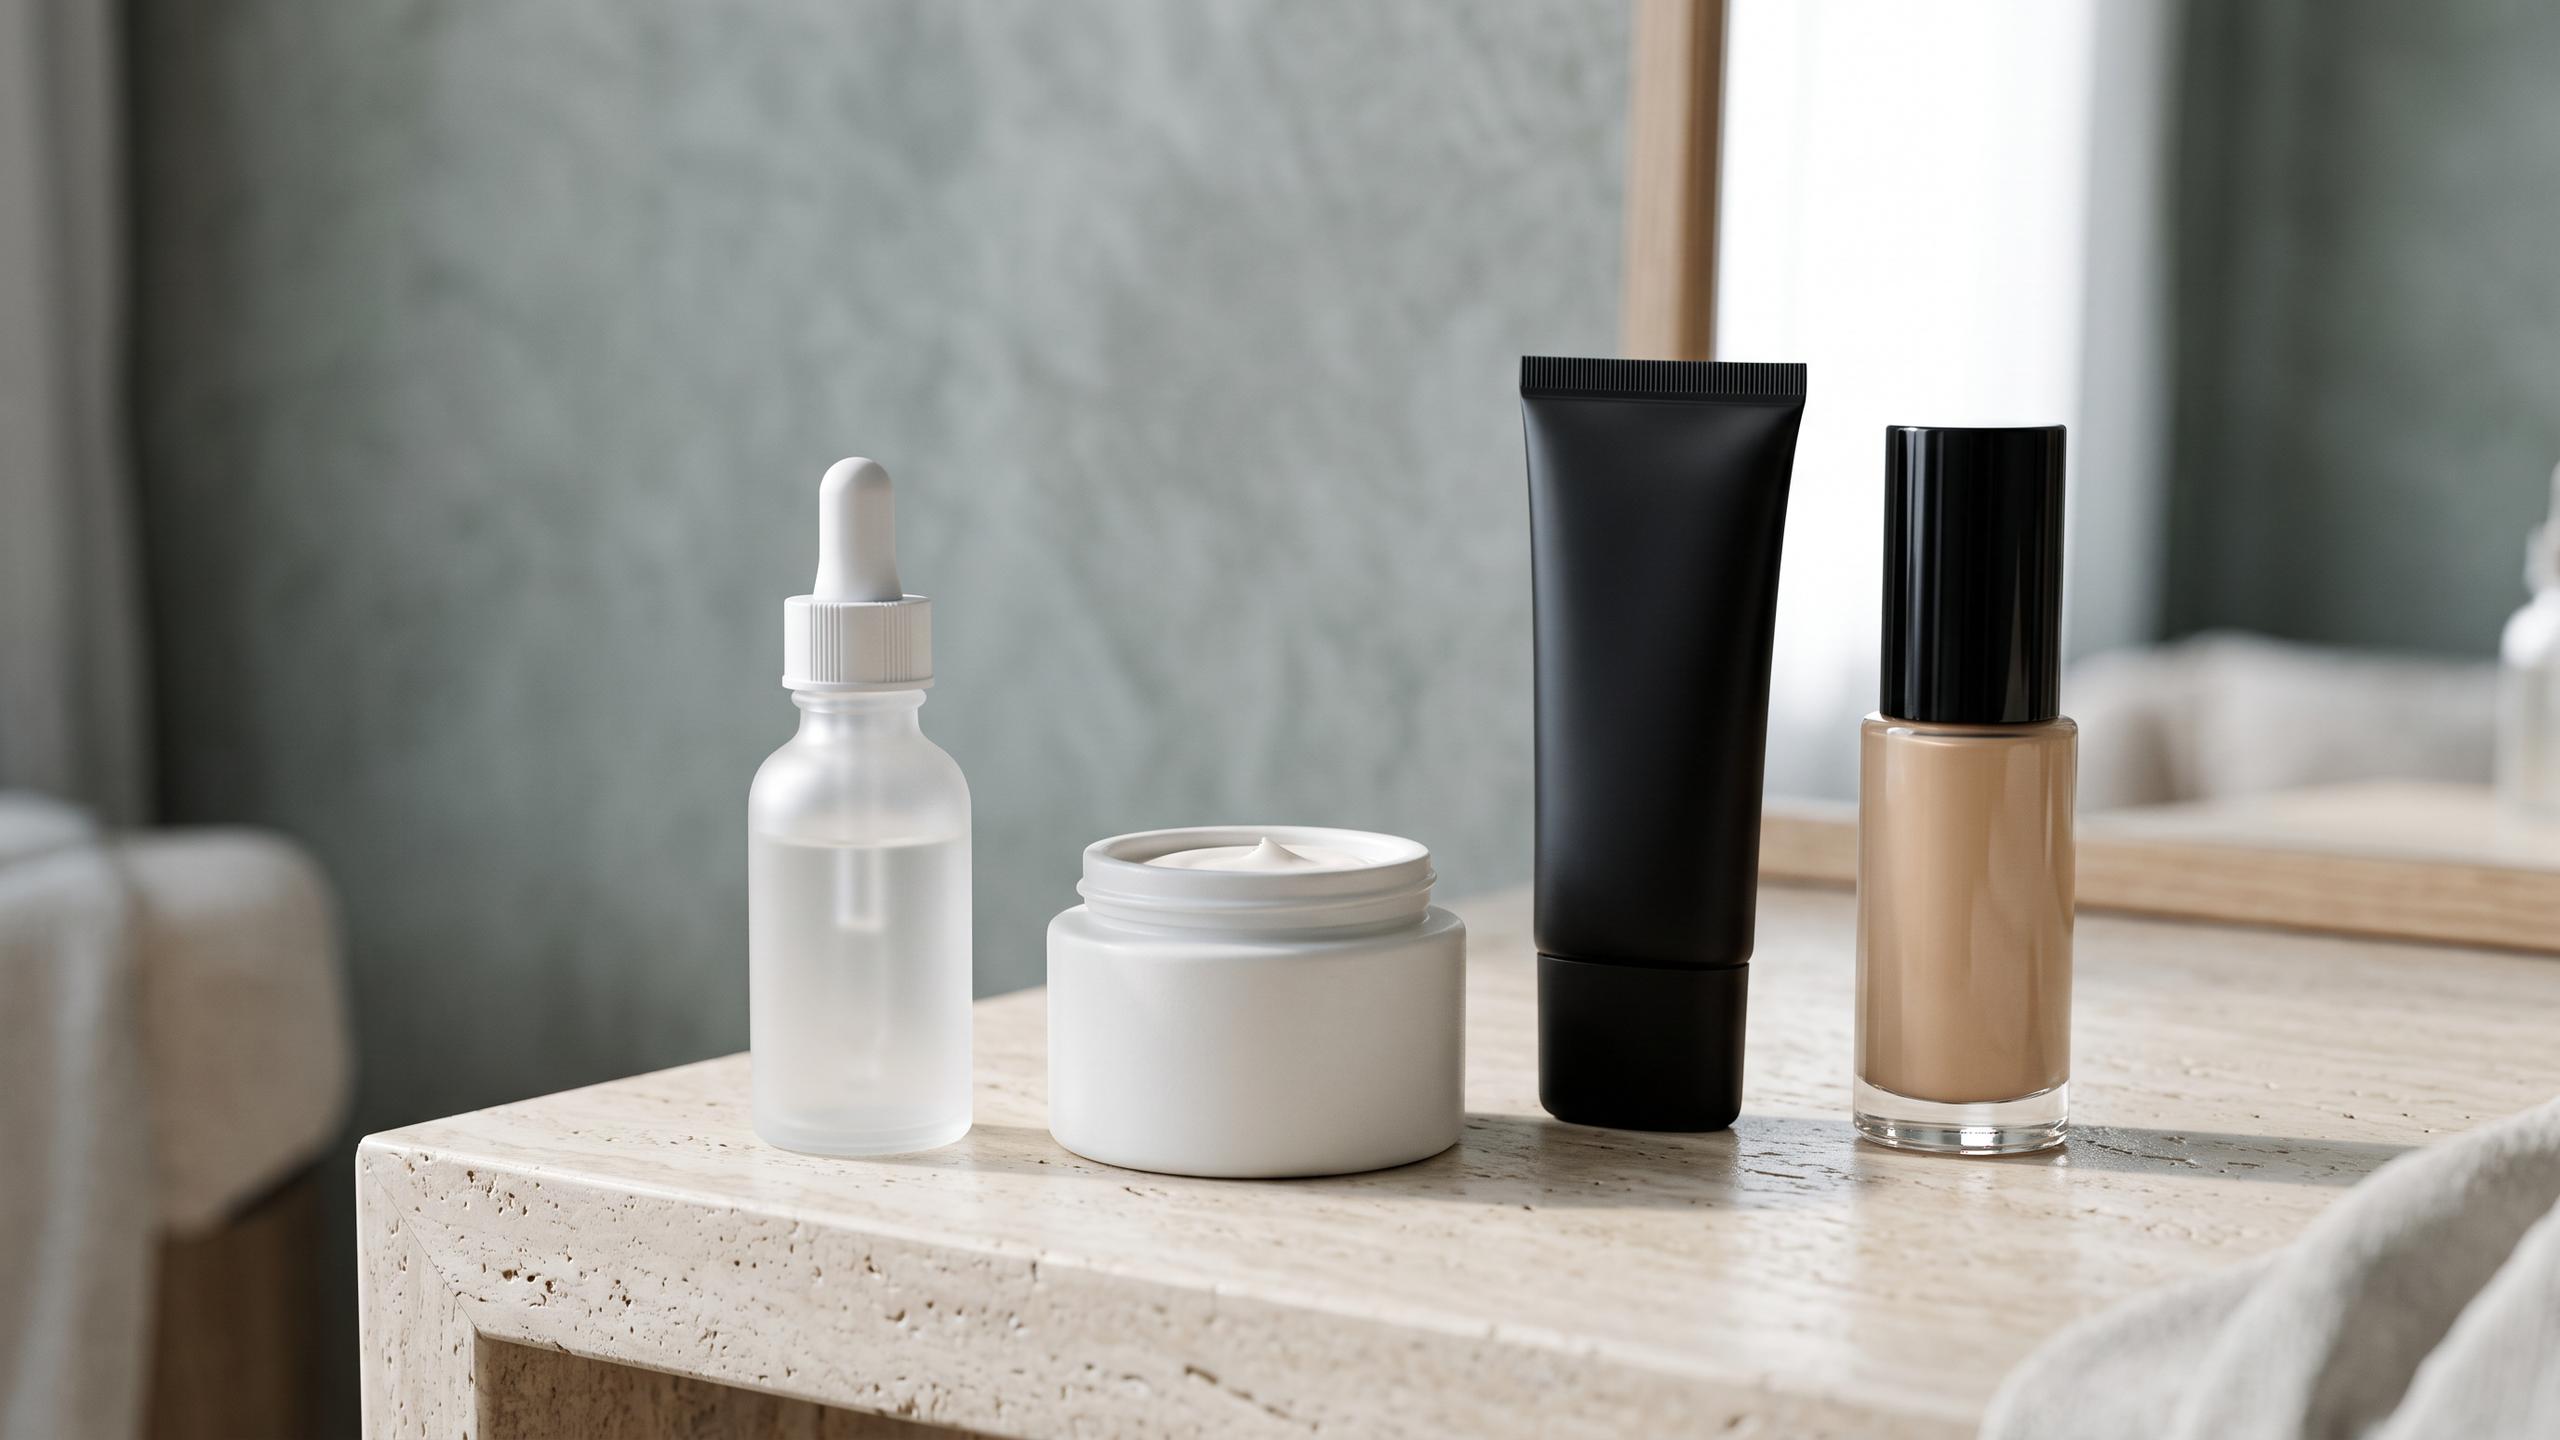
The most crucial step in facial layering happens before any makeup is applied. A well-prepped canvas ensures that your products will glide on smoothly and last longer. Start by cleansing your face to remove any oil or residue. Next, applying a toner can help balance your skin's pH, and a hydrating serum will create a plump, moisturized base. Finally, apply a moisturizer suitable for your skin type. The general rule for skincare is to apply products from the thinnest to thickest consistency, allowing each layer a moment to absorb. The last step in your pre-makeup routine should always be a primer. A primer creates a smooth surface for your foundation to adhere to, helping to blur pores and control shine, which is essential for achieving a seamless final look.
Step 1: The Base Layer
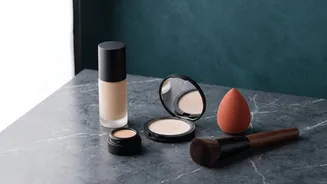
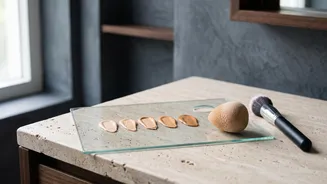
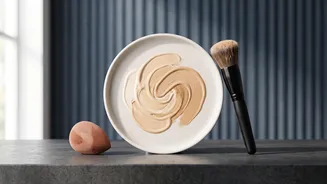
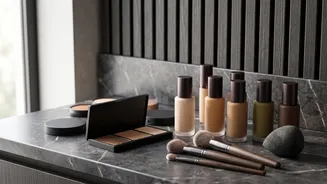
Once your skin is prepped, it's time for the foundation. The key here is to apply it in a sheer layer. Whether you're using a liquid foundation or a tinted moisturizer, start with less product than you think you need. Apply a small amount to the center of your face—around the nose and mouth where redness and unevenness are common—and blend it outwards towards your hairline and jaw. Using a damp beauty sponge and a gentle tapping or stippling motion is an excellent way to press the product into the skin for a natural, second-skin finish. Avoid swiping or dragging, which can create streaks and disrupt your primer. If you need more coverage in certain areas, you can build it up with another very thin layer, but only where necessary.
Step 2: Strategic Concealing
With an even base established, the next layer is concealer. This step is for targeted correction, not for masking your entire face. Apply concealer sparingly only where you need it, such as under the eyes, around the nose, or on any specific blemishes. Using a small brush or the tip of your finger, gently tap to blend the product. The warmth from your finger can help melt the concealer seamlessly into your foundation. The idea is to brighten and cover with precision, rather than applying a thick triangle of product under the eyes, which often leads to creasing. Remember that liquids and creams should be applied before any powders to avoid a patchy or uneven texture.
Step 3: Building with Colour
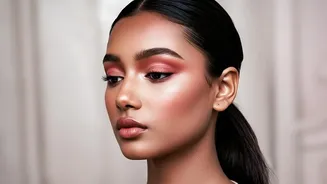
Now that your complexion is even, it's time to bring back dimension and a healthy flush of colour. This is where you layer your bronzer, blush, and highlighter. If you're using cream or liquid formulas, apply them now, before any powder. Sweep cream bronzer on the areas where the sun would naturally hit, like the temples, cheekbones, and jawline, to add warmth. Then, tap cream blush onto the apples of your cheeks for a healthy, youthful glow. The key is to blend everything thoroughly with a brush or sponge so there are no harsh lines. This layering of colour products adds life back into the face without looking heavy or artificial.
Step 4: The Final Set
The final step is to lock everything in place. This is where powder and setting spray come in. It’s a common mistake to apply powder all over the face, which can mattify the glow you just created. Instead, be strategic. Use a fluffy brush to apply a light dusting of translucent setting powder only in areas that tend to get oily, like the T-zone or under the eyes. After powdering, a setting spray is the final touch. It helps to meld all the layers of makeup together, remove any powdery finish, and ensure your look lasts for hours.