




Pesarattu: The Soaking and Grinding Secret
The journey to a flawless pesarattu begins long before the batter hits the pan. It starts with the whole green moong dal. The key is to avoid over-soaking the lentils. An ideal soaking time is between four to six hours. Soaking them for longer can result
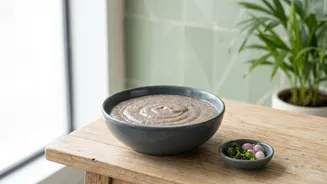
in a softer, less crispy dosa. Some recipes call for a small amount of rice to be soaked along with the dal—about two tablespoons of rice for every cup of dal—which is a well-known secret for adding extra crispiness. When it's time to grind, the consistency is crucial. The batter should be smooth but not overly pasty; a slightly coarse texture, similar to fine semolina, is perfect. It must be thick enough to be spreadable but not runny. A watery batter will prevent the pesarattu from crisping up properly. Unlike regular dosa, pesarattu batter does not need to be fermented and should be used right away.
Pesarattu: Mastering the Tawa Technique
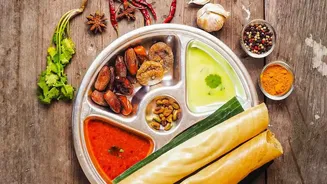
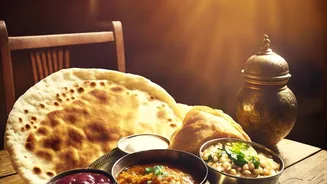
With your batter ready, the next stage is the cooking process. A properly heated tawa (griddle) is non-negotiable. Whether using cast iron or non-stick, let the pan get hot enough that a sprinkle of water sizzles immediately. On a cast-iron pan, you can rub a sliced onion dipped in oil across the surface to season it before pouring the batter. Pour a ladleful of batter onto the center and spread it outwards in a thin, even circle. Don't make it too thick, as this will prevent it from cooking through and getting crisp. Cook on a low to medium flame, which allows the pesarattu to cook slowly and develop a golden-brown, crisp texture. Drizzle a little oil or ghee around the edges and on top. You'll know it's ready to be flipped when the edges begin to lift away from the pan. Often topped with finely chopped onions, this step adds another layer of flavour and texture.
Upma: The Roasting Revelation
For upma, the single most important step to avoid a sticky, lumpy mess is to roast the rava (semolina). This must be done before you begin the tempering. Dry roast the rava in a pan over medium heat, stirring continuously until it becomes aromatic and the grains turn a light golden colour and appear separate and dry. This simple step ensures that each grain of semolina remains distinct, leading to a fluffy final product instead of a pasty one. If you are short on time during busy mornings, you can roast a larger batch of rava in advance and store it in an airtight container.
Upma: The Water Ratio and Right Temperature
The second pillar of perfect upma is the water-to-rava ratio. While preferences vary slightly, a common ratio for a soft and fluffy upma is 2.5 to 3 cups of water for every 1 cup of rava. Using less water can result in a dry texture, while too much will make it mushy. Equally important is the water's temperature. Always bring the water to a rolling boil before adding the rava. Adding rava to lukewarm or cold water is a primary cause of lumps. This boiling water should already be seasoned with salt and can contain the tempered spices, onions, and vegetables, creating a flavourful broth for the rava to absorb.
Upma: The Art of Mixing and Steaming
How you combine the rava and water matters immensely. Once the water is at a rolling boil, reduce the heat to low. Add the roasted rava slowly, in a steady stream, while stirring continuously with your other hand. This gradual addition and constant stirring are crucial to prevent lumps from forming. After all the rava is incorporated and has absorbed most of the water, cover the pan with a tight lid and let it steam on the lowest possible heat for about two to three minutes. This final steaming step allows the grains to swell fully and become perfectly fluffy. Turn off the heat and let it rest for another few minutes before opening the lid and fluffing the upma gently with a fork.