




Why Grow From Cuttings?
Propagating plants is not just a cost-effective way to expand your collection; it's a fundamental gardening skill that is deeply satisfying. It allows you to create an exact clone of a beloved plant, ensuring you get the same leaf colour, flower type,
and growth habit. This is perfect for multiplying plants you love, creating backups of tender favourites that might not survive a harsh season, or sharing your garden's bounty with friends and family. For many plant lovers in India, it's also a way to preserve and share species that are perfectly adapted to our local climate.
Gathering Your Simple Toolkit
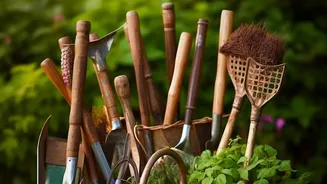
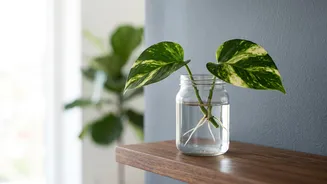
You don't need a professional laboratory to start. Most of what you need is likely already at home. First, you'll need a sharp, clean pair of scissors or pruning shears; a clean cut prevents damage to the parent plant and the cutting. Next, you'll want some small pots or containers with drainage holes. For the rooting medium, you have a few choices. While some plants root easily in a simple glass of water, many develop stronger roots in a dedicated medium. A sterile, well-draining mix is ideal to prevent rot. A mix of cocopeat and perlite is a great, widely available option in India. You might also consider a rooting hormone, which can speed up the process for slower-to-root plants.
Choosing the Right Plant and Cutting
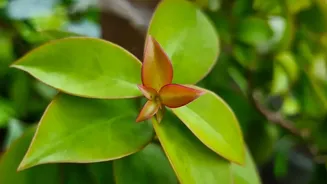
Success starts with choosing the right candidate. Many popular houseplants in India are incredibly easy to propagate. Think of Pothos (Money Plant), Syngonium, Philodendron, Coleus, Hibiscus, and Bougainvillea. Even succulents like Jade Plants are great candidates. When selecting a piece to cut, look for a healthy, mature stem that is actively growing. Avoid weak, diseased, or very old, woody stems. A good cutting is typically 4-6 inches long and has several leaves and at least one or two nodes. A node is the small bump on the stem where leaves and new roots grow from; it's the key to your success.
The Step-by-Step Guide to Propagation
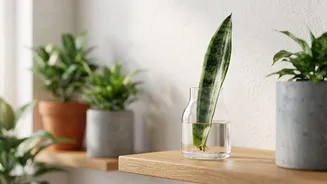
Once you have your cutting, the process is straightforward. First, prepare the cutting by removing the lower leaves; any leaves left under the soil or water will rot and can introduce disease. If you're using rooting hormone, pour a small amount onto a separate dish, dip the bottom inch of the cutting into it, and tap off the excess. Next, decide on your medium. For water propagation, simply place the cutting in a clean jar of water, ensuring the nodes are submerged but the remaining leaves are not. For soil propagation, use a pencil or your finger to make a hole in your pre-moistened potting mix, insert the cutting, and gently firm the soil around it.
Creating a Nurturing Environment
Your new cutting is like a baby plant and needs a stable, nurturing environment to develop roots. The key is to provide warmth, humidity, and bright, indirect light. Too much direct sun can scorch the fragile cutting, while too little light won't provide enough energy for it to grow. To create a humid micro-climate, you can cover the pot with a clear plastic bag. Inflate the bag slightly to ensure it doesn't touch the leaves, which can cause mould. Place your setup in a warm spot away from direct drafts. Check the soil every few days to ensure it stays consistently moist but never waterlogged.
Troubleshooting Common Issues
Sometimes, cuttings fail to root, and it's often due to a few common mistakes. The most frequent issue is rot, which happens when the medium is too wet and lacks oxygen, or when dirty tools introduce bacteria. Ensure your pots have good drainage and avoid overwatering. Yellowing leaves can be a sign of too much water or not enough light. If a cutting just sits there for weeks without doing anything, it might be due to a lack of a node, insufficient light, or being taken during the plant's dormant season. Patience is key, as some plants can take weeks or even months to show signs of rooting.