




Preparing for the Perfect Pencil Bun
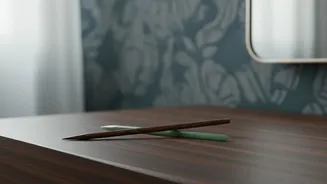
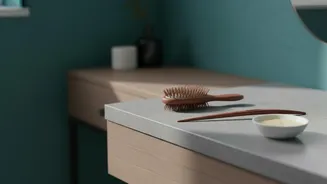
The beauty of this hairstyle lies in its simplicity. You only need two things: your hair and a standard pencil. A traditional wooden pencil often works better than a plastic mechanical one because the wood provides more friction to hold your hair. Some
people find that this style holds best in hair that isn't freshly washed, as second-day hair tends to have more grip. If your hair is very clean or fine, a spritz of texturizing spray or dry shampoo can add the hold you need to keep the bun secure. This technique generally works best for hair that is at least shoulder-length.
Step 1: Gather and Twist
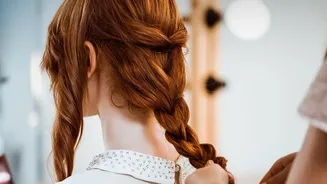
First, gather all of your hair into a ponytail with your hands, positioning it at the height where you want your bun to sit—a high top knot, a mid-level bun, or a low chignon all work. Hold the base of the ponytail firmly with one hand. With your other hand, begin twisting the ponytail tightly from the base all the way down to the ends. The tighter you twist the hair, the more secure and compact the foundation of your bun will be. For a messier look, you can leave the twist a little looser.
Step 2: Coil into a Bun
Once your hair is fully twisted, begin wrapping the coil around the base of the ponytail to form a bun. Keep one hand on the base to hold it in place as you wrap the hair around it. Depending on your hair's length, you may wrap it around two or three times. When you get to the end of your hair, tuck the tips underneath the bun you've just created to keep them from unraveling while you grab your pencil. Don't worry about it being perfectly neat; this is a messy top knot, after all.
Step 3: The Weaving Technique
This is the most crucial step for ensuring your bun stays put. Hold the bun in place with one hand and take the pencil in the other. The key is to weave the pencil through the bun in a way that anchors it to the hair on your scalp. Start by pushing the pencil’s point down through the top edge of the bun. Aim it toward your scalp, catch a small section of the hair at the base, and then push the pencil back up and out through the other side of the bun. Think of it as an 'in-and-out' motion that locks the coiled hair against your head. You may need to try this a couple of times to find the sweet spot where it feels truly secure.
Step 4: Perfecting the 'Messy'
Once the pencil is securely in place, it's time to refine the look. If the bun feels too tight or looks too much like a perfect doughnut, gently tug on sections of the coil to loosen it up and create more volume. You can also pull out a few face-framing strands to soften the style and enhance the effortless vibe. If any larger pieces feel too loose, you can either tuck them back under the pencil or use a bobby pin for extra security, though the goal is to rely solely on the pencil.
Variations for Different Hair Types
This technique is versatile, but small adjustments can help. For those with very thick or long hair, you may need a longer pencil or chopstick for a better hold, or you can try wrapping the hair around the pencil before twisting and securing it. For those with fine or layered hair, having some texture from spray can make a big difference. Another method involves creating a loop with your hair, not pulling the ponytail all the way through an imaginary elastic, and then fanning out that loop and securing it with the pencil. Experimentation is key to finding what makes your pencil bun feel both comfortable and secure all day.