

Gathering Your Supplies
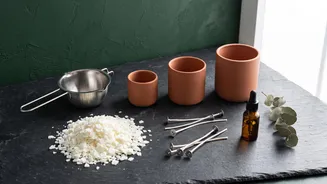
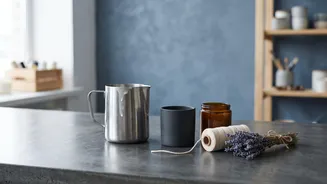
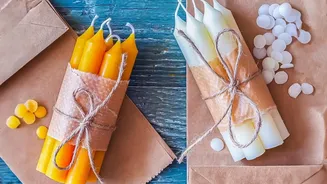
Before you can begin, you'll need to gather the right equipment. Most items are readily available from craft suppliers. You will need candle wax (soy wax flakes are excellent for beginners), pre-tabbed candle wicks, fragrance oils designed specifically
for candles, and of course, your heat-safe containers. For the process itself, you will require a double boiler or a dedicated melting pot, a kitchen thermometer, a pouring pot, and something to secure the wick, like a wick centering tool or even just two pencils laid across the container's rim.
Choosing Your Materials Wisely
The quality of your finished candle depends heavily on your choice of materials. For wax, soy wax is a popular, clean-burning choice that holds fragrance well. Paraffin is known for its strong scent throw, while beeswax offers a natural, honeyed aroma but can be trickier for beginners. The wick is just as critical; its size must match the diameter of your container. A wick that is too small will 'tunnel,' leaving unused wax on the sides, while a wick that is too large can create excess smoke and an dangerously large flame. Always use fragrance oils formulated for candle making, as essential oils can burn off too quickly or perform poorly. A good starting point for fragrance is a 6% load, which translates to about 1 ounce of oil per pound of wax.
What Makes a Container 'Heat-Safe'?
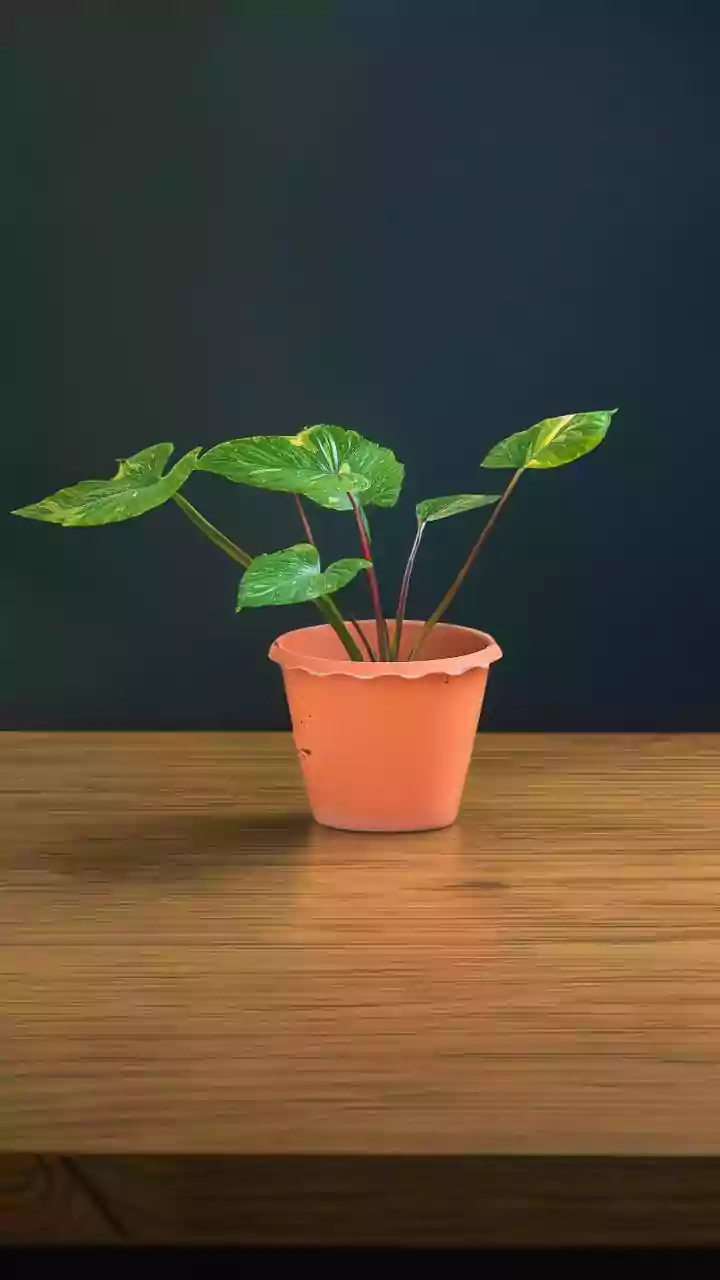
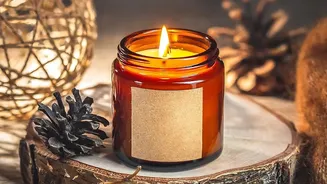
Not just any jar will do. A candle container must be non-flammable, non-porous, and able to withstand the sustained heat of a full melt pool without cracking. The best choices are thick, tempered glass jars, such as canning or mason jars, which are designed to handle high temperatures. Ceramic mugs or bowls that are marked as microwave-safe are also a great option, as long as they have no cracks. Metal tins made for candles work well too, though they can get very hot to the touch. Avoid thin decorative glass, porous materials like unsealed terracotta, and any plastic containers, as these can crack, leak, or even catch fire.
The Step-by-Step Candle Making Process
First, prepare your workspace and containers. Make sure your jars are clean and dry. Secure a wick to the bottom center of each container using a wick sticker. Next, melt your wax gently in a double boiler, using a thermometer to monitor the temperature; a good target for adding fragrance is around 185°F, but check your wax's specific instructions. Once the wax is melted, remove it from the heat and stir in your fragrance oil for a full two minutes to ensure it binds with the wax. Let the wax cool slightly before pouring it slowly into your prepared containers. Use a centering tool to keep the wick straight. Finally, let the candles cool and cure undisturbed for at least 24 hours to several days, depending on the wax, before trimming the wick to about a quarter-inch.
Essential Safety Precautions
Working with hot wax requires your full attention. Never leave melting wax unattended, and keep a fire extinguisher nearby just in case. Water should not be used on a wax fire. Ensure your workspace is in a well-ventilated area to avoid inhaling fumes from the fragrance. Wear protective clothing like long sleeves and closed-toe shoes to prevent burns from accidental splashes. Keep flammable materials, pets, and children away from your work area. By taking these simple precautions, you can ensure your candle-making experience is both safe and enjoyable.