






The Midday Bun Collapse
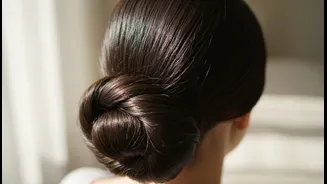
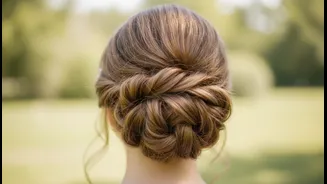
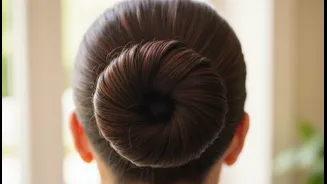
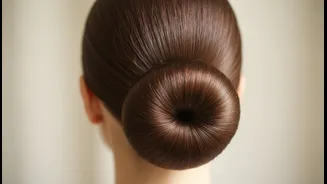
It’s a familiar story. You leave the house with a sleek, secure bun, feeling put-together and ready for the day. By lunchtime, however, you can feel it—the dreaded sag. A few strands have escaped, the base has loosened, and the entire structure feels
precarious. This common hair frustration sends many of us reaching for more and more pins, creating a tangled, uncomfortable knot that still somehow fails to hold. Whether your hair is fine and silky or thick and heavy, the force of gravity combined with the day's movements often proves too much for a poorly anchored bun. The issue usually isn’t the number of pins you use, but the way you’re using them. A bun that isn’t built with a solid foundation will inevitably fall, no matter how many pins you throw at it.
Why Single-Direction Pinning Fails
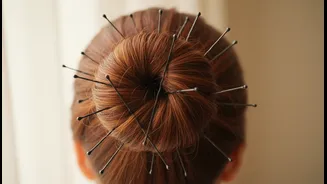
Most of us learn to secure a bun by simply pushing pins in around its base, usually all pointing towards the centre. While this feels intuitive, it’s fundamentally flawed. When all pins are inserted from the same angle, they aren’t creating an interlocking structure. Instead, they are just sitting alongside each other, barely gripping the base hair on your scalp. This method fails to create the tension and friction needed to counteract the weight of the bun. Think of it like building a structure with nails hammered in from only one side—it lacks the cross-bracing required for true stability. The pins may feel tight at first, but without an opposing force, they can easily slide out as you move your head. For a pin to truly hold, it needs something to anchor against.
The Art of Multi-Directional Pinning
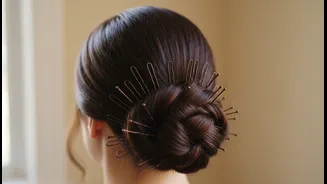
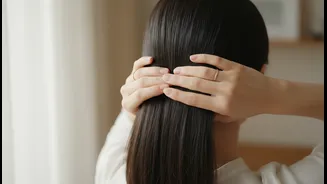
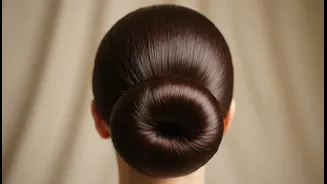
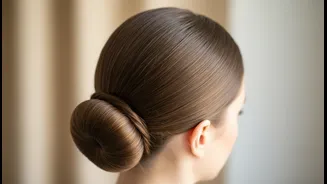
The solution is beautifully simple: insert pins from different directions to create a secure, interlocking cage. Professional stylists often refer to this as creating a “plus sign” or a “cross” pattern with your pins. Start by creating your bun as you normally would, coiling it tightly and holding it flat against your head. Now, take your first pin and insert it from the top (12 o’clock position), directing it down into the base. Make sure the pin catches hair from both the bun and the scalp. Next, take a second pin and insert it from the bottom (6 o’clock), pushing it up towards the centre. You've now created vertical stability. Follow this by inserting a pin from the right side (3 o’clock) and another from the left side (9 o’clock). This creates a foundational lock that holds the bun from all four cardinal points, distributing the weight evenly and preventing it from shifting.
The Weaving and Locking Technique
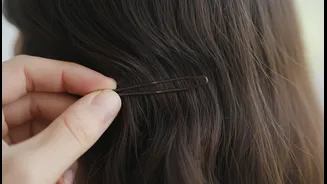
To take the security to the next level, don’t just push the pins straight in. Use a weaving or sewing motion. As you insert a pin, guide it to catch a small section of the bun's outer edge, then angle it to dip down and grab a bit of the scalp hair at the bun's base, before finally pushing it back into the body of the bun. This technique essentially stitches the bun to your head. For an even stronger hold, especially if your bun feels wobbly in certain spots, you can crisscross pins over each other. This creates a lock that is incredibly difficult to dislodge. This method works especially well with U-shaped hairpins, which are designed to grab more hair and create structure, but it can be done with standard bobby pins too. Remember to place bobby pins with the wavy side against your scalp for better grip.
Tips for a Bulletproof Bun
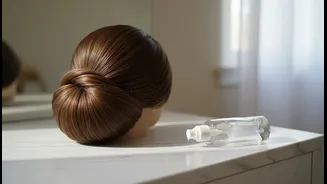
For truly immovable styles, especially with fine or freshly washed hair, a little preparation goes a long way. Before creating your bun, apply a texturizing spray or a bit of dry shampoo to your hair. This adds grit and texture, giving the pins something more substantial to grip onto. When twisting your hair into the bun, don't make the coil too loose to begin with; a bun needs some internal structure to hold its shape. If your hair is very thick and heavy, consider using larger, stronger pins or even spin pins, which screw into the bun and provide exceptional hold with just one or two pins. Hairspraying your bobby pins before inserting them can also add an extra layer of grip, preventing them from slipping throughout the day.