


The Allure of Effortless Style
The pencil bun is more than just a clever trick; it’s a timeless statement of minimalist chic. Long before it became an office hack, securing hair with a single stick was a practice used for centuries in various cultures. Its modern appeal lies in its
simplicity and versatility. It’s a style that says “put-together” without screaming “I spent an hour on my hair.” It can be as sleek or as messy as you like, making it suitable for a professional setting, a casual day out, or an elegant evening. The beauty of this updo is that it requires almost no planning and can be done anywhere, with tools you likely have on hand.
Your Simple Toolkit
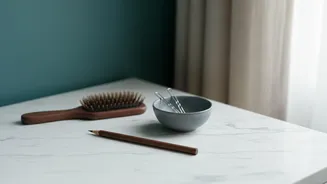
The name says it all, but you are not limited to just a No. 2 pencil. The ideal tool is a traditional wooden pencil, as its texture provides better grip than a plastic mechanical one. However, you can easily substitute it with a chopstick, a paintbrush handle, or a dedicated hair stick, which is often tapered for easier use. For a more decorative touch, ornate hair sticks can elevate the style instantly. If your hair is particularly long or thick, you might find that using two pencils or a longer stick provides a more secure hold. Some people also like to keep a texturizing spray or dry shampoo on hand to give finer hair a bit more grit and hold before starting.
The Basic Technique: A Step-by-Step Guide
Mastering the basic pencil bun is surprisingly simple. With a little practice, you'll be able to do it without even looking in a mirror. 1. Gather Your Hair: Start by gathering your hair into a ponytail at the desired height—a low bun at the nape of your neck often looks classic and chic. You don’t need a hair tie. 2. Twist and Coil: Twist the ponytail tightly from the base all the way to the ends. The tighter the twist, the more secure and sleek your bun will be. Now, wrap this twisted rope of hair around its base to form a coiled bun. Hold it in place with one hand. 3. Secure the Bun: Take your pencil and, holding it vertically, insert the tip at the top edge of your bun. Weave it down through the bun, making sure to catch some of the scalp hair underneath the base of the bun. This is the key to a secure hold. Push the pencil down until it emerges from the bottom of the bun. Adjust as needed so it feels stable.
Tips for Every Hair Type
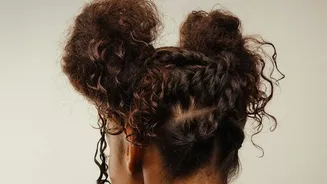
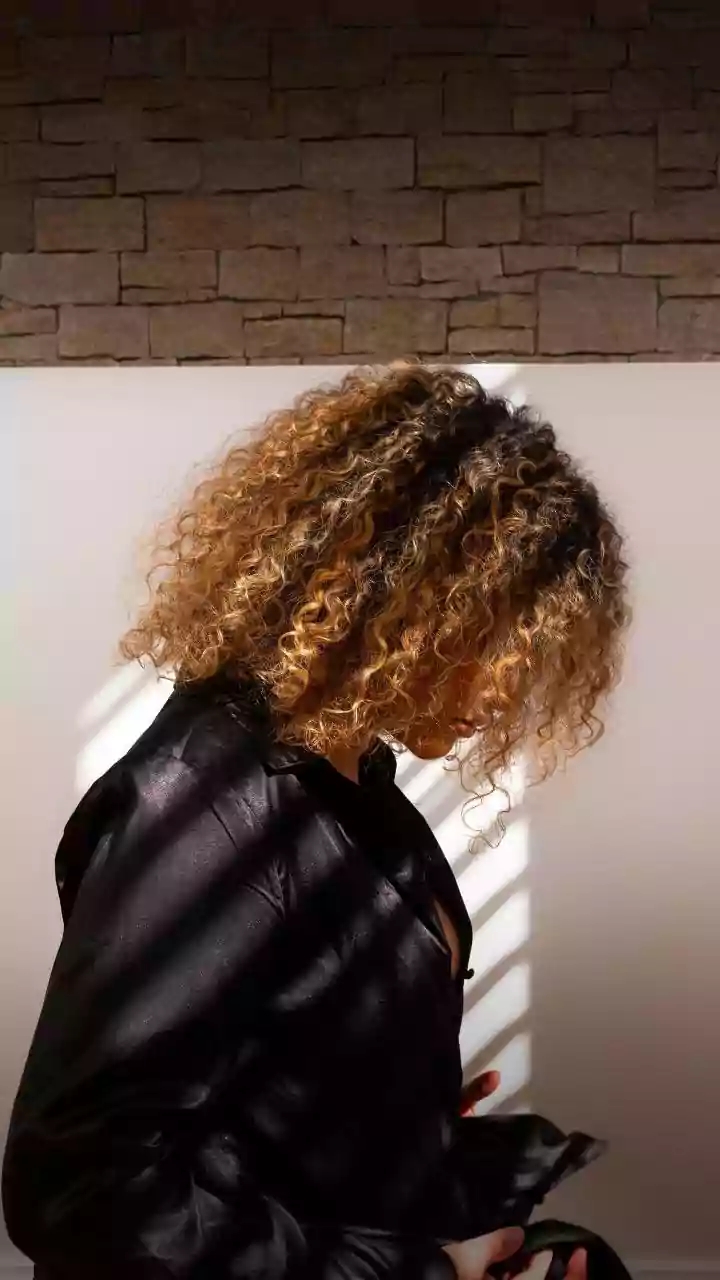
While the pencil bun is incredibly versatile, a few adjustments can help it work perfectly for your specific hair texture. For Fine or Silky Hair: This hair type can be prone to slipping. Before you start, apply a bit of dry shampoo or texturizing spray to create more grip. When you insert the pencil, try to weave it through the bun twice to create more friction and a stronger hold. For Thick or Long Hair: If you have a lot of hair, a single pencil may not be enough. Try using a longer, sturdier hair stick or even two pencils held together. You can also divide your ponytail into two sections, twist each one, and then wrap them around each other to form the bun before securing. For Curly Hair: Curls provide fantastic natural texture and volume that helps hold the style in place. You may not need to twist your hair as tightly. In fact, a looser coil can create a beautifully soft and voluminous bun.
Beyond the Basic Bun
Once you have mastered the fundamental technique, there are several ways to vary the look. For a “faux French twist,” gather your hair, coil it around the pencil horizontally, then flip the pencil vertically and push it down into the base of the twist to secure it. For a more intricate look, you can braid your hair first before coiling it into a bun. This adds beautiful texture and extra security. Another option is the half-up pencil bun, perfect for when you want your hair out of your face but still want to show off its length. Simply gather the top section of your hair and create a mini bun. You can also play with the finish; gently pull on the bun after it's secured to create a softer, messier look that feels effortlessly romantic.