





Your First Step: Master the Calendar
The most critical element for a successful stargazing trip has nothing to do with equipment and everything to do with timing. The two biggest obstacles to a clear view are clouds and the moon. Before you even think about where to go, check the weather
forecast. Look for nights with zero cloud cover. Many weather apps now offer hourly cloud forecasts, which are far more useful than a simple 'clear' or 'cloudy' summary. Winter months, particularly from October to April, generally offer the best conditions near Mumbai, as the post-monsoon air is less hazy and humidity is lower, leading to crisper skies. Planning around these conditions is the single most important factor for a rewarding night under the stars.
The Moon: Your Greatest Ally or Brightest Foe
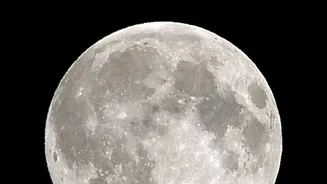
A full moon can be beautiful, but it's also a giant light in the sky that washes out fainter stars, constellations, and the faint, milky band of our own galaxy. For the best stargazing, you want the darkest sky possible. This happens during the New Moon phase, when the moon is not visible in the night sky. The days leading up to and immediately following the New Moon are also excellent. A quick search for a 'lunar calendar' online will show you the moon phases for the entire year. By scheduling your trip within this 'dark window,' you dramatically increase your chances of seeing thousands of stars instead of just a handful. For today, October 1, 2026, the moon is a waning gibbous, meaning it is still quite bright, making the upcoming New Moon on October 10 an ideal target for planning a trip.
Escape the City Glow: Where to Go
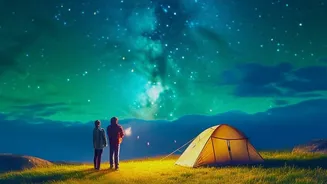
Mumbai suffers from significant light pollution, rated as a Bortle Class 8 or 9, which means only a few of the brightest stars are visible from the city itself. To truly see the cosmos, you need to travel. Fortunately, several spots within a few hours' drive offer much darker skies. Locations in the Sahyadri range are popular choices. Places like Naneghat, Bhandardara, Dehene Village, and Mahuli are all accessible and far enough from city lights to offer spectacular views. These areas can drop to a Bortle Class 3 or 4, making the difference between seeing a dozen stars and seeing thousands, including the Milky Way. The key is distance and avoiding the light domes of nearby towns. Even a spot on a beach like Velas, about a five-hour drive away, can provide a unique and dark setting.
Gear Up (Without Breaking the Bank)
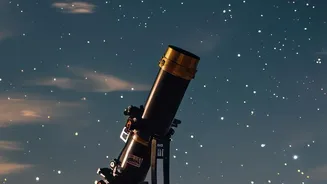
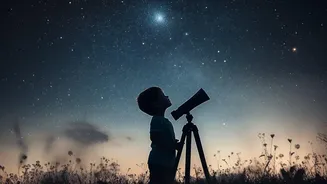
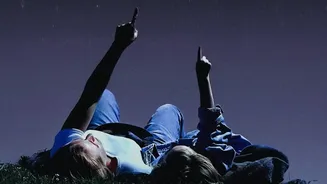
Contrary to popular belief, you don't need an expensive telescope to start your astronomical journey. Your own eyes are the best starting tool. Give them at least 20 minutes to adjust to the darkness, avoiding your phone screen or any white lights. If you need a light, use a torch with a red filter (or red cellophane taped over it), as red light doesn't ruin your night vision. A simple pair of binoculars is a fantastic next step, revealing craters on the moon, the moons of Jupiter, and the fuzzy shapes of distant star clusters and nebulae. Other essentials are more about comfort: a mat or blanket to lie on, warm clothing as nights can get chilly, and some snacks and water.
Let Your Phone Be Your Guide
While you should avoid its bright screen, your smartphone can be an invaluable guide. Several apps can help you identify what you're seeing. Star map apps like Stellarium, Star Walk 2, or Google Sky Map use your phone's GPS to show you the names of stars, constellations, and planets in real-time as you point your device at the sky. This turns a sky of random dots into a navigable map filled with ancient stories and celestial wonders. Many of these apps also include features that show you the rise and set times for the moon and planets, helping you plan your viewing session even more effectively.