


What Exactly Is Facial Layering?
Facial layering is a makeup application method that prioritises building coverage through multiple, whisper-thin layers of product. Instead of applying one thick coat of foundation or concealer, the goal is to create a seamless, dimensional look that appears
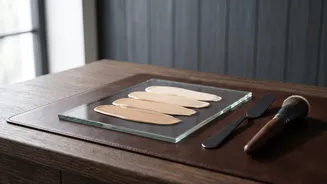
natural and avoids a heavy, masked effect. The core idea is simple: it is much easier to add more product than it is to take it away. This technique allows for a more controlled and customisable application, targeting coverage only where it’s needed while letting your natural skin show through elsewhere. The process generally follows a liquid-to-cream-to-powder sequence to ensure products blend together smoothly without causing patchiness or disrupting the layers underneath.
The Golden Rule: Blending Over Bulk
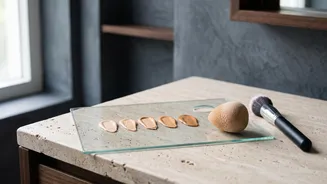
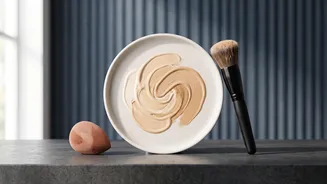
The most important principle of facial layering isn't the number of layers you apply, but how well you blend them. The secret to a truly seamless application lies in the blending technique, which ensures there are no harsh lines or visible transitions between products like foundation, concealer, blush, and bronzer. Professional artists focus on this meticulous blending to create a finish that looks like real skin. Using the right tools—like a damp makeup sponge for pressing and melting products or a fluffy brush for diffusing powders—is key. The motion matters, too. Gentle tapping or stippling motions are often preferred over dragging or wiping, as this presses the product into the skin without disturbing the delicate layers you’ve already applied. Remember, the goal is a soft, diffused finish that looks cohesive and natural.
Step 1: Prep the Canvas
A flawless finish begins long before you pick up your foundation. Prepping your skin correctly is non-negotiable for successful layering. Start with a clean, moisturised face. Applying makeup to hydrated skin helps it look more like your actual skin rather than a layer sitting on top. After your moisturiser has had a minute or two to fully absorb, you can apply a primer. A primer creates a smooth base for your makeup, helps it grip better, and can address specific concerns like oiliness or visible pores. This skincare-focused preparation ensures your thin layers of makeup will glide on smoothly and last longer throughout the day.
Step 2: Build Your Base and Conceal
When it's time for foundation, start with a small, pea-sized amount for your whole face. Apply a single, sheer layer to even out your skin tone, starting from the centre of your face and blending outwards. Use a damp sponge, a brush, or your fingertips to press the product into the skin. After this first layer has settled, assess where you need more coverage. Instead of adding another full layer, build coverage gradually only in specific areas, like on blemishes or areas with redness. Follow this with concealer, applying it sparingly to targeted spots like under-eye circles. Gently tap to blend, rather than swiping, to keep the coverage precisely where you want it.
Step 3: Add Dimension with Creams and Powders
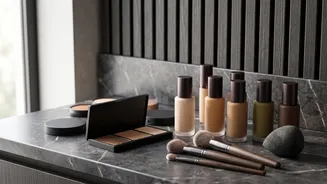
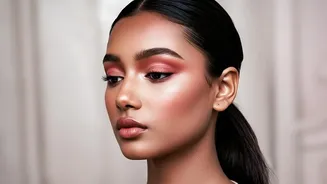
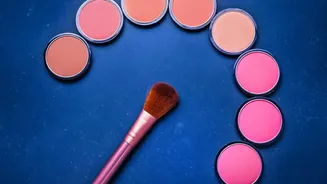
Once your base is even, it's time to add back dimension with colour. The general rule is to apply any liquid or cream products before you set your face with powder. This includes cream blush, bronzer, and highlighter. Apply your cream bronzer to the hollows of your cheeks and temples, and sweep cream blush onto the apples of your cheeks for a healthy flush. Blend each cream product thoroughly before moving to the next. After your cream products are blended, you can selectively set your makeup. Use a fine, translucent powder and a fluffy brush, lightly dusting it only on areas that tend to get oily, like the T-zone. This locks in the cream products without adding bulk or dulling your glow. If you prefer powder blush or bronzer, this is the time to apply them over the lightly powdered base.
Step 4: The Final Touches
With your base, concealer, and colour layers complete and blended, the final step is to meld everything together. A light mist of a setting spray can help bind the different layers—both cream and powder—making them look more unified and helping your makeup last longer. Hold the bottle at arm's length and spritz your face lightly. This final step helps to remove any powdery appearance and leaves you with a vibrant, skin-like finish that feels comfortable and looks beautifully blended from every angle. Before you head out, it's always a good idea to check your makeup in natural light to ensure everything is seamlessly blended, especially along the jawline and neck.