




The Foundation: Perfecting the Dough
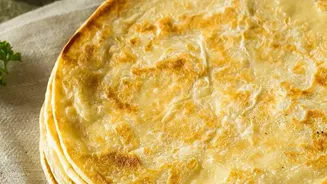
The journey to a perfect paratha begins with the dough. The goal is a soft, pliable, and elastic consistency that can stretch without tearing. Start with whole wheat flour (atta) and incorporate a small amount of fat like oil or ghee. This addition helps
in creating a softer end product. Use lukewarm water and add it gradually, kneading for at least 10-15 minutes until the dough is smooth. Once kneaded, cover the dough and let it rest for a minimum of 20 to 30 minutes. This resting period is crucial as it allows the gluten to develop, making the dough more flexible and easier to roll. A well-rested dough is your first line of defense against the dreaded tearing and filling leakage.
The Heart of the Matter: Crafting the Filling
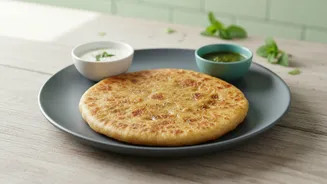
The key to a successful filling is managing moisture. A wet or soggy filling is the primary culprit behind parathas that break while rolling. For potato-based fillings like aloo paratha, ensure the boiled potatoes are completely cooled and mashed thoroughly, leaving no lumps. Grating the boiled potatoes can help achieve a smoother texture. Any added ingredients like onions or herbs should be chopped as finely as possible. A crucial tip is to ensure the filling has cooled to room temperature before you begin stuffing; a hot filling will create steam and make the dough difficult to handle. If your filling seems too moist, you can add a pinch of gram flour (besan) or breadcrumbs to absorb the excess liquid.
The Art of Assembly: Sealing and Rolling
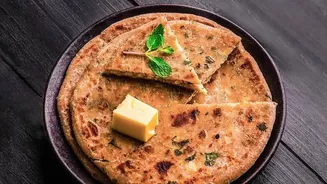
How you enclose the filling is just as important as the components themselves. A common mistake is overstuffing. A good rule of thumb is to use a golf ball-sized portion of dough with about a tablespoon of filling. One effective technique is to flatten the dough ball, place the filling in the center, and bring the edges together like a pouch, pinching off any excess dough at the top to avoid a thick, doughy center. Once stuffed, let the dough balls rest for another 5-10 minutes before rolling. This allows the dough to relax again, preventing cracks. When you begin to roll, do so with a light hand, applying even pressure and focusing more on the edges than the center to help the filling spread uniformly. Dust the surface lightly with flour, but avoid using too much, as it can make the paratha dry.
The Final Act: Cooking to Crispy Perfection
The final stage on the tawa (griddle) is where the magic happens. Heat your tawa on a medium flame; it should be hot but not smoking. Cooking on too high a heat will burn the outside before the inside is cooked, while a low heat will result in a hard paratha. Place the rolled paratha on the hot tawa and cook for about a minute until you see small bubbles appear. Flip it and cook the other side. Now, apply ghee or oil. Ghee is often preferred for its high smoke point and the rich, nutty flavour and superior crispness it imparts. Press down gently with a spatula, especially on the edges, to ensure even cooking. Flip it a couple of times until both sides are golden brown and crispy. This gentle pressing helps the paratha puff up, indicating that the steam is cooking the inside layers perfectly.