





Prepare for Styling Success
Before you begin, a little preparation goes a long way. This style tends to hold better on hair that isn't freshly washed, as the natural oils provide some grip. If your hair is clean and silky, don't worry. A light mist of texturizing spray or even dry
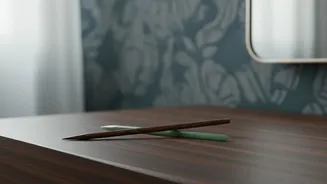
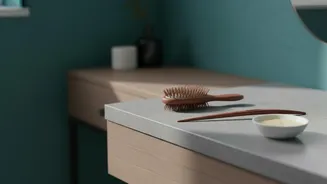
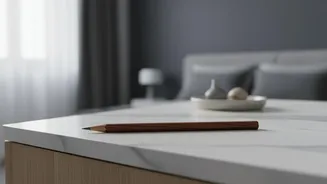
shampoo can add the grit you need to help the style stay in place all day. Gather your only tool: a standard wooden pencil. Traditional pencils generally offer better friction than plastic mechanical ones, making them more effective at holding the bun securely. Ensure the pencil's tip isn't so sharp that it could poke you.
Start With a Simple Braid
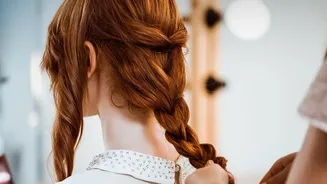
First, gather your hair at the nape of your neck as if you're making a low ponytail, but don't secure it. For a classic look, a simple three-strand braid is perfect and easy to execute. Split your hair into three equal sections and begin braiding down the length of your hair. Continue until you have about two inches of hair left at the end, and then hold it firmly. For a slightly different aesthetic, you could start with a side braid or even a French or Dutch braid that begins higher on your head, incorporating more hair as you go.
Coil the Braid into a Bun
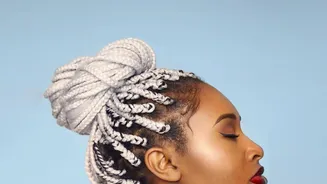
With your braid complete and held tightly at the end, it's time to form the bun. Begin coiling the braid around its base, creating a flat, circular shape against the back of your head. Tuck the end of the braid underneath the coil as you finish wrapping it. Hold the coiled bun in place with one hand. Don’t worry if it feels a little loose at this stage; the pencil is what will truly anchor the style. The tightness of your coil will determine the final look—a tighter coil results in a neat, compact bun, while a looser one creates a more relaxed, voluminous effect.
Secure It With the Pencil Weave
This is the crucial step that makes the style work. Take the pencil in your free hand. Starting from the top of the bun, slide the pencil’s point down, catching a small section of hair from your scalp just above the bun. Next, guide the pencil through the center of the bun itself. Finally, push the pencil downwards so it catches the hair on your scalp just below the bun. This weaving motion—scalp, bun, scalp—is what creates the tension needed to hold everything firmly in place. You should feel the bun tighten and lock as the pencil slides into its final position.
The Flip and Tuck Method
An alternative securing technique is the flip-and-tuck. After coiling your braid into a bun, hold the pencil horizontally above the bun. Gather a small section of hair from your scalp, just above the bun, and loop it over the pencil. Now, rotate the pencil 180 degrees, flipping it downwards over the bun. As you flip it, push the pencil down and into the bun, tucking it securely against your head. This method also uses tension to create a surprisingly stable hold and can be easier for some to master than the weaving technique.
Finishing Touches and Variations
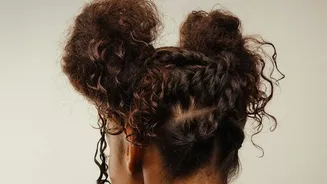
Once your braided bun is secure, you can customize the look. Gently pull on the edges of the braid within the bun—a technique known as 'pancaking'—to make it appear fuller and more intricate. You can also pull out a few face-framing tendrils for a softer, more romantic style. If any parts of the bun feel loose, a strategically placed bobby pin can provide extra security. Feel free to experiment with different types of braids, like a fishtail or a four-strand braid, for more texture. You can also swap the pencil for a chopstick or a decorative hair stick for a different vibe.