



Why It's the Go-To Formal Style
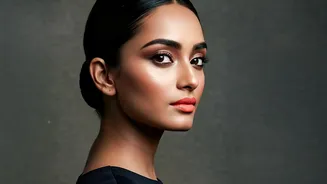
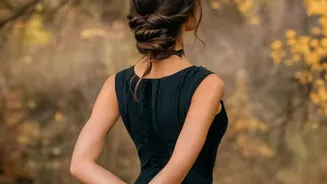
There's a reason celebrities and stylists consistently turn to the sleek low bun for red-carpet events. Its beauty lies in its elegant simplicity. Gathered neatly at the nape of the neck, it keeps hair perfectly in place for hours, drawing attention to your
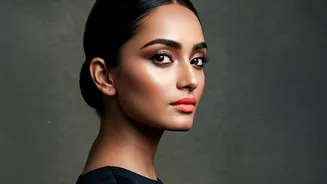
face, neckline, and jewellery. The polished, 'wet look' finish exudes confidence and sophistication, making it a reliable choice that complements almost any outfit without competing with it. It's a style that is both modern and classic, ensuring you look put-together from the first photo to the last dance.
Gathering Your Styling Arsenal
To achieve a flawless, bump-free finish, having the right tools is essential. You don’t need a professional kit, but a few key items will make all the difference. Start with a rat-tail comb for creating a precise part. A boar bristle brush is a non-negotiable for smoothing hair and taming flyaways without causing breakage. You'll also need high-tension hair elastics (preferably ones that match your hair colour), bobby pins or U-pins to secure the bun, and a strong-hold hairspray. For that signature sleekness, a styling gel, pomade, or wax is crucial for hold and shine.
Preparation Is Everything
Whether you start with freshly washed or second-day hair is a matter of preference, though many stylists find that second-day hair has a bit more grip. If you have curly or wavy hair and are aiming for a super smooth finish, you may want to blow-dry your hair straight first. Always apply a heat protectant before using any hot tools. On dry hair, decide on your part—a sharp center part is trendy and modern, while a side part can soften your features. Use your rat-tail comb to get the line perfectly straight. A pro tip for preventing tension headaches is to tilt your chin up while gathering the hair, then lower it once the ponytail is secure; this builds in a tiny amount of slack at the nape.
A Step-by-Step Guide to Perfection
First, apply a styling gel or cream from the roots to the mid-lengths to smooth the hair. Using a boar bristle brush, sweep your hair back into a tight, low ponytail at the nape of your neck and secure it with an elastic. For an ultra-smooth crown, some stylists recommend a two-section approach: first, secure the back half of your hair, then smooth the front and side sections over it and incorporate them into the ponytail. Once the ponytail is secure, apply a bit more product through its length for a polished look. Tightly twist the ponytail into a spiral. Wrap the twisted hair closely around the base of the ponytail to form the bun. Secure the bun with a second hair elastic or by crisscrossing bobby pins or U-pins into the base until it feels stable.
Finishing Touches for a Flawless Look
Once the bun is secure, it's time to perfect the details. To tackle any remaining flyaways, especially short, broken hairs at the crown, spray a clean toothbrush or an edge brush with hairspray and gently press it against the hair's surface. This technique lays the hairs flat without disturbing the style. To achieve a high-shine, 'glass hair' finish, you can mist a shine spray over the completed style. A final, generous mist of a strong-hold hairspray will lock everything in place, ensuring your sleek bun lasts all day and night.
Variations and Personalization
While the classic sleek low bun is stunning on its own, small variations can personalize the look. For a softer effect, especially on round or square face shapes, consider leaving a few face-framing pieces out in the front. You can also experiment with the bun itself. Instead of a simple twist, you can create a rope braid by splitting the ponytail in two, twisting each section, and then twisting them around each other before forming the bun. Adding a simple, elegant hair accessory, like a pearl pin or a metallic cuff, can also elevate the style for a special occasion.