





Choosing the Right Pot and Variety
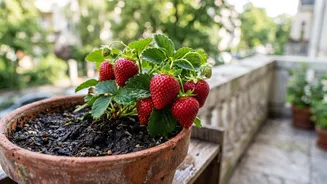
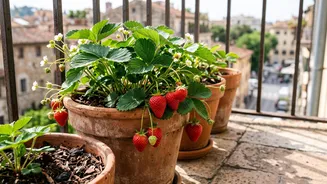
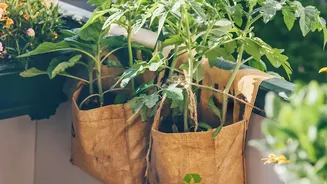
Your journey begins with selecting the perfect home for your plant. Choose a pot that is at least 8 to 12 inches deep to give the roots ample space to grow. Ensure the container has drainage holes at the bottom, as chilli plants dislike waterlogged soil.
Terracotta pots are an excellent choice for Indian climates as they allow for better aeration and prevent the soil from getting too hot. For the chilli itself, look for 'Bird's Eye' chilli (also known as Prik Kee Nu or Kanthari), which is the classic Thai variety renowned for its fiery heat and prolific fruiting. You can start from seeds extracted from dried red chillies or buy a small sapling from a local nursery to get a head start.
Creating the Perfect Soil Mix
Thai chillies thrive in well-draining, nutrient-rich soil. Using heavy garden soil from the ground is often not ideal for pots as it can become compacted and retain too much water, especially during the monsoon. A perfect, lightweight potting mix for an Indian balcony can be made by combining cocopeat, vermicompost, and a small amount of loamy soil or sand. A good ratio to follow is 40% cocopeat, 40% vermicompost, and 20% garden soil. Cocopeat helps retain moisture without becoming waterlogged, vermicompost provides essential gentle nutrients, and the soil gives the plant stability.
Sunlight and Watering Strategy
The phrase 'sunny Indian balcony' is key. Thai chillies love the sun and require at least five to six hours of direct sunlight each day to produce a healthy crop of fruits. An east or south-facing balcony is ideal. However, in the peak of Indian summer, the afternoon sun can be harsh. You may need to move your pot to a spot with partial shade to prevent the leaves from scorching. Watering is a delicate balance. Water the plant deeply whenever the top inch of the soil feels dry to the touch. Avoid a fixed schedule; instead, let the plant and the soil tell you when they need a drink. Overwatering can lead to root rot, a common issue for potted plants. During hot summer days, you might need to water daily, while in the monsoon, you'll need to water less frequently.
Feeding for a Fiery Harvest
While good soil provides a strong start, chillies are heavy feeders and will need additional nutrients as they grow, especially once they start flowering. About a month after planting, you can begin feeding your plant every two to three weeks with a balanced organic fertiliser. Vermicompost is an excellent option, and you can also use a diluted liquid fertiliser like one made from mustard cake (sarson ki khali). Once the plant begins to flower, switch to a fertiliser that is high in potassium, often sold as tomato feed, to encourage abundant fruit production. Avoid using too much nitrogen-heavy fertiliser, as this will result in lush green leaves but very few chillies.
Pest Control and Plant Care
Balcony gardens are not immune to pests. The most common culprits for chilli plants in India are thrips, aphids, and spider mites. Regularly inspect the undersides of leaves for any signs of an infestation. For most common pests, a simple spray of neem oil solution works wonders as an organic preventative and treatment. To make it, mix a few drops of neem oil with a drop of mild liquid soap in a litre of water and spray it on the plant in the evening. Also, make it a habit to prune any yellowing or dead leaves to keep the plant healthy and improve air circulation.
The Joy of Harvesting Your Chillies
In about 70 to 85 days after transplanting, you should see your first chillies ready for harvest. You can pick them when they are green for a milder, fresher heat, or wait until they turn a vibrant red for their full, fiery potential. Regular harvesting is crucial as it encourages the plant to produce more flowers and, consequently, more fruit. Use a pair of scissors or simply snap the stem cleanly to pick the chillies rather than pulling them, which can damage the branches. A single healthy plant can reward you with over a hundred chillies throughout its growing season.